You can install the Cafeking theme using either the WordPress Dashboard or the FTP method.
WordPress Dashboard Installation #
Follow these steps to install the theme via the WordPress admin panel:
- Log in to your WordPress admin dashboard
- Navigate to Appearance → Themes
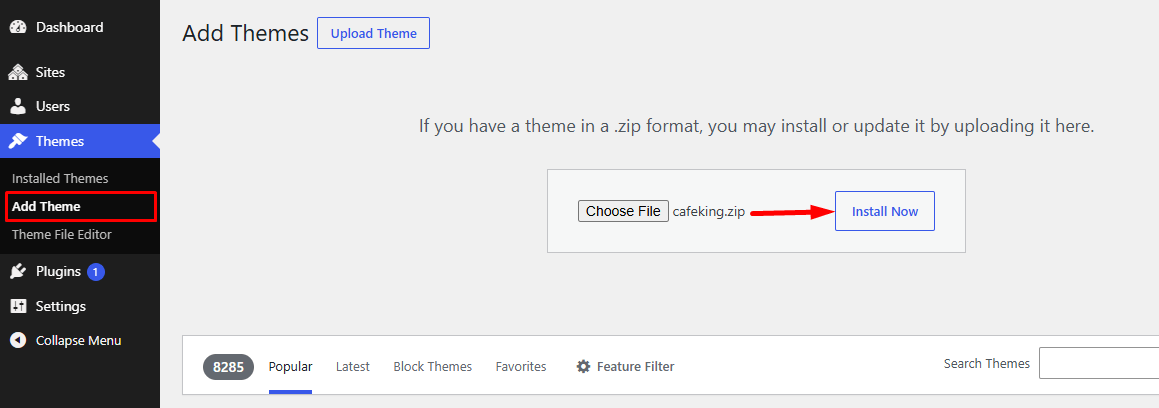
- Click Add New, then select Upload Theme
- Choose the
cafeking.zipfile from your computer - Click Install Now
- After installation, click Activate to enable the theme
FTP Installation Method #
If you prefer manual installation, follow these steps:
- Extract the
cafeking.zipfile on your computer - Connect to your hosting server using an FTP client (e.g., FileZilla)
- Go to the directory:
wp-content/themes/ - Upload the extracted Cafeking theme folder into this directory
- Log in to your WordPress admin panel
- Navigate to Appearance → Themes
- Click Activate on the Cafeking theme
Child Theme (Important) #
We strongly recommend using the Cafeking Child Theme for all customizations. This ensures your changes remain safe and are not overwritten during theme updates.
- The child theme is included in the theme package
- Install it the same way as the main theme
- After installation, activate the Cafeking Child Theme instead of the parent theme
Install Required Plugins #
After activating the theme, WordPress will display a message prompting you to install the required plugins.
- Click “Begin Installing Plugins”
- Install and activate them one by one
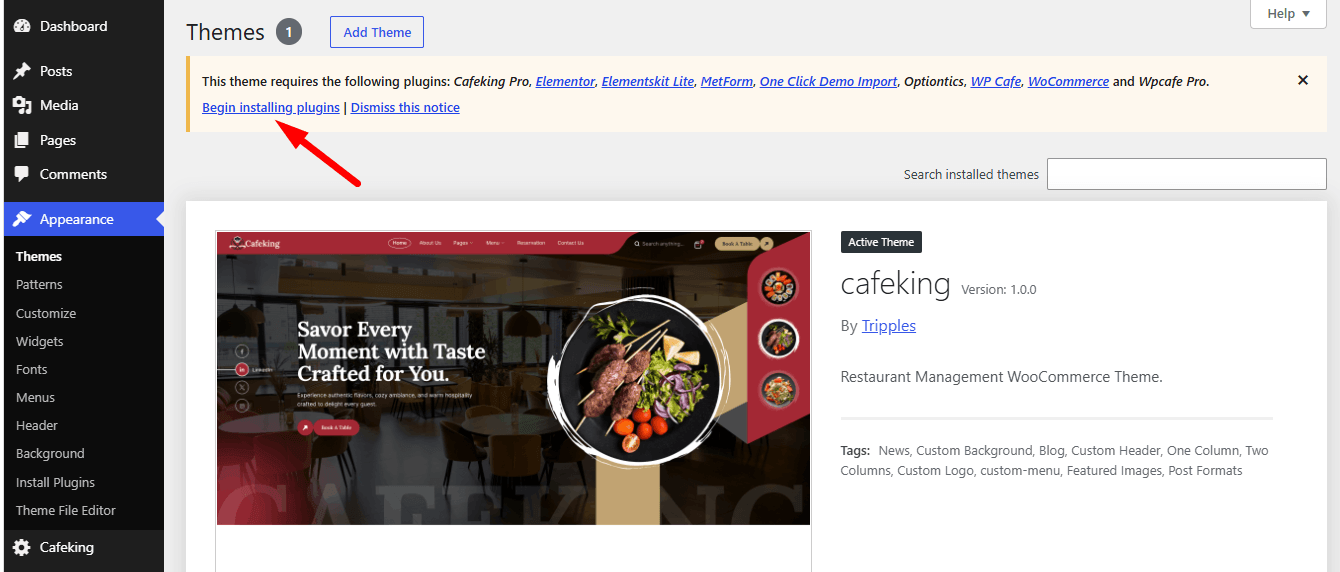
These plugins are essential for Cafeking’s features to work properly, including food menu management, the ordering system, and the reservation system.


