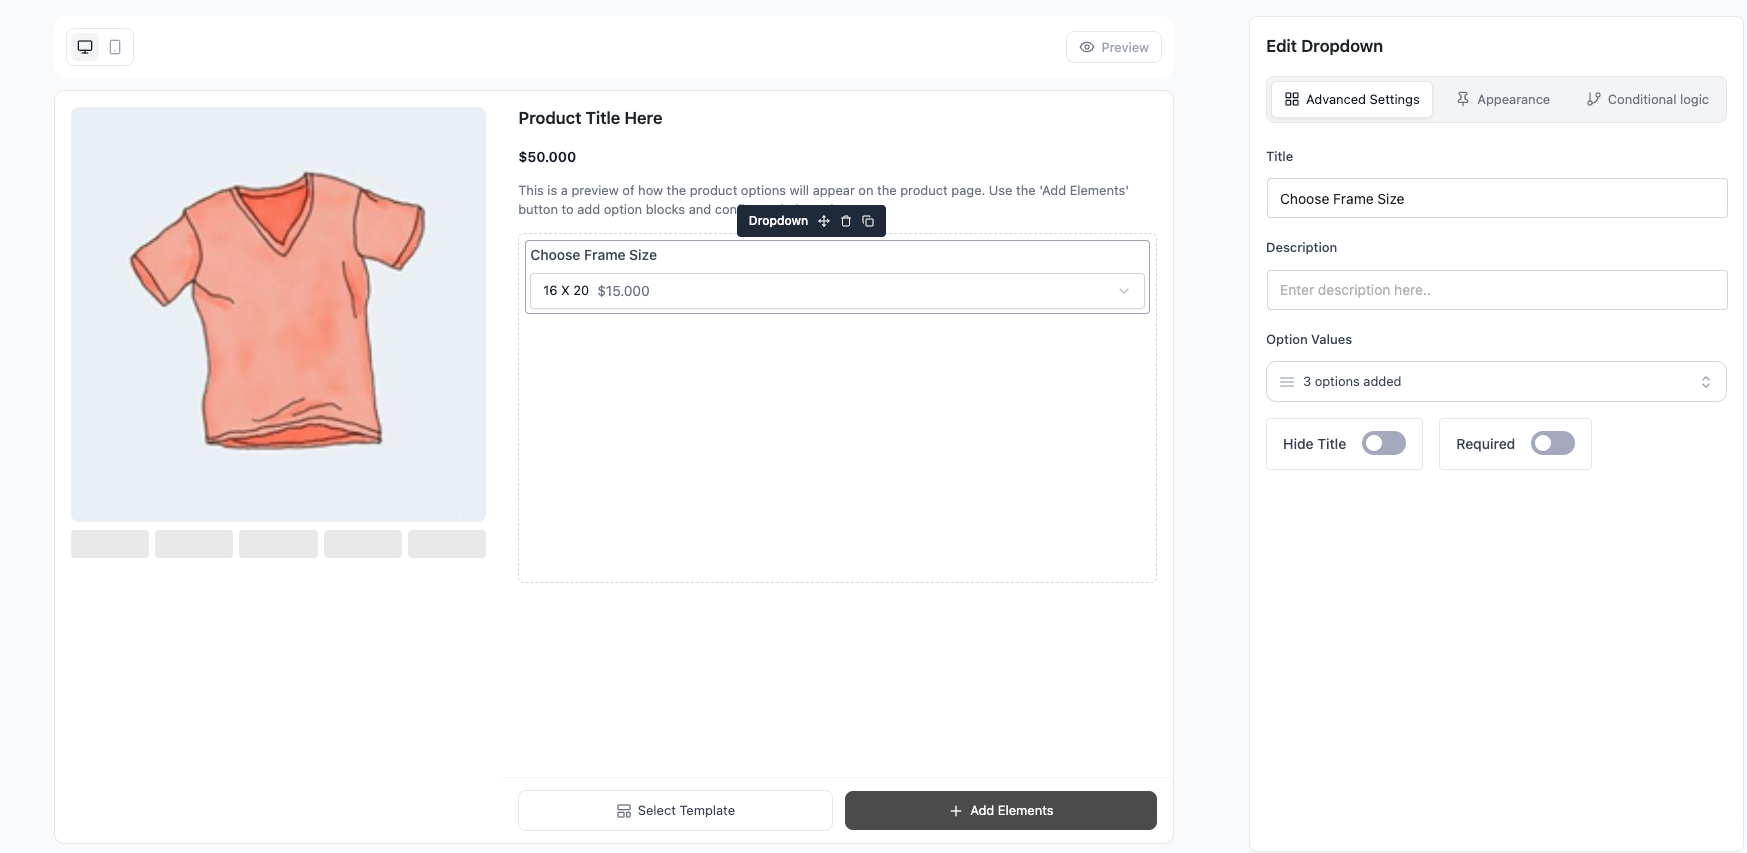
The Dropdown field shows product options in a compact menu. Customers pick one option, and the chosen option can add to or subtract from the price. It opens with a “Choose an option” placeholder, so it’s ideal when you have a long list and want to save vertical space.
Use Cases #
- “Choose Frame Size: 8×10 (+$0) / 16×20 (+$15) / 24×36 (+$40)” — Long size lists that would crowd the page as buttons.
- “Subscription Length: 1 Month / 6 Months (-$5) / 12 Months (-$15)” — Reward longer commitments with negative pricing.
- “Select Engraving Font” — A dozen font choices kept tidy in one menu.
- “Pick a Delivery Window: Morning / Afternoon / Evening (+$3)” — Single pick from many time slots.
How to Use #
- Open Optiontics → Add-ons and edit (or create) an add-on form.
- Drag the Dropdown block onto the canvas.
- Select the block to open its settings on the right.
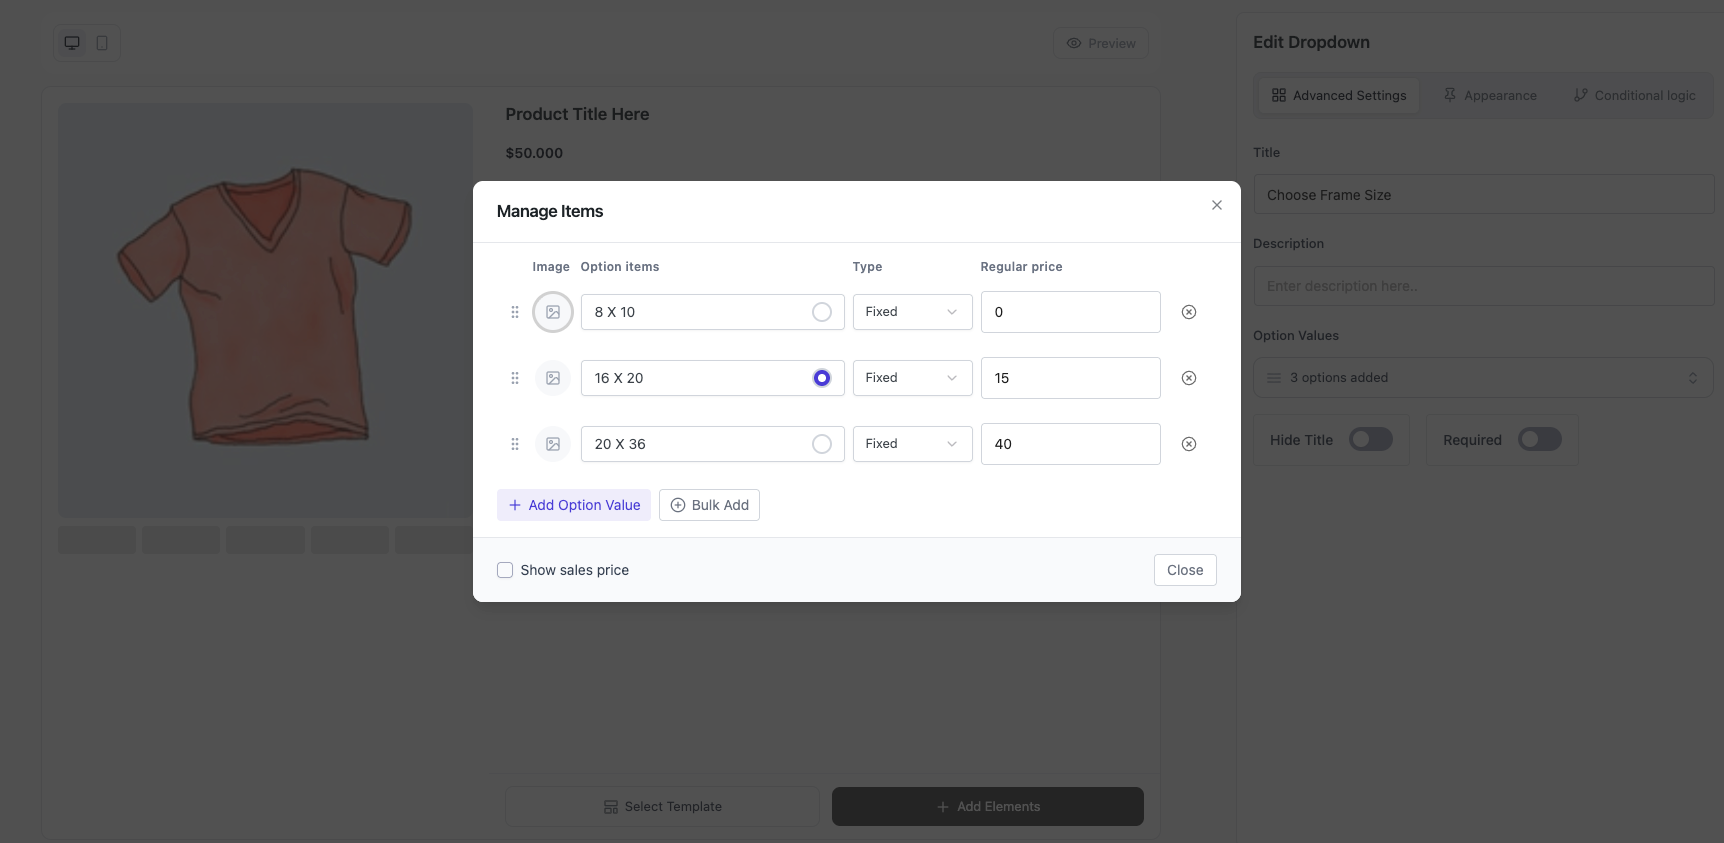
- Add your choices — for each one set:
- Label — text shown in the menu.
- Price — amount added when selected (negative to subtract).
- Price type — Fixed or Percentage of the base price.
- Default — mark one choice to pre-select it.
- Adjust the settings (below).
- Save, assign to a product, and preview.
Settings & Customizations #
- Title / Hide title / Description.
- Required — customer must select before add to cart.
- Show sale price — show the discounted choice price when set.
FAQ #
Can customers pick more than one option? No — Dropdown is single-select. Use Checkbox or Button Group (Multiple) for multi-select.
Can a choice lower the price? Yes — enter a negative amount.
Why is there a blank first option? That’s the “Choose an option” placeholder; pair it with Required to force a real choice.
Does the price update live? Yes — the total updates the moment a choice is picked.
Conclusion #
Use the Dropdown when you need a single pick from a long list without cluttering the page. Set fixed or percentage pricing per choice, mark a default if needed, and the product page handles the math.


