
Overview #
Optiontics is a WooCommerce product add-on builder that adds custom options to your WP Cafe food menu. Restaurant owners use it to sell customizable dishes, build-your-own platters, and paid extras. Customers pick toppings, sizes, and sides from the menu itself, and the price updates before they add the item to the cart.
A plain WP Cafe food menu sends a fixed item straight to the cart. That works for a bottled drink, but not for a pizza with three topping choices or a party platter where the customer picks six items. Once Optiontics is active and an option set is assigned to your dishes, WP Cafe shows a Customize button on those menu cards and opens the option form in a popup, so the order reaches the kitchen with the exact choices attached.
No connection settings or bridge plugin sit between the two. The integration is automatic.

Requirements #
- WordPress 6.2 or newer, PHP 7.4 or newer.
- WooCommerce installed and active.
- WP Cafe installed and active, with a food menu on a page.
- Optiontics installed and active, see How to Install Optiontics.
- Optiontics Pro (optional): needed for option images, sale prices per option, and per-option quantity.
- WP Cafe Pro (optional): needed for the Pro menu shortcodes and widgets.
| New to the plugin? What is Optiontics explains the builder and its pricing model before you start. |
Step 1: Create an option set for your food items #
An option set is one group of add-on fields, for example a size choice plus a topping list. Build it once in Optiontics and point it at your dishes.
- Go to WP Admin → Optiontics → Options.
- Click Add Options, then pick Select Template, Start from Scratch, or Create with AI.

- Add your option fields in the builder and set a price on each choice.
- Click Publish. The Edit Product Selection window opens.
- Choose a Product Type: All Woo Products applies the set to every product with an optional exclude list, Specific Woo Products applies it to the dishes you pick, and Specific Woo Category applies it to whole menu categories such as Pizza or Desserts.
- Pick your dishes or categories, then click Update.
For a food menu, Specific Woo Category is usually the right choice. Every new dish you add to that category picks up the same add-ons with no extra setup. Product tag and brand assignments work the same way.
The full field list, price types, and conditional logic are covered in How to Create Product Options.

| Note: A draft option set never reaches the frontend. Publish it before you test the menu. |
Step 2: Check your WP Cafe food menu shortcode #
Nothing changes in the shortcode itself. It just has to be a WP Cafe food menu that renders product cards, since that is where the Customize button is placed.
These shortcodes support Optiontics add-ons.
WP Cafe (free)
[wpc_food_menu_tab]
[wpc_food_menu_list]
[wpc_food_location_menu]
WP Cafe Pro
[wpc_pro_food_menu_tab]
[wpc_pro_food_menu_list]
[wpc_pro_menu_slider]
[wpc_pro_menu_tab_with_slider]
[wpc_pro_food_menu_loadmore]
[wpc_pro_menu_category_list]
[wpc_pro_menu_location_list]
The Elementor and Bricks food menu widgets use the same rendering, so they work too.
Step 3: Test the menu on the frontend #
Open the page that holds your food menu and find a dish covered by the option set.
- The card shows a Customize icon in place of the plain cart icon.
- Click it. WP Cafe opens the product popup and the Optiontics form loads inside it.
- Make a few choices. The total updates as you select.
- Click Add to Cart, then open the cart.
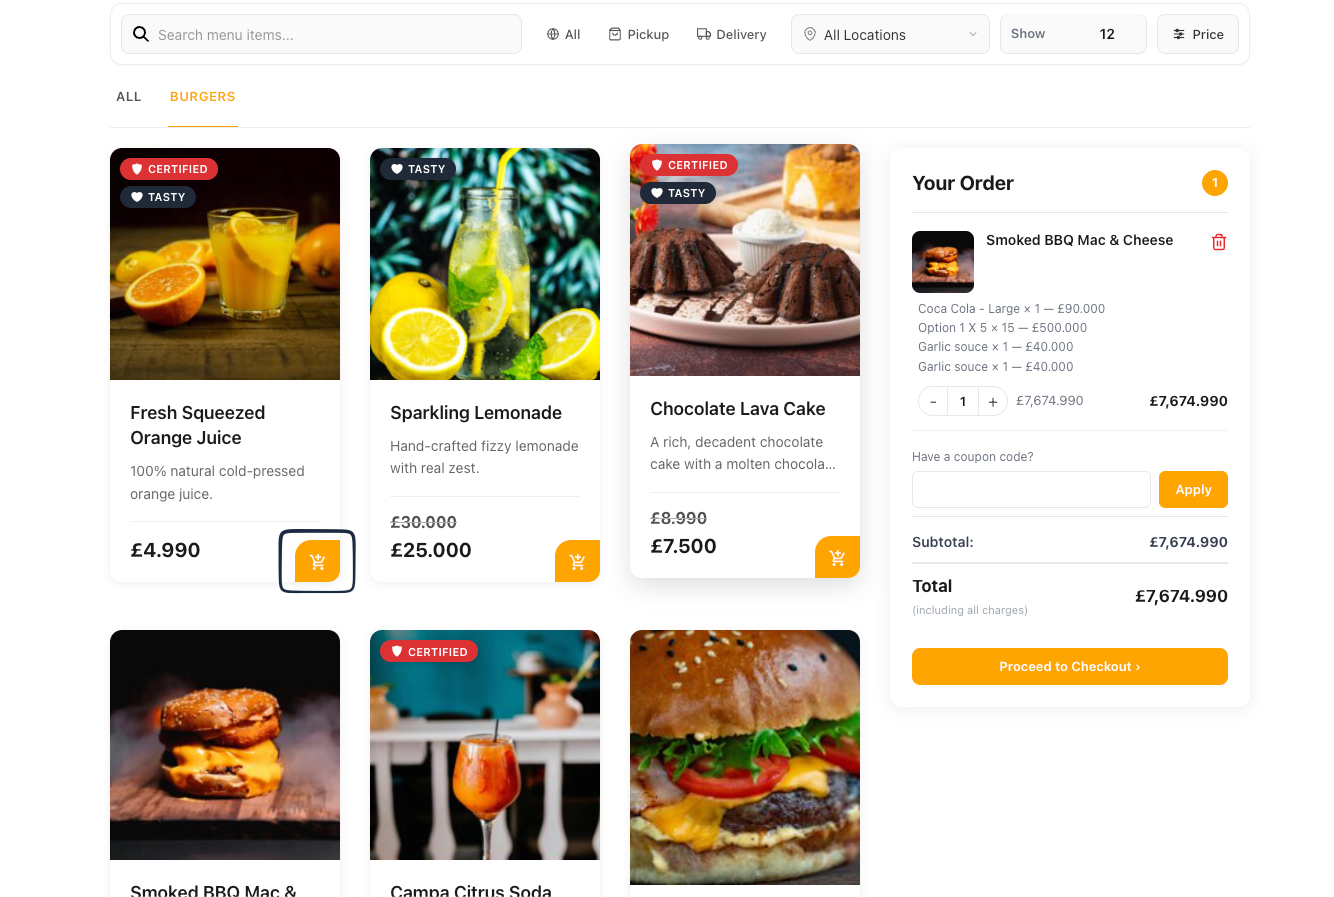
The selected options appear under the item name in the cart, at checkout, in the order email, and on the WooCommerce order screen, so the kitchen sees the exact request.

The Customize icon shows only when the dish is a simple product, is in stock, and has a published option set assigned to it. Variable dishes already use the WP Cafe variation popup, and the Optiontics form renders inside that same popup under the variation selectors.
Step 4: Set how the running total is displayed #
On the single product page, Optiontics can keep the total visible while the customer works through a long option form.
- Go to WP Admin → Optiontics → Settings.
- Open the Product Page tab.
- Turn on Enable sticky pricing.
- Choose a Price Display Style: Sticky Card keeps the total in a panel beside the form, and Floating Bottom Bar pins it to the bottom of the screen.
- Click Save Changes.

Frequently Asked Questions (FAQ) #
| Q1: My menu card still shows the normal cart icon instead of Customize. What is wrong?Check in this order: the option set is published and not a draft, the dish matches the product type you chose in Product Selection, the Add to Cart button is enabled in your WP Cafe menu settings, and the dish is a simple product that is in stock. Out-of-stock items keep the default button. |
| Q2: Can one option set cover my whole menu category?Yes. Choose Specific Woo Category when you publish the option set and pick your menu categories. Every dish in those categories gets the same add-ons, including dishes you add later, so a Pizza category can carry one shared topping list instead of a per-dish copy. |
| Q3: Do add-on prices work with discounts and the regular dish price?Yes. Optiontics calculates add-ons on top of the item price WooCommerce reports, so a discounted dish keeps its discount and the extras are added to it. Percentage-priced options are calculated from that same discounted base, not from the original list price. |
Conclusion #
Optiontics turns a fixed WP Cafe food menu into one customers can order from the way they actually eat, with extras, sizes, and notes priced correctly before checkout. Install Optiontics, publish one option set for a menu category, and the Customize button appears on your food menu.


