
Overview #
WPCafe Multivendor Addon for WCFM Marketplace connects WPCafe’s restaurant and food-ordering tools to WCFM, so every vendor can run their own restaurant right from the WCFM store dashboard. Each vendor manages only their own menu, products, food details, discounts, timed products, orders, and storefront — never another vendor’s — while the marketplace admin keeps full control through WCFM’s capability panel. In short, it turns a single-restaurant WPCafe site into a complete multi-vendor food marketplace.
Requirements #
This is a free addon that bridges two systems, so a few plugins must be active first. You’ll need WordPress 6.2+ and PHP 7.4+, along with these active plugins:
- WooCommerce — the store engine every product and order runs on.
- WPCafe — the restaurant and food-ordering toolkit.
- WCFM – WooCommerce Frontend Manager and WCFM – WooCommerce Multivendor Marketplace — the multivendor layer and store dashboard.
WPCafe Pro is optional. Install it only if you want per-vendor discounts, timed products, and receipt printing. Without Pro, those features simply stay hidden — nothing breaks.
Step 1: Install and Activate the Plugins #
Set up the dependencies first, then add the addon last so it has everything it needs to connect to.
- Install and activate WooCommerce, then WPCafe.
- Install and activate WCFM – WooCommerce Frontend Manager and WCFM – WooCommerce Multivendor Marketplace.
- (Optional) Install and activate WPCafe Pro for discounts, timed products, and receipt printing.
- Finally, install and activate WPCafe Multivendor Addon for WCFM Marketplace.
| Note: If a required plugin is missing, the addon stays inactive and shows an admin notice listing exactly what to install — so you’re never left with a broken site. |
Step 2: Open the Restaurant Settings Dashboard #
Vendors do everything from the WCFM store dashboard — no wp-admin access required.
- Log in as a vendor and open the Store Manager dashboard (for example,
your-site.com/store-manager/). - In the left menu, click Restaurant Settings.
- The WP Cafe restaurant panel loads right inside the WCFM dashboard.
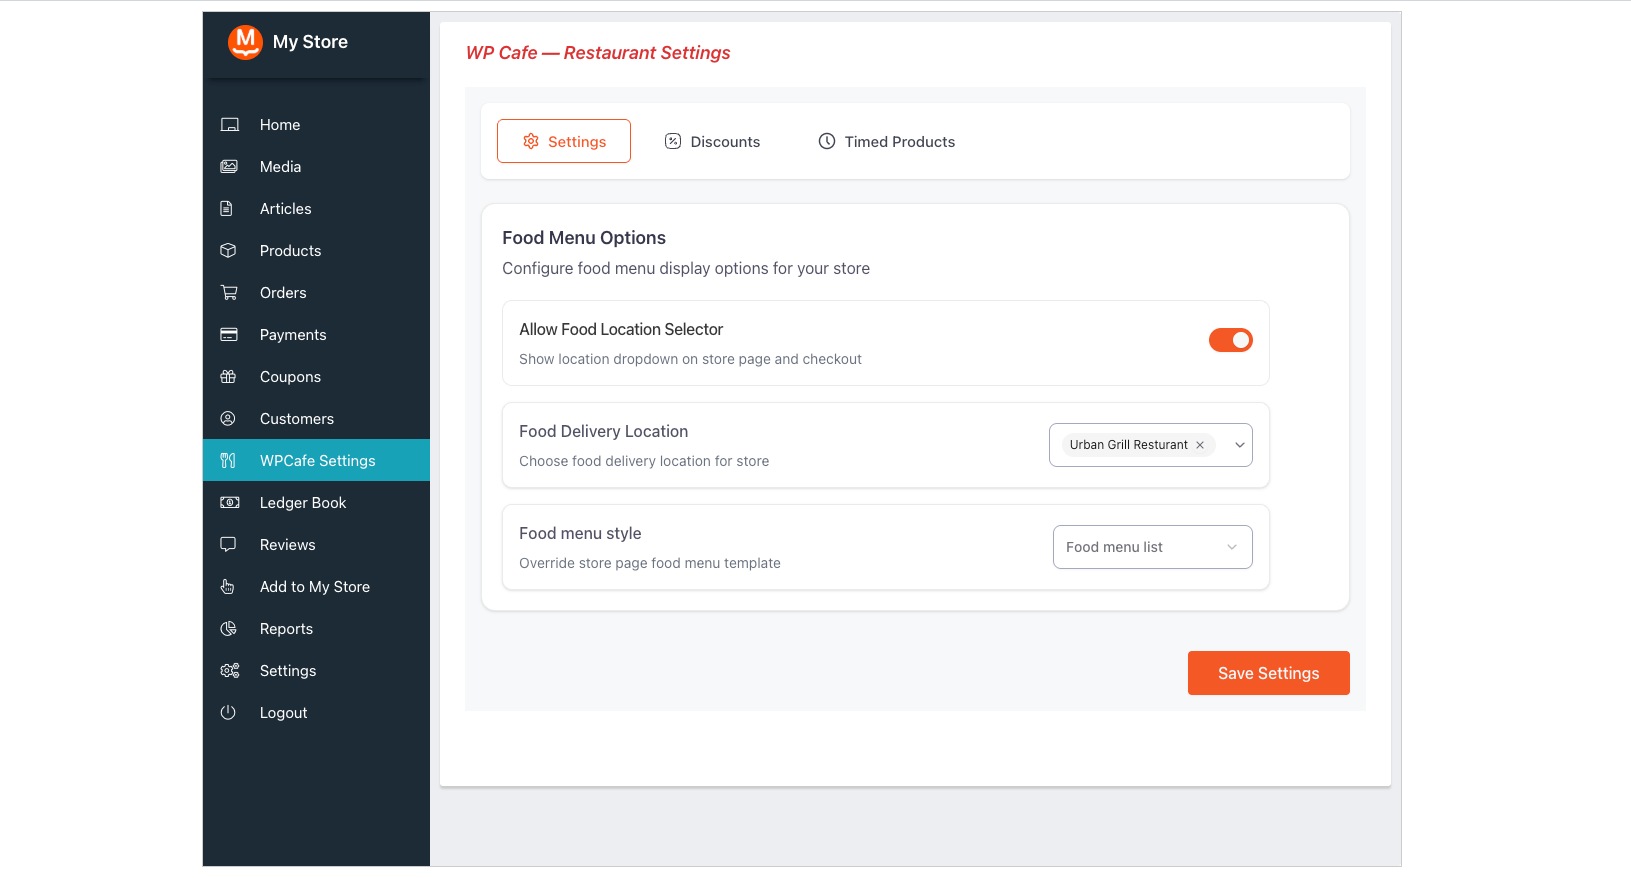
Step 3: Configure Your Restaurant Settings #
Decide how your restaurant behaves before you start adding products.
- Open the Settings tab.
- Choose your delivery locations. The list is pulled live from the WPCafe Locations API, so you can only pick from the locations the marketplace defines.
- Pick a food menu template for your public storefront menu.
- Click Save. Your choices are stored per vendor and never affect anyone else’s store.
Step 4: Add Products with WPCafe Food Fields #
Your WCFM products are ordinary WooCommerce products, so they sync automatically — you just get extra restaurant fields to fill in.
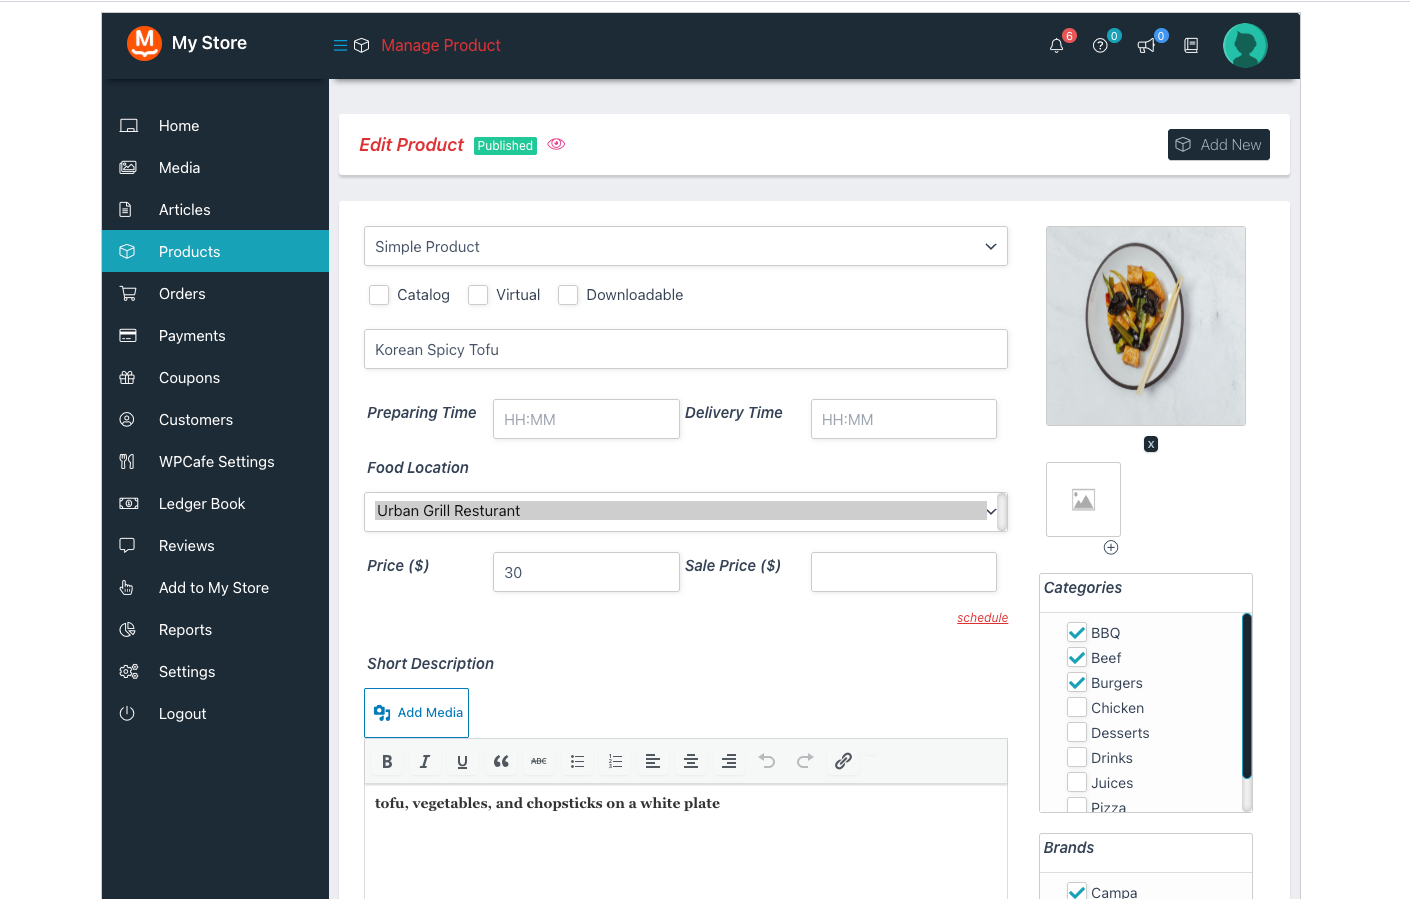
- Go to Products → Add New Product in the WCFM dashboard.
- Fill in the standard product details (title, price, image, and so on).
- In the general fields, set the WPCafe options: Preparing Time and Delivery Time (both require WPCafe Pro), and Food Location (limited to your allowed locations).
- Click Publish. The product appears in your storefront menu and stays scoped to your store only.
Step 5: Manage Discounts and Timed Products (Pro) #
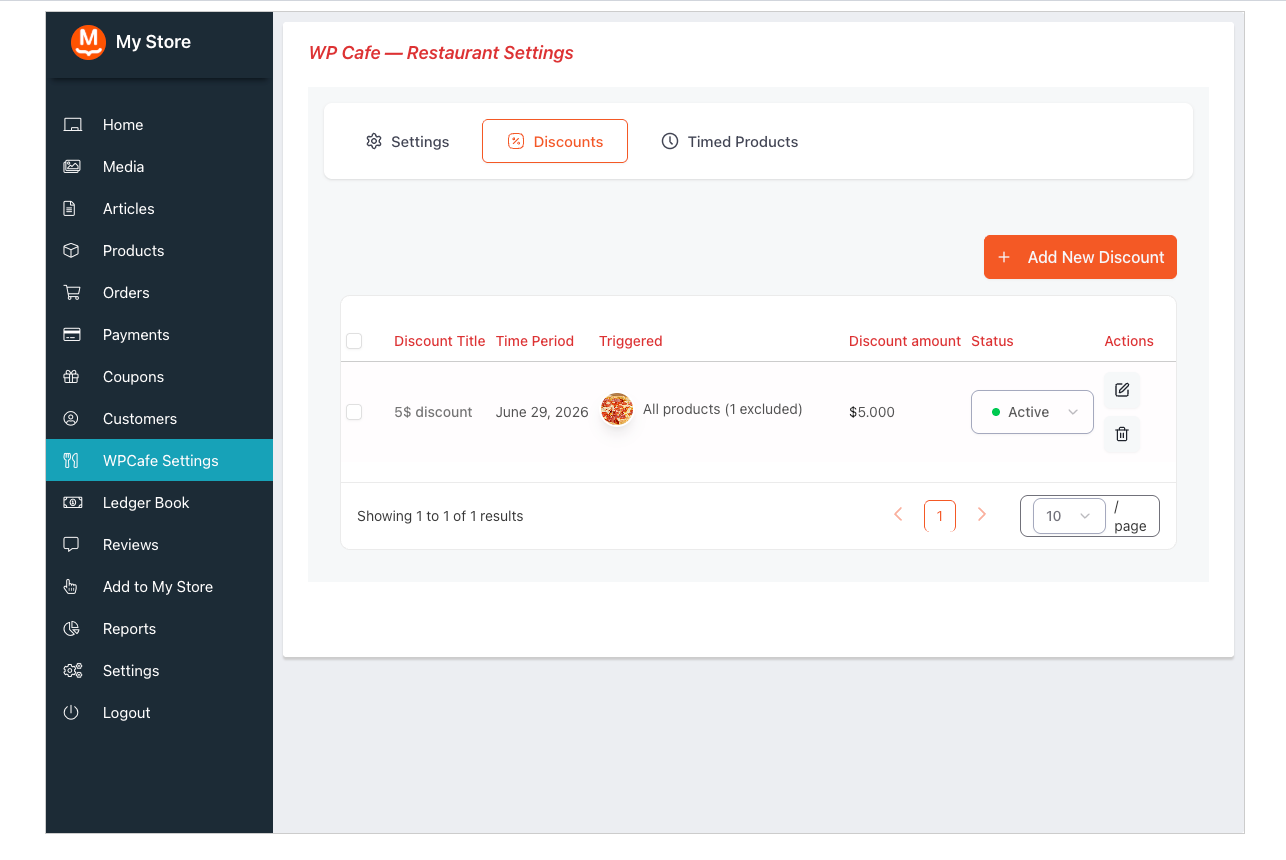
When WPCafe Pro is active and the admin has granted the capability, extra tabs appear in your Restaurant Settings.
- Open the Discounts or Timed Products tab.
- Create rules that apply only to your own products — you can’t target another vendor’s items.
- Click Save. Each rule is stamped to your store and enforced per vendor.
| Don’t see these tabs? They require WPCafe Pro and the admin must enable the matching capability for your store (see the admin note at the end). |
Step 6: Sell and Show Vendor Branding on the Storefront #
Once your products are live, customers see your restaurant across the shop.
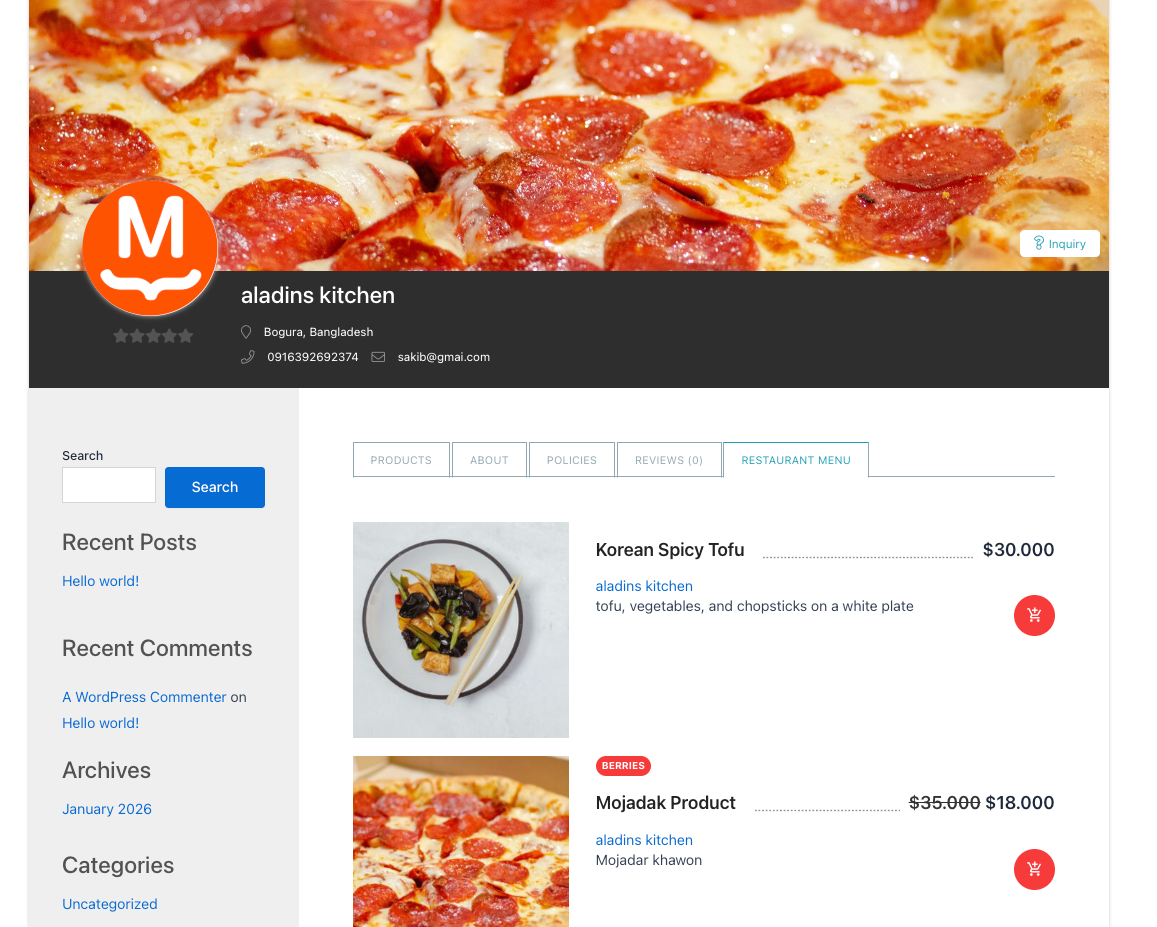
- Your store page gains a Restaurant Menu tab that lists only your published products as a WPCafe food menu. You’ll find it at your store URL — for example,
your-site.com/store/vendor-slug/. - On food-menu cards — and in the cart and at checkout — your store name appears, so customers always know who they’re ordering from.
- At checkout, customers pick a delivery location for your items from the locations you enabled.
Tip: The vendor name shows on food-menu shortcodes only when Show Vendor is enabled for that menu. Turn it on in the Elementor widget, or add wpc_show_vendor="yes" to the shortcode. You’ll find your store slug on your profile page. |
Step 7: Print Order Receipts (Pro) #
Print any of your own orders straight from the WCFM dashboard.
- Go to Orders in the WCFM dashboard.
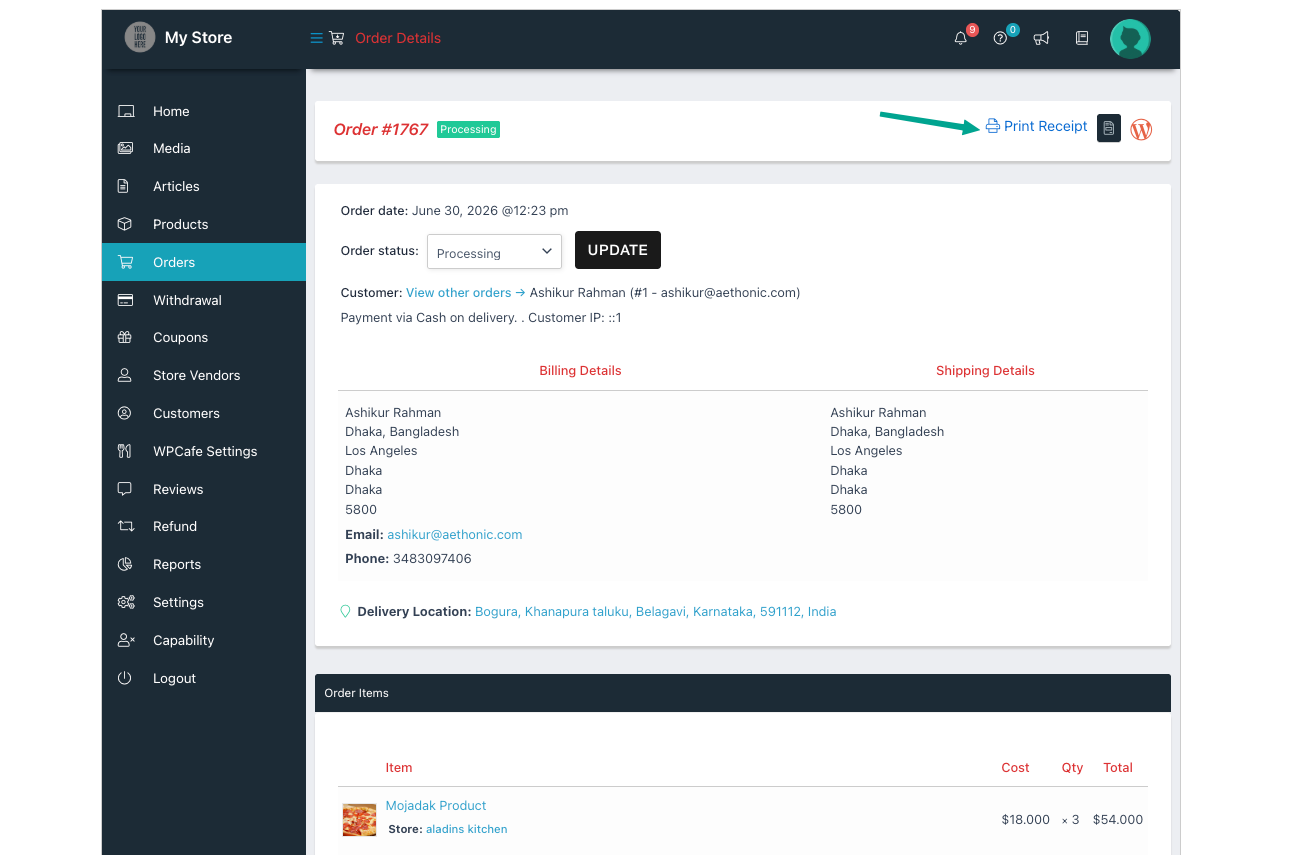
- Click the Print Receipt icon on an order row, or open the order and use the Print Receipt button.
- The receipt opens and prints using the layout the admin set up in WPCafe. You can only print orders that belong to your store.
| Note: Receipt layouts are designed by the marketplace admin in WPCafe. Vendors print with them but don’t create their own. |
Frequently Asked Questions #
| Q1: Why are the Discounts and Timed Products tabs missing from my Restaurant Settings? They appear only when WPCafe Pro is active and the marketplace admin has granted you the matching capability. If Pro is active but a tab is still hidden, ask the admin to enable “Manage food discounts” or “Manage timed products” for your store in the WCFM capability panel. |
| Q2: I added a food menu, but the vendor name isn’t showing on the cards — why? The vendor name is controlled by the menu’s “Show Vendor” option, which is off by default. Turn on Show Vendor in the Elementor widget, or add wpc_show_vendor="yes" to the shortcode. Note that admin-owned products intentionally show no vendor name, since they belong to the shop rather than a vendor. |
| Q3: Can the admin manage each vendor’s discounts and timed products? Yes. Every WPCafe vendor feature is gated through WCFM’s capability panel (WCFM Settings → Capability → Vendor Products). The admin toggles “Set food meta”, “Manage food discounts”, and “Manage timed products” per the marketplace’s needs. When a capability is off, the vendor can’t use or even see that feature. |
Conclusion #
WPCafe Multivendor Addon for WCFM Marketplace lets each vendor run a self-contained restaurant inside your marketplace WPCafe’s full food-ordering toolkit, scoped per vendor, with the admin in control of every capability.


