How to Customize Event Tickets with Add-ons Using Eventin and Optiontics


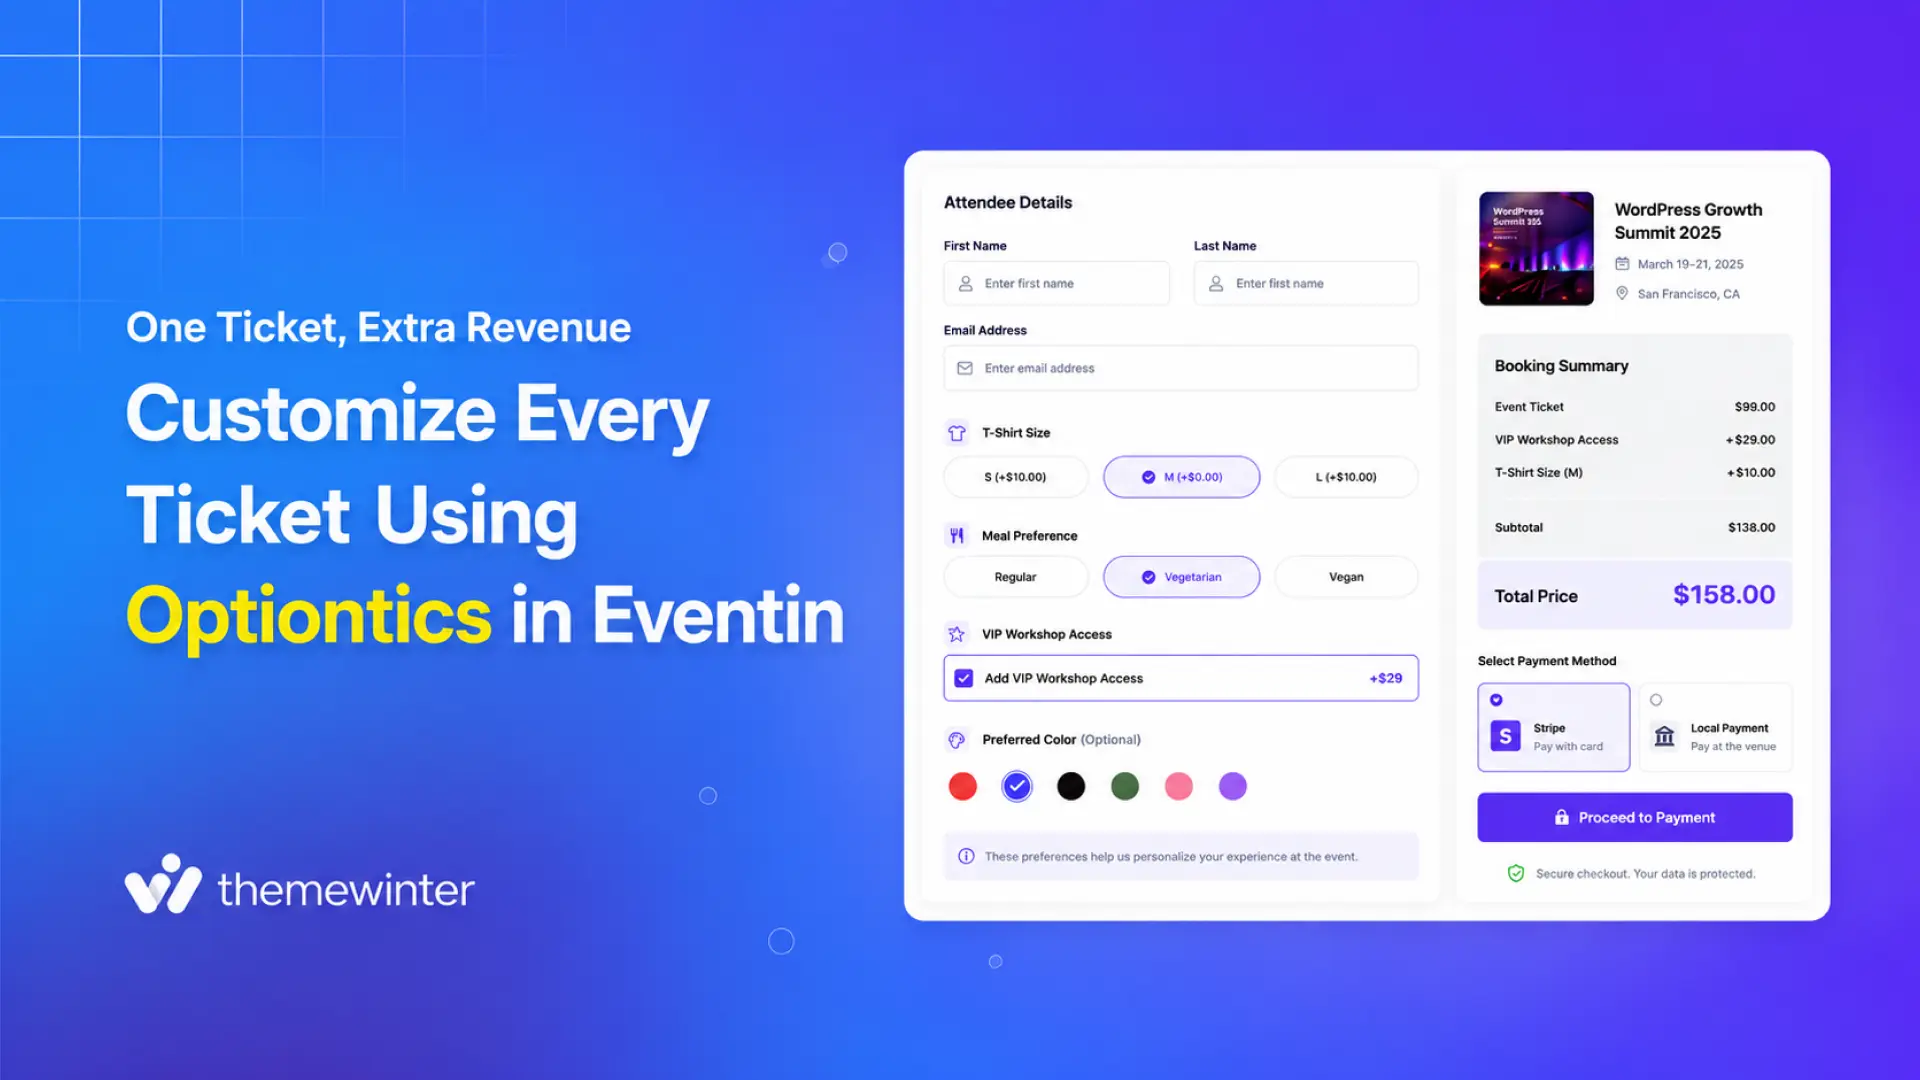
Table of Contents
Many event organizers want to customize event tickets, but most setups stop at basic ticket sales. While attendees can complete their registrations, there’s often no way to add merchandise, meal preferences, workshop access, or other optional upgrades to a ticket. As a result, organizers may miss additional revenue opportunities, while attendees have fewer ways to personalize their booking experience.
Eventin and Optiontics let you customize event tickets with paid add-ons, attendee-specific questions, merchandise, meal choices, workshops, and other optional selections. Eventin manages events, tickets, and registrations, while Optiontics adds custom fields, additional prices, display conditions, and attendee choices through reusable Option Blocks.
In this guide, you’ll learn how to customize Eventin tickets, collect attendee-specific choices, and create additional revenue opportunities with optional add-ons using Eventin and Optiontics.
Key Takeaways
After integrating Eventin with Optiontics, you can:
- Create personalized ticket booking experiences for every attendee.
- Sell optional add-ons that can help increase event revenue.
- Offer workshops, meals, merchandise, and VIP upgrades in one checkout.
- Let each attendee choose their own preferences during group bookings.
- Reuse Option Blocks to save time across multiple events.
- Display live pricing updates before checkout.
- Manage advanced event registrations without coding knowledge.
What Is the Eventin and Optiontics Integration?
The Eventin and Optiontics integration adds customizable options to the Eventin ticket-booking process. Eventin manages events, tickets, and attendee registrations, while Optiontics adds reusable Option Blocks containing custom fields, paid add-ons, pricing rules, and attendee choices. This event ticket customization setup keeps the main ticket and optional attendee choices within the same registration process.
This allows organizers to offer merchandise, meals, workshops, VIP upgrades, and other options during registration without creating a separate checkout process.
What Is Eventin?
Eventin is a WordPress event management and ticketing plugin that helps you create events, sell WooCommerce event tickets, manage attendees, and host in-person, virtual, or hybrid events from a single dashboard.
Its AI features help reduce manual work by generating event titles, descriptions, and featured images, allowing organizers to create professional event pages much faster before managing registrations, tickets, and attendees.
What Is Optiontics?
Optiontics is a WooCommerce product options plugin that lets you add customizable choices without writing code. Using reusable Option Blocks, you can add dropdowns, checkboxes, swatches, conditional logic, and additional pricing to products and supported Eventin tickets.
Its AI Commands feature can generate option fields from written instructions. You can use the generated fields as a starting point, customize the Option Block, and reuse it across supported products or Eventin events.
Why Should You Use Optiontics to Customize Eventin Tickets?
You should use Optiontics with Eventin when you need to offer ticket add-ons, collect attendee-specific choices, or adjust the booking price based on selected options. These choices appear within the event registration process, so attendees do not need separate product pages or follow-up forms.
If you are exploring how to increase event revenue, relevant ticket add-ons can create additional purchase opportunities during registration.
With the Eventin and Optiontics integration, you can:
- Sell ticket add-ons and event merchandise.
- Offer workshops, meal upgrades, and other premium options.
- Collect attendee-specific information during registration.
- Use dynamic pricing that updates automatically based on selected options.
- Reuse Option Blocks across multiple events to save time.
For example, imagine you’re selling a conference ticket for $149. During checkout, an attendee adds a VIP networking dinner (+$40), an AI workshop (+$60), and an event T-shirt (+$25). Instead of purchasing each upgrade separately or filling out follow-up forms, everything is selected and purchased during a single checkout, and the total updates automatically to $274.
This keeps the ticket and selected upgrades in one booking while giving organizers an opportunity to earn additional revenue from relevant add-ons.
How Do Eventin and Optiontics Work Together
While Eventin manages events, tickets, and attendee registrations, Optiontics extends the ticket booking experience with advanced customization. Instead of replacing Eventin’s ticketing system, it enhances it by adding flexible ticket options, dynamic pricing, and attendee-specific fields directly to the registration flow.
The comparison below shows how each plugin contributes to the overall booking experience.
| Capability | Eventin | Optiontics | Together |
|---|---|---|---|
| Event creation | ✅ Create and manage events | — | Complete event setup |
| Ticket management | ✅ Create and sell tickets | Extends ticket functionality | Flexible ticket booking |
| Ticket customization | Basic ticket setup | ✅ Add custom fields, add-ons, and conditional logic | Personalized event tickets |
| Dynamic pricing | Standard ticket pricing | ✅ Live pricing based on selected options | Transparent checkout |
| Attendee information | Basic registration details | ✅ Collect custom attendee preferences | Better event planning |
| AI features | AI-generated event titles, descriptions, and featured images | AI Commands for generating Option Blocks | Faster event and ticket setup |
| Revenue opportunities | Ticket sales | Upsells, upgrades, and paid add-ons | Additional revenue opportunities per registration |
Use Cases for Customizing Event Tickets with Eventin and Optiontics
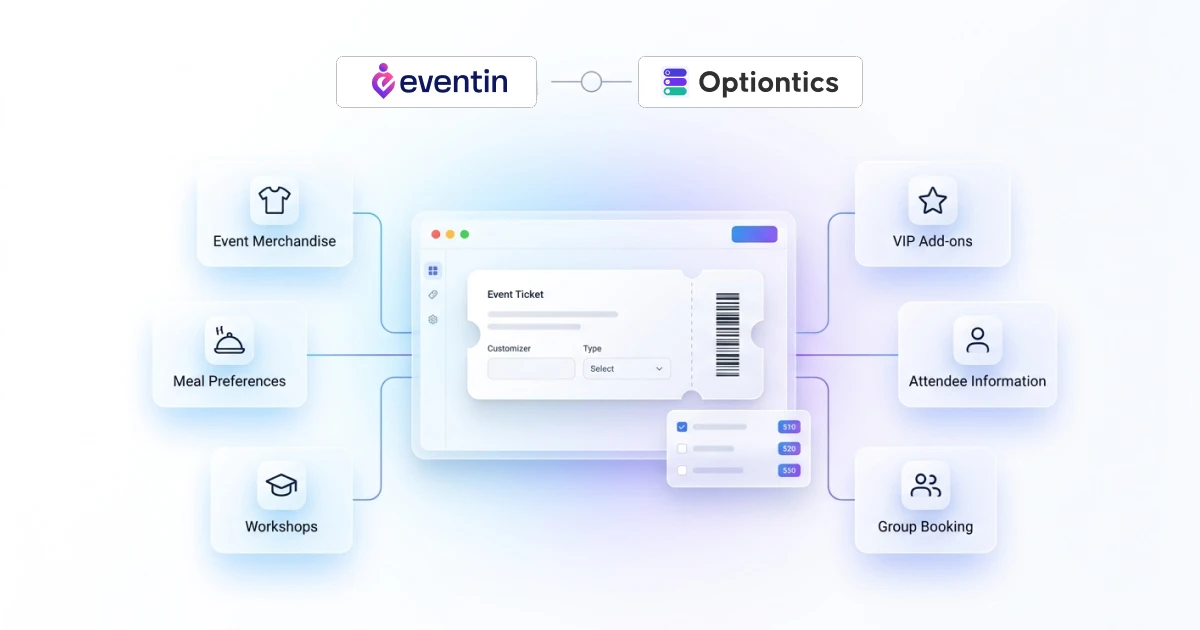
Different events require different ticket options. A conference may offer workshops and networking dinners, while a music festival might sell camping passes and merchandise. With Eventin and Optiontics, you can build these experiences into the ticket booking process, allowing attendees to personalize their registrations during a single checkout.
Sell Event Ticket Add-ons and Merchandise
Instead of sending attendees to a separate store, you can offer event merchandise during registration, including T-shirts, hoodies, souvenir lanyards, and printed event guides. Attendees can select the items they want and pay for them together with their tickets.
Offer Meal Preferences and Premium Dining
Collect meal preferences during registration while offering premium dining upgrades such as VIP Gala Dinner access. Attendees can choose Standard, Vegan, or Gluten-Free meals, and dynamic pricing updates the total automatically as selections change.
Sell Workshops and Premium Sessions
Let attendees upgrade their tickets by adding workshops, masterclasses, hands-on training sessions, or VIP breakout sessions during registration. Everything is purchased in one booking flow without creating separate products or checkout processes.
Offer Event Perks and Convenience Add-ons
Offer optional extras such as VIP parking, early entry, reserved seating, welcome kits, or translation headset rentals. Relevant add-ons can make registration more useful for attendees and create additional revenue opportunities for organizers.
Collect Additional Attendee Information
Use Option Blocks to collect attendee-specific information such as company names, job titles, emergency contacts, accessibility requirements, or any other event-specific details. All information stays connected to the booking, making event planning easier without relying on follow-up emails or separate forms.
One Booking, Multiple Attendees, Personalized Choices
When one person buys multiple tickets, every attendee doesn’t need the same preferences. The Eventin and Optiontics integration supports per-attendee customization, allowing each attendee to personalize their own registration within a single booking.
Imagine a company registering four employees for a conference. Each attendee has different preferences, and each one can make their own selections during checkout.
| Attendee | T-Shirt | Meal | Workshop |
|---|---|---|---|
| Attendee 1 | Small | Vegetarian | Day 2 Masterclass |
| Attendee 2 | Large | Standard | None |
| Attendee 3 | Medium | Vegan | Premium Workshop |
| Attendee 4 | XL | Gluten-Free | None |
Everything is completed in a single checkout and a single payment. There’s no need for follow-up emails or separate forms to collect attendee preferences later.
This gives each attendee control over their own selections during a group registration. Instead of applying one set of choices to the full order, the booking can record separate preferences for each attendee.
How to Set Up Eventin and Optiontics
Before you begin, install and activate Eventin, Optiontics, and WooCommerce on the same WordPress website. Update all three plugins, then create the Eventin event and tickets you want to customize.
1. Create an Option Block for the Event Ticket
Go to Optiontics → Option Blocks → Add New. Enter a clear name that identifies its purpose, such as Conference Ticket Add-ons.
The Option Block will contain the choices you want to display during event registration. These may include T-shirt sizes, meal preferences, workshop access, merchandise, or other attendee options.
2. Add and Configure the Ticket Options
Add the fields attendees will use to customize their registration. Depending on the option, you can use dropdowns, checkboxes, radio buttons, swatches, text fields, or other supported field types.
For example, you can add:
- A size selector for event T-shirts
- A dropdown for meal preferences
- A checkbox for VIP workshop access
- A text field for attendee requests
Open Manage Items to enter the available choices. If an option costs extra, assign an additional price to it. You can also make fields required and add display conditions where needed. Save the Option Block when the setup is complete.
3. Connect the Option Block to an Eventin Event
Go to Eventin → Events and edit the event you want to customize. Open the Advanced tab and enable the Optiontics Integration.
Select the Option Block you created, then save or update the event. The selected fields will now be connected to that event’s registration process.
4. Test the Ticket-Booking Experience
Visit the event registration page and complete a test booking. Confirm that the Optiontics fields appear correctly and that attendees can select the available choices.
Test both free and paid options. When you select a paid add-on, check whether the displayed booking total and final WooCommerce order total match the prices configured in Optiontics. You should also test required and conditional fields before accepting registrations.
For screenshots and more detailed instructions, follow the official Eventin and Optiontics integration documentation.
How Can You Check Add-on Pricing Before Accepting Bookings?
After assigning an Option Block, complete a test booking before publishing the event. Select both free and paid options, confirm that the displayed total changes correctly, and compare the final WooCommerce order total with the prices configured in Optiontics.
You should also test required fields, conditional options, multiple-ticket bookings, and any available coupons or taxes. This helps you confirm that the ticket and add-on pricing works correctly with your current plugin versions and checkout settings.
Key Benefits of the Eventin and Optiontics Integration
The Eventin and Optiontics integration adds attendee choices, paid upgrades, and custom fields to the ticket-booking process. Here are its main benefits.
Deliver Personalized Ticket Experiences
Allow attendees to customize their registrations with workshops, meals, merchandise, seating preferences, and other optional upgrades, all during checkout.
Create Additional Revenue Opportunities
Offer paid add-ons and premium upgrades during ticket registration instead of directing attendees to separate product pages. Revenue will depend on the relevance, pricing, and demand for the options you offer.
Launch Events Faster
Create reusable Option Blocks for common ticket options and assign them across multiple events, reducing repetitive setup work.
Make Pricing Transparent
Dynamic pricing updates instantly as attendees select optional services, helping them understand the total cost before completing their purchase.
Build Advanced Registration Forms Without Code
Collect attendee-specific information, configure conditional options, and manage complex ticket customization through an intuitive visual interface.
Who Should Use This Integration?
The Eventin and Optiontics integration is ideal for anyone who wants to customize Eventin tickets, collect attendee preferences, and offer ticket add-ons without custom development.
- Event organizers and promoters who want to offer relevant paid add-ons within the ticket-booking process
- Conference & Corporate Event Planners who need precise, per-person data like meal choices and workshop scheduling
- Workshop & Training Providers offering optional sessions alongside a base ticket
- WordPress Site Owners who want flexible ticket customization without hiring a developer
- WordPress Agencies & Developers building event sites for clients who need scalable add-ons without custom code
- Existing Eventin users who want to add paid upgrades and attendee-specific choices to their current booking setup
Frequently Asked Questions
What Can You Add to Eventin Tickets with Optiontics?
You can add merchandise, meals, workshops, VIP upgrades, parking, accessibility requests, and attendee-specific questions. You can also add extra prices to selected options.
How Do Eventin and Optiontics Work Together?
Eventin manages events, tickets, and registrations. Optiontics adds custom fields, paid add-ons, pricing rules, and attendee choices through Option Blocks.
Do You Need WooCommerce for This Integration?
Yes. Eventin, Optiontics, and WooCommerce must be active on the same WordPress website.
Can You Add Paid Options to Eventin Tickets?
Yes. You can add paid options such as merchandise, VIP access, workshops, parking, reserved seating, and meal upgrades.
Can You Collect Information from Each Attendee?
Yes. Each attendee can submit individual choices and preferences during registration, including within a group booking.
Can You Display Options Based on Previous Selections?
Yes. Conditional fields let you show or hide options based on an attendee’s previous selection.
Can You Add Optiontics to an Existing Eventin Event?
Yes. Enable the integration in the existing event, select an Option Block, save the changes, and complete a test booking.
Can You Use Different Option Blocks for Different Events?
Yes. You can select a suitable Option Block for each Eventin event.
Do Attendees Select Add-ons on a Separate Page?
No. Attendees can select available add-ons during the event registration process.
Do You Need Coding Skills?
No. You can create fields, set prices, and configure display conditions from the WordPress dashboard.
How Can You Test Add-on Pricing?
Complete a test booking and compare the displayed total and WooCommerce order total with the prices set in Optiontics.
How Do Refunds Work for Paid Add-ons?
Refunds depend on how tickets and add-ons appear in the WooCommerce order. Test full and partial refunds before accepting bookings.
Final Thoughts
Conferences, workshops, festivals, corporate events, and training sessions often require more than a standard ticket selection. Attendees may need to choose meals, workshops, merchandise, accessibility options, or paid upgrades during registration.
Eventin provides the event management and ticketing system, while Optiontics adds reusable Option Blocks, additional pricing, conditional fields, and attendee-specific choices. Together, they allow organizers to manage tickets and optional selections within the same registration process without custom coding.
If you already use Eventin, you can get started with these steps:
- Update Eventin, Optiontics, and WooCommerce to their latest available versions.
- Create and configure an Option Block in Optiontics.
- Enable the Optiontics integration in the relevant Eventin event.
- Select the Option Block and save the event settings.
- Complete a test booking before accepting registrations.
- Follow the official documentation if you need screenshots or detailed instructions.
Start offering customizable event tickets that give attendees more choices and allow you to include relevant paid add-ons.

