How to Run Continuing Education Events with WordPress


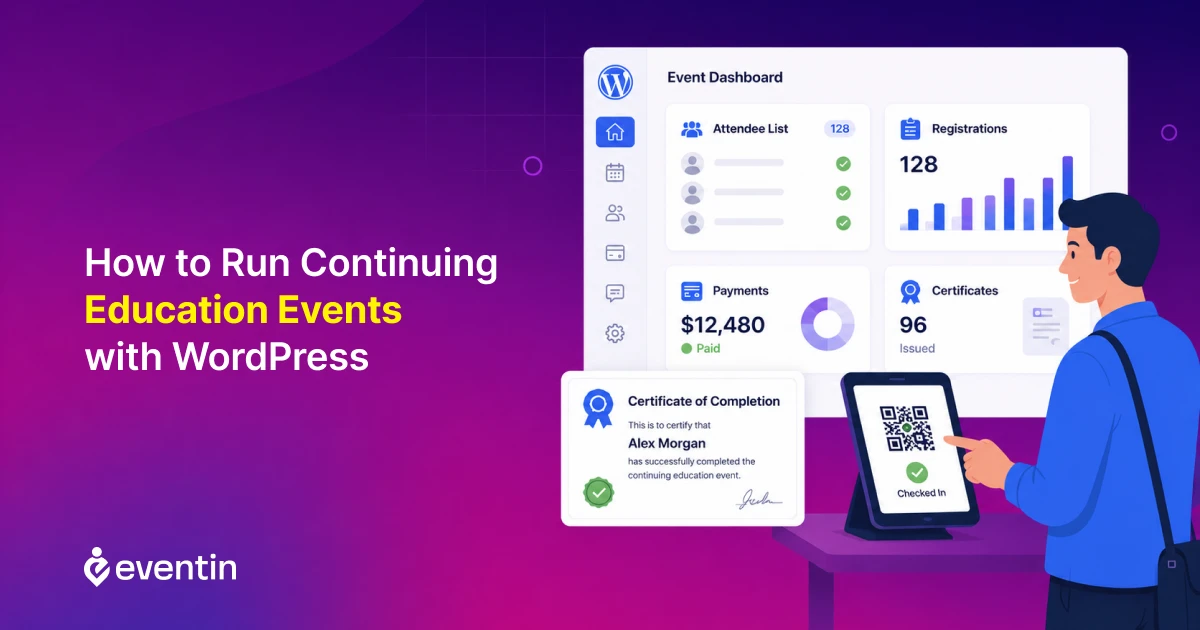
Table of Contents
Running a continuing education event often means using several tools. You may collect registrations through a form, process payments elsewhere, track attendance in a spreadsheet, and create certificates by hand.
That setup may work for a small group. But as registrations grow, it becomes harder to answer simple questions: Who paid? Who attended? And who completed the requirements?
You can manage a continuing education event in WordPress without separating every task. Eventin connects registration, ticket sales, schedules, and attendee records in one place. With Eventin Pro, you can also use QR check-in and create custom certificates.
The workflow looks like this:
Create → Register → Pay → Check in → Review → Certify → Export
This guide focuses on scheduled CE (continuing education), CME (continuing medical education), and CPD (continuing professional development) events. If your program also includes lessons, quizzes, learning progress, or credit renewals, you may need an LMS alongside Eventin.
Should You Use an Event Plugin or an LMS?
Use an event plugin for training that takes place on a fixed date. Use an LMS when learners complete a course over time.
Suppose you are running a one-day medical workshop. People need to book a seat, pay, follow a session schedule, check in, and receive a certificate after meeting your requirements. In this case, you need an event plugin.
Now imagine that people must watch lessons, complete quizzes, and pass a final assessment at their own pace. That process needs an LMS.
Here is the difference:
| Use an event plugin for | Use an LMS for |
|---|---|
| Live or scheduled training | Self-paced courses |
| Registration and tickets | Lessons and assessments |
| Capacity and schedules | Learning progress |
| QR code check-in | Earned-credit records |
| Event certificates | Credit expiry and renewal |
Some training programs need both.
For example, Eventin can manage registration and check-in for a live workshop. An LMS can then provide a follow-up assessment and track each learner’s progress.
Before choosing your setup, ask:
Do you only need to run the event, or do you also need to track learning after it?
If your process ends with attendance review and a completion certificate, Eventin may cover the main workflow.
When you also need course content, assessments, progress tracking, or credit renewal, you can connect Eventin with Tutor LMS. This integration lets you manage training events with Eventin and handle course enrollment and learning activities through Tutor LMS within a connected workflow.
How Do You Set Up a Continuing Education Event with Eventin?
To set up a continuing education event in WordPress with Eventin, first decide who can register and what they must do to receive a certificate. Then configure the event page, tickets, attendee details, check-in process, and certificate delivery around those requirements.
Prefer a visual walkthrough? Watch the video below to learn how to run continuing education events with WordPress and manage the workflow using Eventin.
Step 1: Set Your Completion Requirements
Decide what “completed” means before you publish the event.
For a short workshop, full attendance may be enough. A longer program may require people to join certain sessions or pass an assessment.
Explain these requirements on the event page. Attendees should know what they must do before they register.
Eventin can record registrations and, with Pro, QR check-ins. Your team decides who completed the event. The relevant professional body decides who qualifies for CEU, CME, or CPD credit.
Step 2: Create the Training Event
Install Eventin and create a new event in WordPress.
Add the event title, date, time, location, and a clear description. Explain what people will learn and who should attend.
You can set the event as in-person, online, or hybrid. For an online event, add your Zoom, Google Meet, or custom meeting details based on your Eventin setup.
You can also select a pre-made design from Eventin’s Template Builder and customize it with your event title, schedule, speakers, location, and ticket information. See the Eventin Template Builder documentation for setup instructions.
If the event offers approved credits, include only the information provided by the relevant professional body. Keep the page easy to scan so people can understand the purpose, schedule, format, and completion requirements before registering.
Step 3: Add Instructors and Sessions
Add a short profile for each instructor. Include their role, experience, and area of knowledge.
Next, create the event schedule. Show each session’s topic, time, and instructor. For multi-day training, organize the schedule by date.
Clearly label any required session. Eventin can display the complete schedule, but it does not confirm whether an attendee joined every session. If you need session-level attendance, use a separate record for that purpose.
Step 4: Create the Registration Form
Your professional training registration form should collect only the information you need.
Start with the attendee’s name and email. With Eventin Pro’s extra fields, you can also collect details such as an organization, job title, membership ID, license number, or session choice.
If the registered name will appear on the certificate, ask attendees to enter it exactly as they want it displayed. This small instruction can prevent many certificate corrections later.
The buyer and attendee may also be different people. Make sure each booked seat contains the actual attendee’s details, not only the buyer’s billing information.
Step 5: Create Tickets and Set Capacity
Create ticket types based on pricing or access, such as free registration, standard admission, early-bird tickets, or member rates. Set a clear price, sales period, and capacity for each ticket type.
Limit ticket availability based on your venue size, instructor capacity, or accreditation requirements. If seats are limited, enable Eventin’s waiting list so interested attendees can join after tickets sell out. This helps you fill available places when someone cancels.
Step 6: Send Confirmation and Reminder Emails
Send a confirmation after each successful registration.
Include the event date, arrival time, location or meeting link, ticket details, and preparation instructions. Attendees should be able to find the most important details within a few seconds.
Send a reminder before the event. If you use Eventin Pro’s QR check-in, explain where attendees should show their QR tickets at the entrance.
Step 7: Record Attendance with QR Check-In
Eventin Pro creates a unique QR code for each attendee ticket. Your team can use a QR code event check-in at the entrance to validate the ticket and record the attendee’s arrival.
Test the process before the event. Scan a sample ticket and confirm that your internet connection works. Ticket scanning requires an active connection to validate attendees.
You should also decide how your team will handle walk-ins, missing tickets, or duplicate scans. Eventin can identify a ticket that has already been used.
A QR check-in confirms arrival, not full course completion.
Step 8: Review Attendance and Participation
fter the event, compare the check-in records with the completion requirements you set in Step 1.
A person may register without attending. Another person may check in but leave before completing a required session.
If your rules include attendance duration, session participation, or assessments, collect that evidence through your webinar platform, session records, or LMS. Eventin does not automatically track these learning requirements.
Review all available information before deciding who should receive a certificate.
Step 9: Generate Completion Certificates
After reviewing completion, use the Eventin certificate builder to create your certificate.
Include the attendee’s name, event title, completion date, training duration, provider details, and certificate number. Add CEU (continuing education unit) or CME details only when the relevant professional body has approved them.
Create and review a sample before sending certificates. Check the names, dates, duration, and credit information carefully.
Eventin can send certificates to all attendees or only those marked as checked in. If your completion rules go beyond check-in, review the final recipient list before sending them.
This lets you manage event certificates without installing a separate CE certificate plugin.
Step 10: Export and Store Attendee Records
After the event, export the available attendee data from Eventin in CSV or JSON format. You can also follow these practices tomanage event attendees in WordPress more effectively.
The attendee dashboard can help you review details such as the event, payment status, ticket status, and check-in records. Store this export with any separate assessment, completion, and certificate records kept by your organization.
Use a clear file name that includes the event title and date. For example:
medical-workshop_2026-07-19_attendee-records.csv
Keep the records in a secure location. Follow the retention rules set by your professional body and local regulations.
How to Use Eventin for CME and Medical Training Events
Eventin can support the event side of CME event management. You can use it for scheduled medical workshops, clinical training, healthcare webinars, conferences, and hybrid sessions.
However, Eventin does not approve CME credits or accredit medical training. Your organization must receive the required approval and set the completion rules.
Collect the Right Attendee Information
Medical training providers may need more than a name and email address. With Eventin Pro’s extra fields, you can also collect a medical license number, department, organization, professional role, or session choice.
Only ask for information you need for registration or reporting. Avoid collecting sensitive medical or personal data through the event form.
Support In-Person, Online, and Hybrid Training
You can create separate ticket options for in-person and online attendees. This makes it easier to set different prices, capacity limits, and access instructions.
For virtual training, Eventin supports Zoom and Google Meet integrations. Google Meet requires Eventin Pro. You can also use a custom meeting link based on your setup.
Keep Participation Records Connected
Eventin keeps registration, ticket, and payment information linked to the same attendee. With Eventin Pro, you can also include QR check-in records in this workflow. You can then export the available attendee data for internal reporting.
If your CME program requires attendance duration, session completion, or assessment results, collect those records through your webinar platform or LMS. Review them with Eventin’s check-in data before sending certificates.
This gives you a clearer event record without treating Eventin as a CME accreditation or credit-tracking system.
What Eventin Can and Cannot Manage
Eventin manages the event workflow. Your organization or professional body remains responsible for learning requirements, credit approval, and compliance.
| Eventin can manage | Eventin does not manage |
|---|---|
| Free and paid registration | CEU or CME credit approval |
| Multiple tickets and capacity | Credit-hour calculation |
| Attendee information | Professional accreditation |
| QR code check-in with Pro | Attendance duration |
| Certificate creation with Pro | Automatic completion decisions |
| Attendee data export | Credit expiry and renewal |
| Online and hybrid event setup | Regulatory compliance |
Best Practices for Running Continuing Education Events
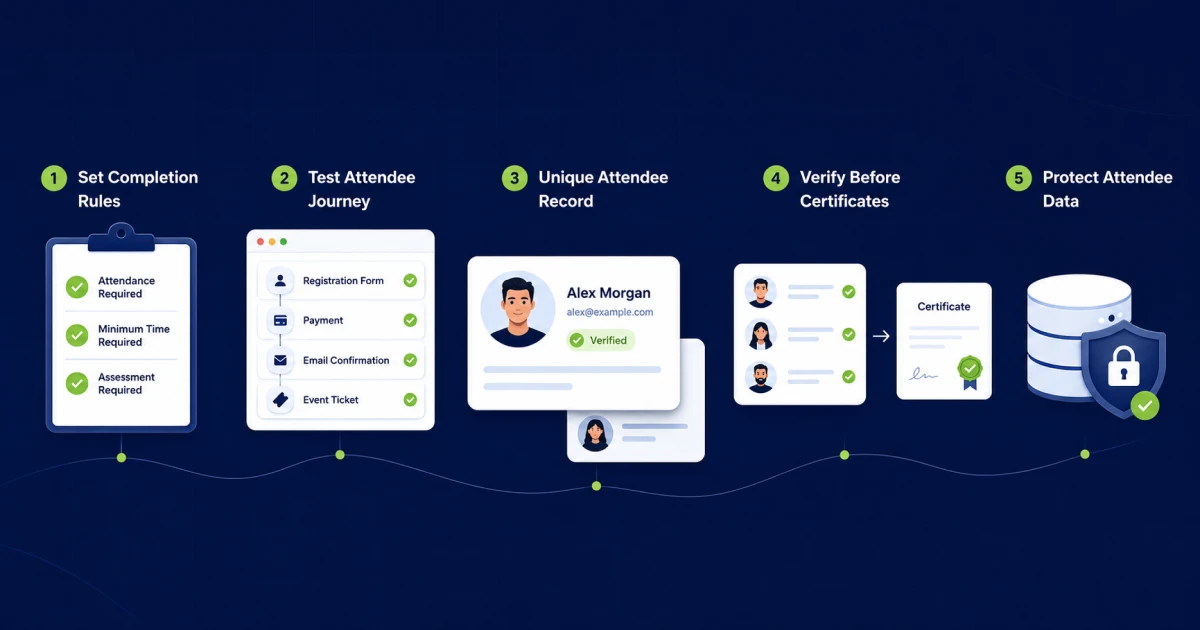
A working setup is not enough. You also need clear rules, tested processes, and accurate records.
Publish the Completion Rules Early
Tell attendees what they must complete before they register. If they need to attend every session, stay for a minimum time, or pass an assessment, state it clearly on the event page and confirmation email.
Test the Full Attendee Journey
Complete a test registration before opening the event. Check the form, payment, confirmation email, ticket, QR code, and meeting link.
For an in-person event, scan a sample ticket using the same device and internet connection your team will use at the venue.
Give Each Attendee a Unique Record
The buyer may register several people at once. Make sure each attendee has the correct name, email, and professional details.
This prevents check-in problems and certificates with the wrong information.
Review Records Before Sending Certificates
Do not use the registration list as the certificate list. Compare check-ins with any required session, attendance, or assessment records first.
If your completion rules include more than arrival, prepare the final recipient list before using Eventin’s bulk certificate option.
Protect Attendee Information
Limit attendee data access to team members who need it. Store exported files securely and avoid collecting unnecessary information.
Follow the privacy and record-retention rules that apply to your profession and location.
Frequently Asked Questions
Can Eventin work with a WordPress LMS?
Yes. Eventin supports Tutor LMS integration. You can use Eventin for scheduled event registration, tickets, schedules, and check-in, while Tutor LMS manages lessons, assessments, and course progress. Check the required plans before setting up the integration.
Do I need WooCommerce to accept paid CE event registrations?
No, WooCommerce is optional. Eventin supports multiple payment options, including WooCommerce, PayPal, Stripe, SureCart, FluentCart, and local payments, depending on your plan and configuration. Choose WooCommerce when you specifically need its checkout system, coupons, or compatible payment gateways.
Can I run recurring continuing education events with Eventin?
Yes. Eventin supports daily, weekly, monthly, and yearly recurring events. You can use it for regular workshops, repeated training sessions, or annual certification events. Eventin does not automatically track credit expiry or professional license renewal.
Can I add a waiting list when a CE event is full?
Yes. Eventin includes a waiting-list feature for events with limited capacity. When the tickets sell out, interested attendees can join the waiting list. You can use the list to fill seats when a registered attendee cancels.
Can I send Eventin attendee data to Google Sheets or a CRM?
Yes. You can export attendee data manually, use supported CRM integrations, or send data through Eventin Pro webhooks. Webhooks can connect Eventin with compatible third-party platforms such as Make.com, n8n, and GoHighLevel. Eventin also supports FluentCRM, Mail Mint, Zoho CRM, and Bit Flows. Sending data to Google Sheets through Bit Flows requires Eventin Pro webhooks and Bit Flows Pro. Learn more in the Eventin webhook documentation.
Conclusion
Running a continuing education event in WordPress becomes easier when registration, payments, attendance, certificates, and attendee records follow one clear process. Eventin helps you manage this scheduled event workflow, while an LMS can handle lessons, assessments, and ongoing credit tracking when needed.
Before publishing your event, confirm the completion and credit requirements with the relevant professional body. Then set up your registration, tickets, communication, check-in, certificates, and attendee records around those rules.
Ready to simplify your next professional training event? Explore Eventin and manage registration, check-in, certificates, and attendee records from your WordPress website.

