How to Create Event Certificates with Eventin in WordPress
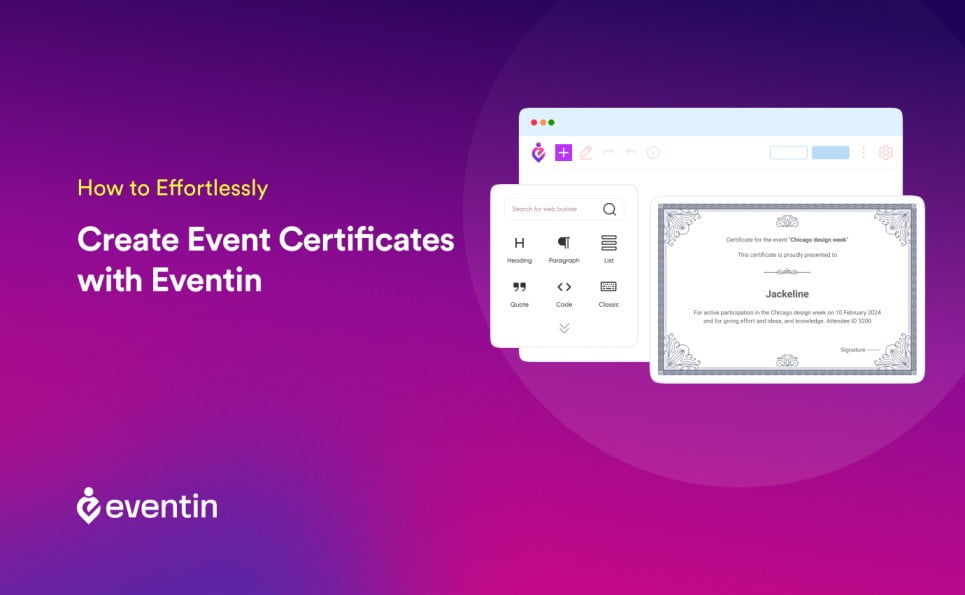
Organizing events, whether they’re online webinars, virtual conferences, or in-person workshops, demands meticulous planning and attention to detail. And one of those crucial details is often the event certificate. These certificates serve as more than just pieces of paper; they are tokens of achievement, a testament to participation, and a means to elevate the professionalism of your event.
In this guide, we’ll show you how to create event certificates effortlessly using Eventin, a powerful certificate builder integrated with WordPress. Eventin simplifies the often intricate task of designing and distributing certificates, making them accessible to everyone, regardless of their technical expertise.
So, who is this guide for? Imagine you’re a seasoned event organizer, an entrepreneur running workshops, or an educator conducting webinars. Perhaps you’re part of a nonprofit organization hosting fundraising events, or you simply appreciate the importance of offering certificates at your gatherings. This guide caters to all of you and anyone else looking to streamline their certificate creation process.
Understanding Event Certificates
Event certificates are essential documents that serve as a tangible recognition of an individual’s participation in a specific event, whether it’s a professional conference, educational workshop, or community fundraiser. These certificates hold more than just symbolic value; they reflect the attendee’s commitment to the event’s objectives and contribute to an overall sense of accomplishment. Event certificates also play a crucial role in enhancing the professionalism of the event itself, making it more memorable and valued by participants.
However, creating event certificates can often take time and effort for event organizers. The challenge lies not only in designing certificates that are visually appealing but also in efficiently managing attendee information and ensuring accuracy. Furthermore, in today’s digital age, attendees often expect the convenience of receiving certificates electronically, adding another layer of complexity to the certificate creation process. This is where tools like Eventin step in, offering a solution to streamline the entire certificate creation and distribution process, making it accessible to both novice and experienced event planners.
Event certificates serve as a bridge between event organizers and attendees, providing a means to acknowledge the commitment and achievements of the participants. In the following sections, we will delve into how Eventin simplifies the process of creating these certificates, offering a user-friendly platform that caters to various event types and customization preferences.
How to Create Event Certificate with Eventin
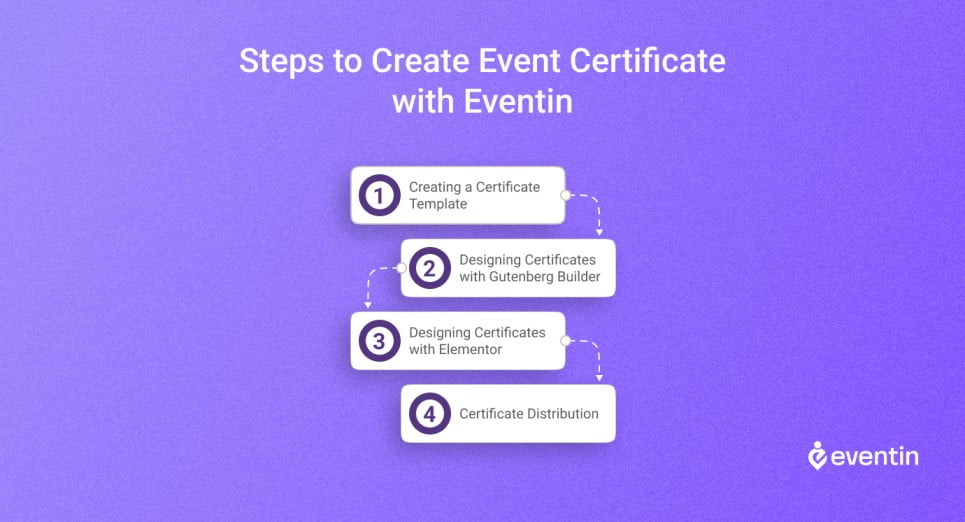
With the help of the Elementor page builder and the Gutenberg builder, you can create and customize the certificate for each event attendee with the Eventin certificate builder.
For various events, you can make unique templates and customize the design to suit your preferences.
- The participant’s information comes dynamically through a shortcode.
- You can create different templates for different events.
- You can design the template according to your choice.
- You can create a template using Gutenberg blocks as well as the Elementor editor.
Important Note:
- The certificate build is the pro feature, so you must activate the pro plugin to use this feature.
- You have to select the Eventin template as a page template. Otherwise, certificate functionalities will not work.
- The email for the certification will be sent to the purchaser’s email address, not the participant’s email address.
Step 1: Creating a Certificate Template
Begin by setting up a certificate template to serve as the foundation for your event certificates.
In your WordPress dashboard, navigate to “WP Dashboard” -> “Pages” -> “Add New.” -> Create a page with a title and Select Certificate Template as the page template.
Step 2: Designing Certificates with Gutenberg Builder
Now, let’s design your certificates using Gutenberg blocks:
Adding Background
To make your certificate template visually appealing, click on the Gutenberg block.
Click on the Gutenberg block and add a cover image for the certificate background.
You can customize the background image by managing attributes like position, color, opacity, focus point for the caption, dimensions, and more. You can manage this from the block tab on the right sidebar.
Adding Content
You can use any Gutenberg blocks for adding the content on the certification such as title, paragraph, image, and more. You can also manage the typography, color settings, text settings, and other designs.
Participant Shortcode
The participant information comes dynamically in your certificate if you use the shortcode. Please go to Eventin -> shortcode -> Event Certificate (Pro) -> Select the Event title, Event date, Participant name, and Ticket ID.
You will see the shortcode generator option. Click on generate, copy the shortcode, and add it to the certificate page.
Step 3: Designing Certificates with Elementor
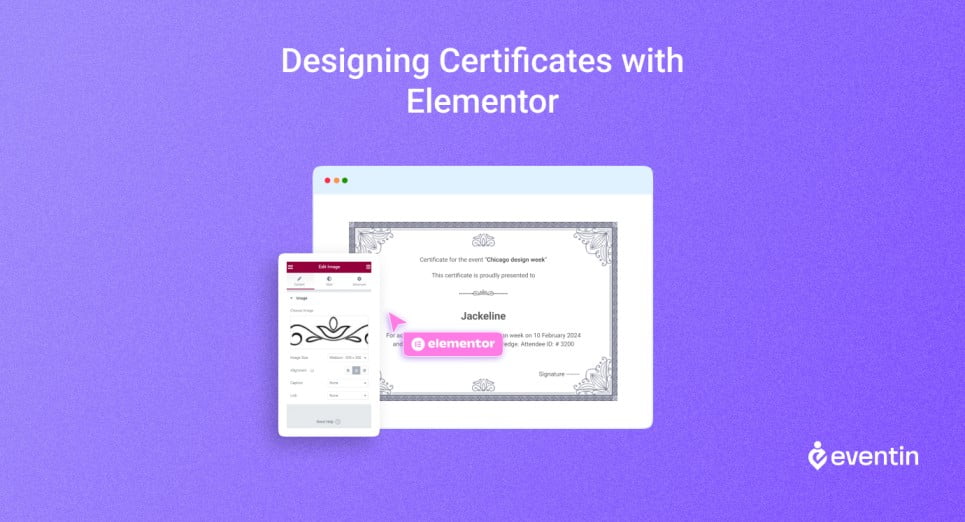
First, you must create a page and select the Eventin Certificate template.
Navigate to “WP Dashboard” -> “Pages” -> “Add New” -> Create a page with a title and Select Certificate Template as the page template.
Then click on the “Edit with Elementor” and the Elementor editor will appear.
Adding Background
From the Elementor editor, add a section and section background image. You can customize the size, position, and many more from the left sidebar as your preference.
Adding Content
You can add any Elementor elements to add the content for the certification like title, paragraph, image, and so on. You can also manage the typography, color settings, text settings, and other designs.
Participant Shortcodes
You can use the event attendee shortcode to show the attendee information dynamically in the Elementor template. Please go to Eventin -> shortcode -> Event Certificate (Pro) -> Select the Event title, Event date, Participant name, and Ticket ID. After generating the shortcode add it to the template.
Step 4: Certificate Distribution

Certification Preference
You can send the certificate via email to the checked-out attendees or all attendees. Go, to Eventin -> Settings -> Participant. Now select “Send to Checked-in Participants” if you want to send a certificate for only the checked-in attendees using a QR code. And if you want to send the certificate to all attendees then select the “Send to All Participants” option.
Select template on Event
Now create an event from Eventin -> Events and Add new. You have to select the Certificate Template that you want to use for the event.
Email Send
After successful purchases, the certificate will be generated for the participants. Go to Eventin -> Events and here you can see the send button in the Certificate column. You can send the certificate to the event attendees by clicking the send button.
The email body that the purchasers will receive appears as follows. The purchasers can download the participant certificate from this page.
If you’d like to see a visual demonstration of these steps, check out this helpful video tutorial on our YouTube channel:
Want to Learn More?
➡️ Multi-tier Ticket Pricing for Events – Create multiple types of tickets and set different price | Read More
➡️ How to Add WooCommerce Coupon and Manage Events | Read More
➡️ Premium WordPress Hosting: How Kinsta is Ahead of Competition | Read More
Wrap Up
We’ve set out to make the process of creating event certificates with Eventin easier with this guide. Eventin’s capabilities enable you to create expert credentials with ease. Regardless of your level of experience organizing events. Eventin’s compatibility with both the Gutenberg builder and the Elementor editor offers you the flexibility to choose the design approach that suits your preferences. You can create different certificate templates for various events, tailoring each one to your specific requirements.
Moreover, the dynamic inclusion of participant information through shortcodes ensures that each certificate is personalized and accurate. Leaving your participants feeling valued and recognized. Let Eventin be your trusted companion for delivering professionally designed certificates. It will leave an unforgettable impact on your event participants.


