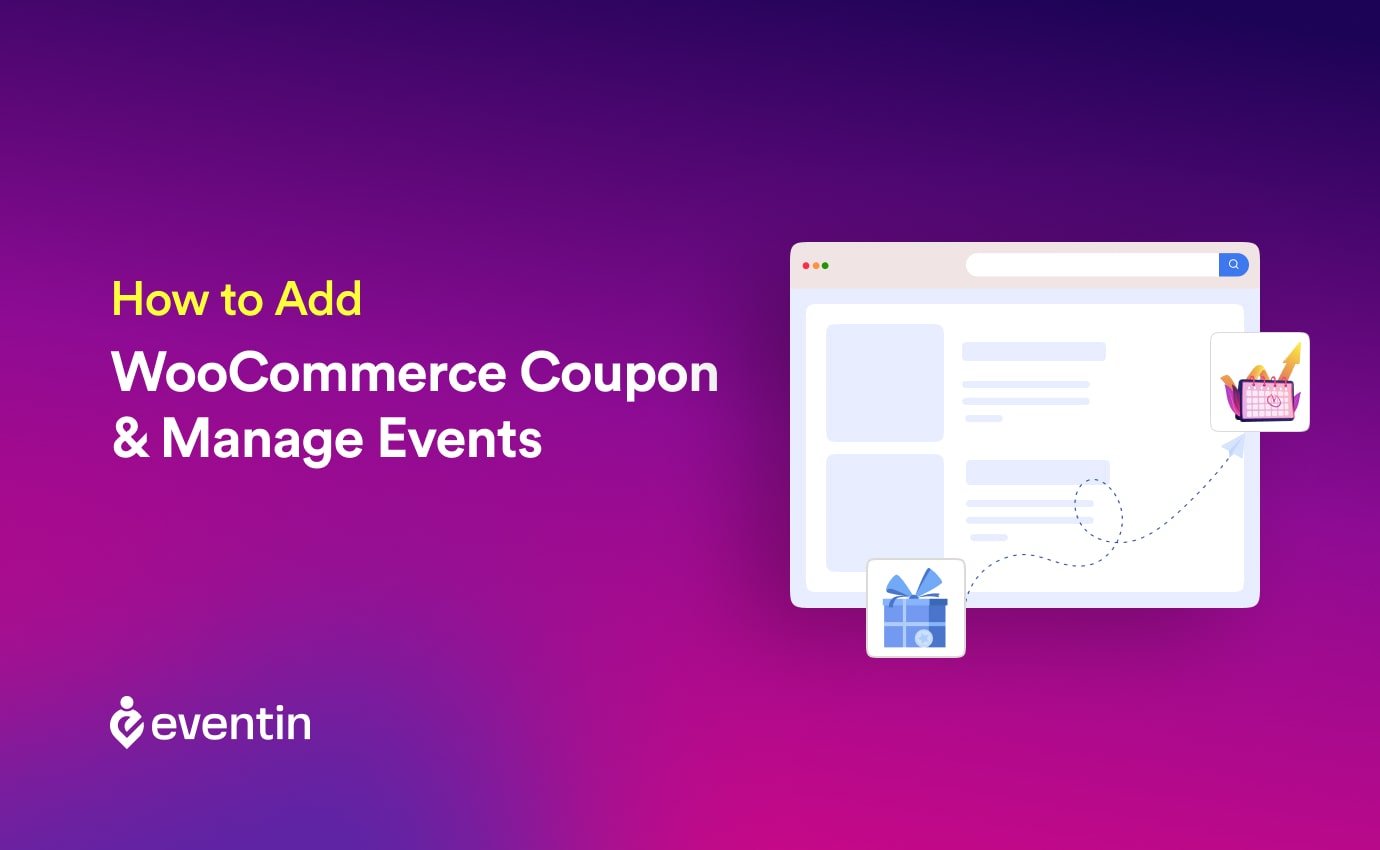
How to Add WooCommerce Coupon and Manage Events
When configuring WooCommerce on your WordPress website, adding WooCommerce coupons becomes a high-priority task to manage your events because it’s a crucial part that significantly contributes to boosting your event ticket sales.
But how do you add WooCommerce coupons to make your event more fruitful and streamlined?
In this blog post, we’ll discuss that and show you the detailed process on how to do it. Before that, we’ll walk you through some other contextual discussions as well that you need to know. So, without making the introduction too long, let’s get started!
What is a WooCommerce Coupon?
WooCommerce coupons are digital vouchers that customers can redeem during checkout to receive a discount on their purchase. Think of them as virtual loyalty cards or promotional codes that entice shoppers to add more items to their cart or complete their order.
WooCommerce coupons can be customized with various parameters like discount type, amount, and usage restrictions.
Whether it’s a percentage off, a fixed amount, or free shipping, WooCommerce coupons provide a versatile way for businesses to implement effective marketing strategies and enhance the shopping experience for their customers.
Can I Manage Events on Automation?
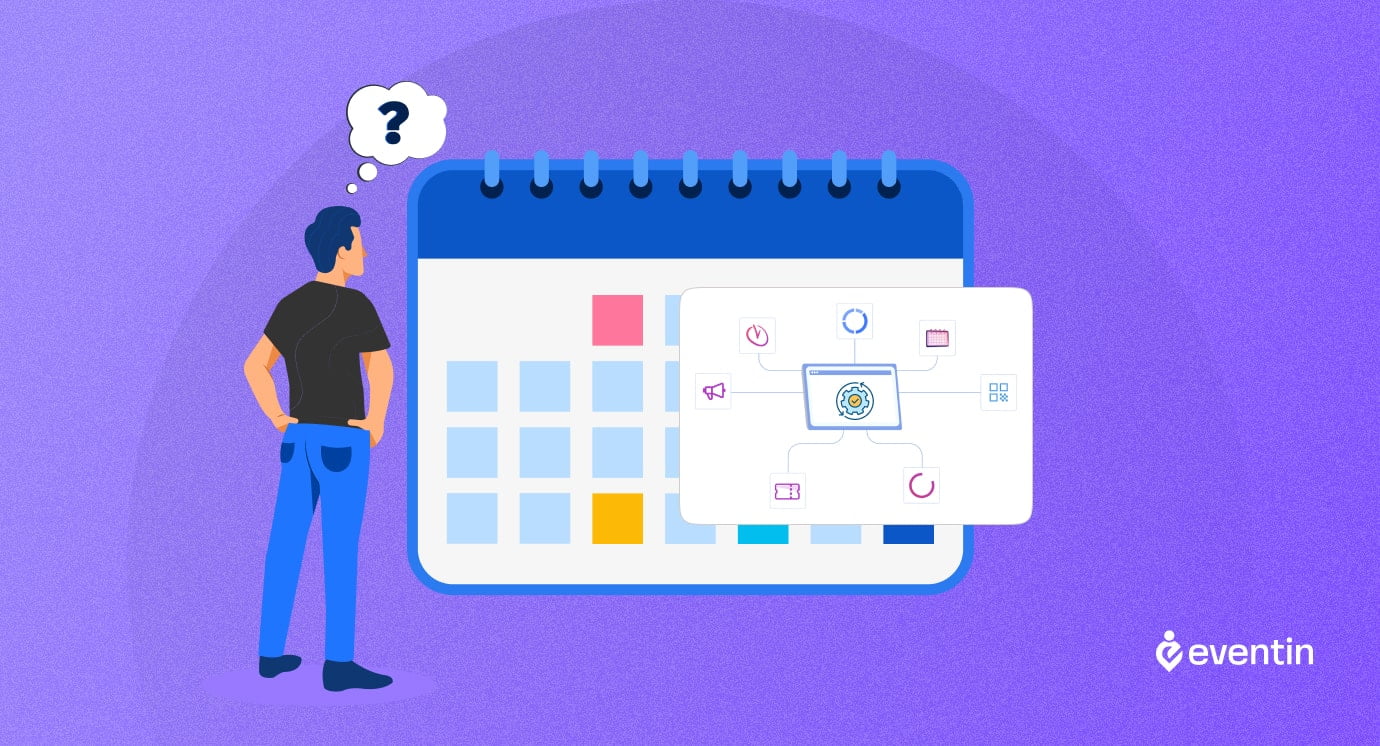
Absolutely, you can; the answer is a resounding YES! However, plugins like WooCommerce alone can’t fully support you in automating your events. You’ll find many event management tools out there that offer dedicated features for managing events.
In general, you’ll need the following features in your event management tool to automate the entire process:
- Project management software: helps with task management, communication, and deadlines.
- Event registration platform: collects attendee information and manages registrations.
- Ticketing system: handles ticket sales and distribution.
- CRM software: manages relationships with sponsors, speakers, and vendors.
- QR Code for Attendees: generates distinctive QR codes for ticket-purchasing guests and employs these codes for seamless guest management by scanning them at the entrance during the event.
- Marketing Automation Tools: allows you to automate your marketing tasks.
As you have to manage your events with WordPress, installing a dedicated event management plugin would be a good option for you. The Eventin plugin (that’s us!) could be the best choice as it offers all the features you need.
Why Eventin?
Eventin stands out from the crowd for several reasons. It’s a complete package where you can get all the event related features under one umbrella. Even though we’ve stated some of these handy features in the previous section, we want show some more reasons why Eventin can be your best choice-
- Multivendor Marketplace Integration: You can transform your site into a dynamic multivendor marketplace with Dokan.
- Actionable QR Code: Allows you to streamline event entry with unique QR codes for effortless check-in.
- Recurring Events Management: Allows you to effortlessly plan daily to annual events with flexible customization.
- Versatile Calendar Views: Engage users with diverse daily, weekly, monthly, or annual calendar views.
- Simplified Schedule Management: It helps to create and repeat custom schedules for multiple events and speakers.
- Speaker/Organizer Showcase: You can create dedicated personalized pages for bios, social links, and company details.
- Flexible Ticketing Options: You can create ‘Early Bird,’ ‘VIP,’ and more with multi-tier ticket pricing.
- Unique Attendee Management: This feature empowers events with unique IDs for efficient attendee tracking.
- Robust Analytics: This handy dashboard will help you gain insights with detailed reports on attendance and ticket sales.
- Integration with Leading Technologies: You can seamlessly integrate with Stripe, Groundhogg, FluentCRM, and more.
- Extensive Feature Set: Explore Divi Builder, BuddyBoss Integration, PDF Certificate Builder, and beyond.
If you want to know more about why Eventin can be the unbeatable hero to manage your events, you can click on the following button to check out what Eventin offers!
How to Add WooCommerce Coupon in WordPress
To leverage this feature, you need to install Eventin and the WooCommerce plugin on your WordPress website. Ensure that your site is completely ready and functioning well before proceeding. Additionally, since you need to add a coupon for any event, you must create your event with Eventin. Afterward, you can follow the steps below to make the WooCommerce coupon ready to use for your event attendees.
So, without further ado, let’s get started!
Step-1: Start Creating the Coupon
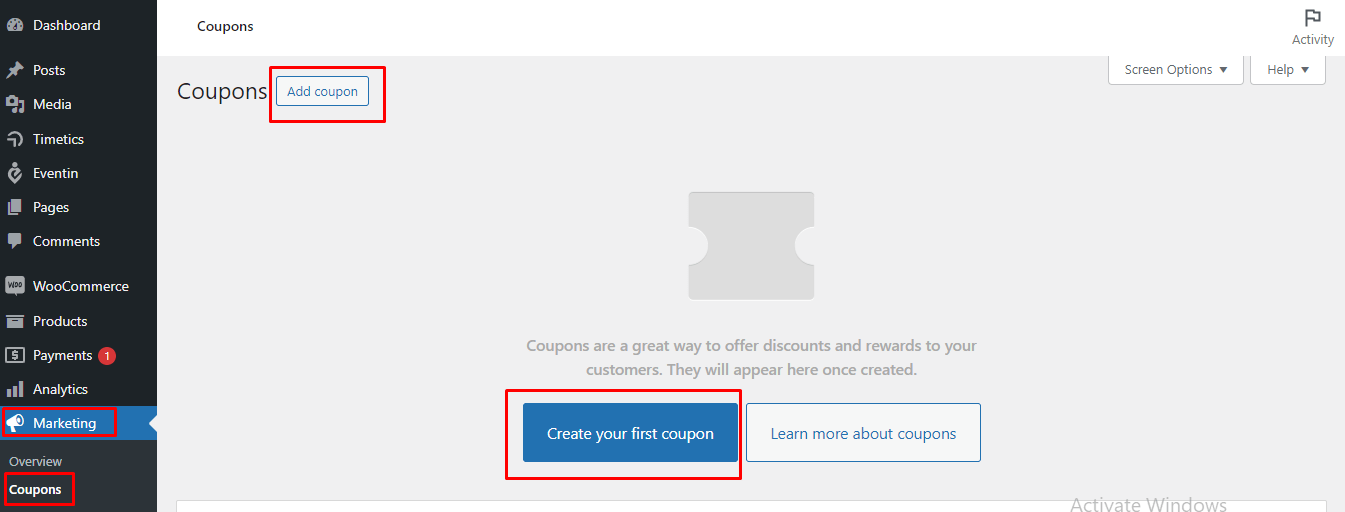
Once you’ve installed both plugins (WooCommerce and Eventin) and activated them, you’re now good to start creating the coupon. Log in to your WP Dashboard. Now click on the “Marketing” option located at the left sidebar. Then click on the “Coupons” option. It will show the interface where you can see the list of coupons you’ve created. If you don’t have any coupons, the interface should look like this-
Now click on the “Add Coupon” button. If you’re opening a coupon for the first time, you can use the “Create your first coupon” button as well.
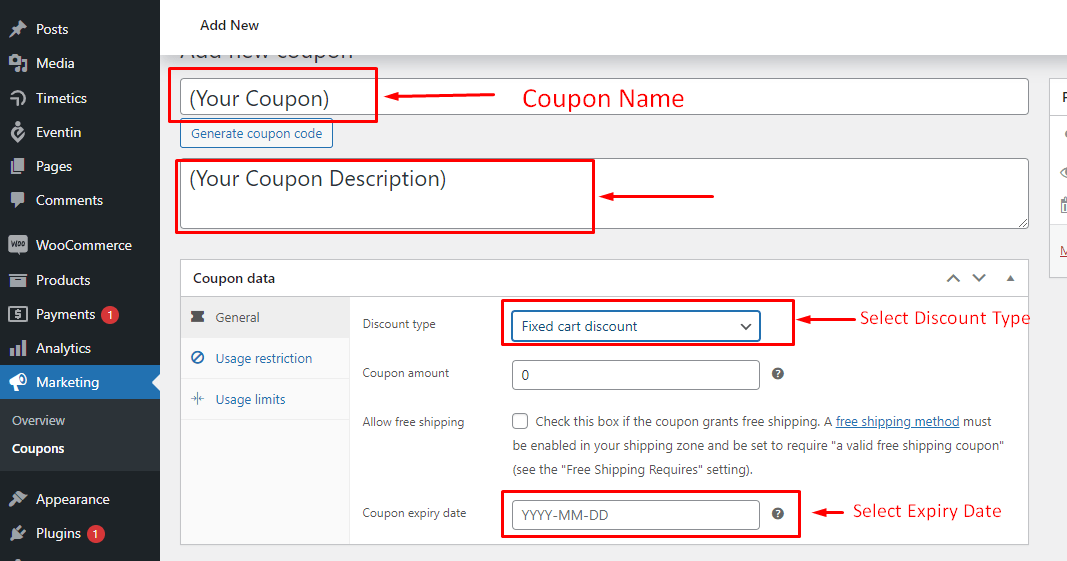
Step-2: Add Coupon Details
Once you’ve created the coupon, you’ll be redirected to the following page where you can add all the necessary details.
Here, you’ll find several types of details to customize, such as:
- Coupon Name: You can add a coupon name based on the discount you are offering.
- Coupon Description: You can include a short description explaining what the coupon is all about. This field is optional.
- Discount Type: Select your preferred discount type from the options below (Percentage discount, Fixed cart discount, Fixed product discount).
- Coupon Expiry Date: Choose an expiry date for your coupon.
As you can see, all these options are under the “General” section. Apart from this, you’ll have a couple of more sections. In the next sections we’ll talk about these.
Step-3: Add Coupons to Eventin Events
If you’ve completed the process outlined in the previous section, you should now click on the “Usage Restriction” option to specify Eventin events where the coupon should be applicable. This action will reveal the following interface-
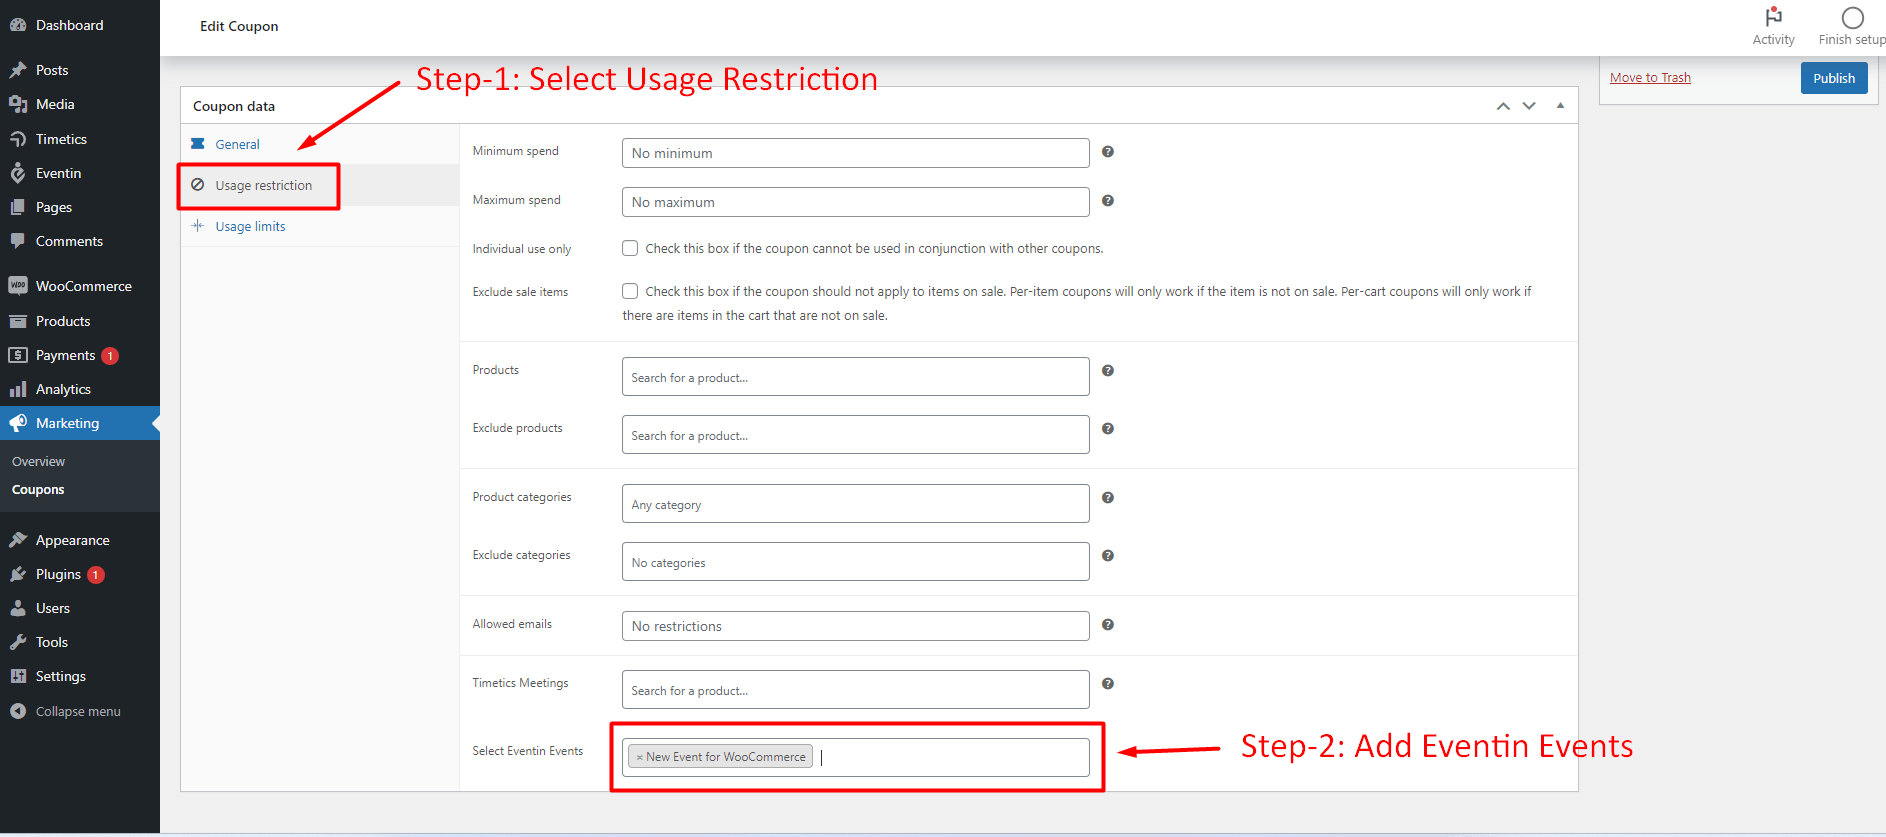
Next, scroll down and locate the “Select Eventin Events” option. Click on the blank field to access a list of Eventin events you’ve created previously. Choose the specific event where you want to apply the coupon. In this example, we selected the “New Event for WooCommerce” event.
Furthermore, on the same page, you’ll get other fields titled “Maximum Spend,” “Minimum Spend,” “Exclude Products,” etc. Depending on your preferences, fill out these fields to specify where and when the coupon can be applied.
Step-4: Set Your Coupon Usage Limit
This section enables you to determine how many times the coupon can be used. To set the usage limit for a specific coupon, click on the “Usage Limit” option, as illustrated in the image below-
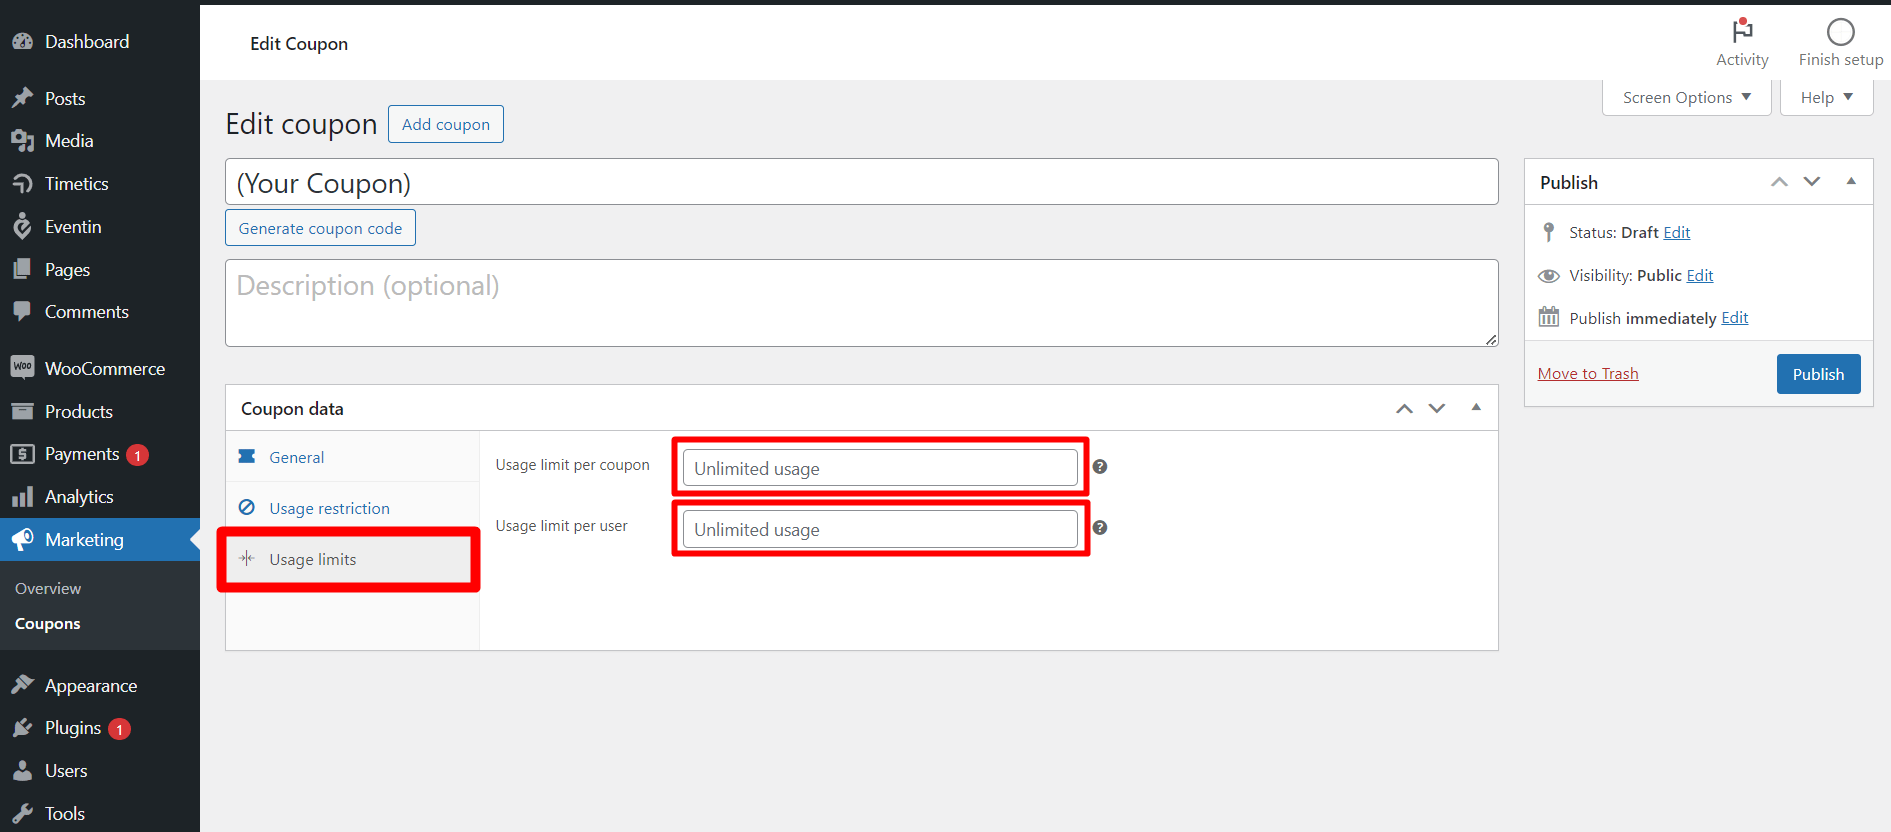
From this section, you can bring the following customizations-
- Usage Limit Per Coupon: The total number of times the coupon can be used
- Usage Limit Per User: The maximum number of times per user can use the coupon
When you’ve made all the changes, click on the publish button located on the top right corner to secure your progress.
And finally, your WooCommerce coupon has been generated!
End Note
As we wrap up this journey into enhancing your WooCommerce experience with coupons and event management, we hope you’ve found valuable insights and practical tips to streamline your events. Remember, leveraging WooCommerce coupons is not just about offering discounts; it’s a strategic tool to boost sales, retain customers, and create a dynamic shopping environment.
Stay updated with the latest trends in e-commerce, and don’t hesitate to experiment with different coupon strategies to see what resonates best with your audience. Consistent monitoring and optimization are key to success in the ever-evolving landscape of online events.
🤔Want to Learn More? Check out these-
📩 How to Send Event Notification via Twilio with WooCommerce
🛒 12+ Best WooCommerce Themes in 2023 (Free and Paid)
🎟️ How to Create an Event Management Website Using Elementor and Eventin
Frequently Asked Questions (FAQ)
How do I add a coupon code to WooCommerce WordPress?
Adding a coupon code in WooCommerce is simple! Head to your WordPress dashboard, navigate to WooCommerce > Marketing > Coupons, and click Add Coupon. Fill in the details like coupon code, type of discount, and restrictions, then click Publish.
Q-1: How do I add event tickets to WordPress?
If you’re using WooCommerce, you can leverage plugins like Eventin to handle ticketing. These plugins integrate seamlessly with WooCommerce to manage ticket sales, registration, and even access control.
Q-2: How do I add a coupon code to my WordPress site?
Several plugins can add coupon functionality to non-WooCommerce WordPress sites. Consider options like Coupon Creator, Discount Codes, or Easy Coupon Builder. These plugins offer flexibility in creating and displaying coupon codes on your website.
Q-3: How to add and manage coupons?
In WooCommerce, navigate to WooCommerce > Marketing > Coupons. This page lets you add new coupons, edit existing ones, set expiry dates, and track their usage. You can also filter and search for specific coupons through the handy interface.
Q-4: How do I activate Coupons in WooCommerce?
Coupons are automatically activated in WooCommerce by default. However, if you’ve disabled them, head to WooCommerce > Settings > General and under “General”, tick the checkbox next to “Enable coupon codes”. This will activate coupons throughout your WooCommerce store.