How to Create an Event Management Website Using Elementor
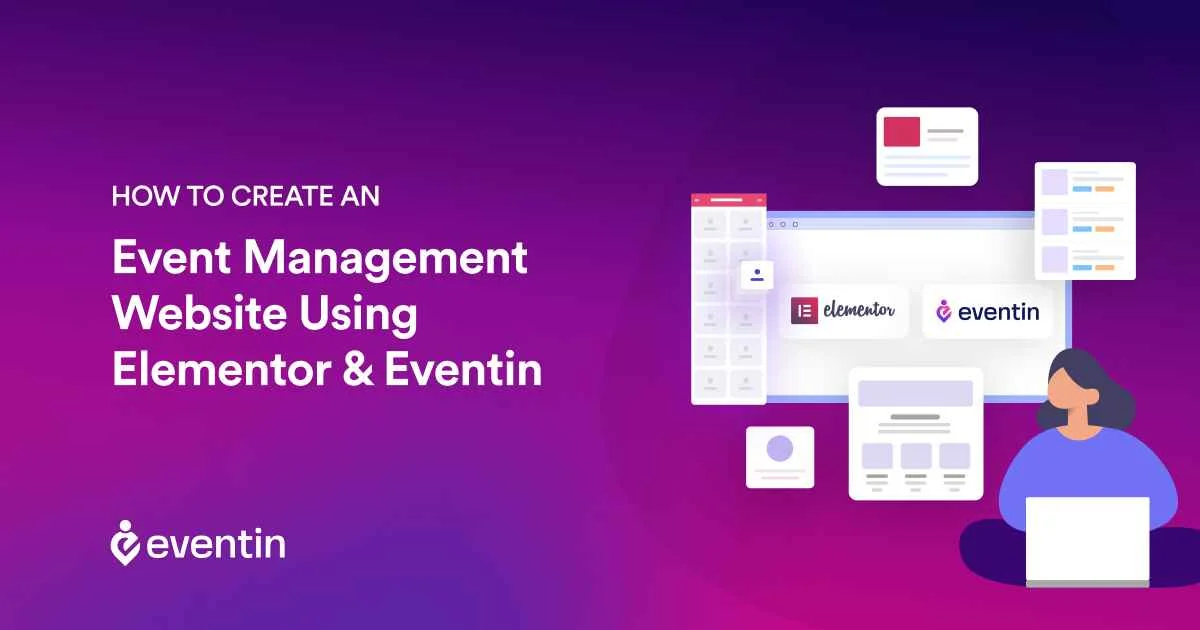
Table of Contents
Imagine you’re hosting a grand event—a magical night of music and dancing, or perhaps a seminar that has the potential to change lives. In our tech-savvy era, the first place your attendees will visit is your website. It’s the digital handshake, the first impression, and the beacon that guides them to an unforgettable experience.
But here’s the catch: creating a website for an event is no small feat. You need it to be aesthetic, intuitive, and functional. Sounds challenging, right? Well, not anymore! With the power of Elementor and the finesse of Eventin at your fingertips, curating an event website has never been easier.
Here’s a fun fact: 43.1% of all the websites online are powered by WordPress, and 9.2% of them use the Elementor plugin to customize their web pages.
Source: W3Techs.com
Eventin is not also experiencing any lagging growth! According to multiple sources, Eventin empowers over 9,000 event management websites worldwide.
These stats signify how robust blog plugins are, and how they hold the capability to serve you at their best. Well, your wait is over! This blog on how to create an event management website will be your transformative journey where we’ll turn your vision into a digital masterpiece.
Why Should You Focus on How To Create an Event Management Website?
Suppose, you’ve poured your heart and soul into crafting the perfect event. The venue is booked, the speakers or performers are lined up, and the decorations are chosen. Everything seems in order, but there’s a lingering question:
“Have I done enough to ensure its success?”
An event isn’t just about the physical experience anymore. It’s about the anticipation, the build-up, and the lasting impressions. Here’s why a bespokeevent management website template is the secret ingredient you might be missing.
- First Impressions Last: Before they step into your venue or hear your speakers, attendees will experience your event through your website for event planning. It’s their first glimpse, and it sets the tone. Make it count.
- Your 24/7 Ambassador: While you’re busy orchestrating the event’s intricacies, your event planner website tirelessly promotes, informs, and engages potential attendees, ensuring they’re as excited as you are.
- Central Hub of Information: From keynote speakers’ backgrounds to after-party details, to create a website for an event is the one-stop shop for everything your attendees need to know.
- Effortless Ticketing & RSVPs: Forget long queues and manual registrations. An integrated event planner website ensures a hassle-free experience for your attendees and a streamlined process for you.
- Creating a Buzz: Share teasers, behind-the-scenes glimpses, or attendee testimonials. A website gives you the platform to generate anticipation and excitement.
- Exclusive Experience: Tailor special offers, early bird prices, or VIP packages. Your event website templates can offer unique experiences, turning casual visitors into committed attendees.
- Feedback Loop: It’s one thing to host an event. It’s another to perfect it year after year. Your website can become an invaluable tool for gathering feedback, understanding attendee preferences, and continually elevating their experience.

🗓️ When Should You Create an Event Management Website?
Launching your website for event planning too early might make it fade into the background noise of the internet. Too late, and you’ve missed out on potential attendees who’ve already filled their calendars. You should know when and how to create an event management website.
So, timing is everything to make your event managing efforts successful!
But when’s the golden moment to introduce your digital masterpiece? Here’s your roadmap-
- Before the Buzz Begins: Before the first whispers of your event start circulating, have your event planner website ready. This way, as soon as someone hears about your event, they have a resource packed with details waiting for them.
- In Line with Your Marketing Campaign: If you’re unveiling a grand marketing campaign, synchronize your website’s launch with it. As your advertisements or promotions capture interest, your event planner website will be there to seal the deal.
- Ahead of Ticket Sales: Planning to start ticket sales or registrations three months before the event? Launch your website for event planning at least a month prior to that. Give attendees ample time to browse, make decisions, and commit.
- Post Last Year’s Event: If this isn’t your inaugural event, consider updating or creating new event website templates soon after this year’s event concludes. Use it to showcase highlights, and testimonials, and generate early interest for the next one.
- At the Dawn of Partnership Negotiations: If you’re seeking sponsors or collaborators, a well-structured website can serve as a portfolio. It’s a testament to your commitment and vision.
- With Enough Time for Feedback: Creating a website for an event well in advance gives you the room to gather feedback, address glitches, and make tweaks ensuring everything runs smoothly when it matters most.
- Before Major Announcements: If you have a star speaker or a headlining performer, ensure your website is up and running before such announcements. The buzz will lead people straight to your website for event planning.
Remember, an event management website template isn’t just an information kiosk—it’s your event’s digital ambassador. And just like you wouldn’t send an ambassador out unprepared, ensure your website is timely, polished, and primed for success.
🛠️Essential Components to Create an Event Management Website

Crafting an event management website template is much like setting the stage for a grand performance. Every element, from the backdrop to the spotlight, plays a crucial role. If you’re gearing up to build a memorable online platform for your event, here are the indispensable components you should incorporate.
This is how to create an event management website.
- Engaging Homepage: Your homepage is the red carpet of your event. It should immediately capture attention, convey the essence of your event, and invite exploration. High-quality visuals, concise copy, and a clear call to action are key.
- Event Details: Dive deep into what attendees can expect. This includes schedules, speaker or performer profiles, venue information, and any unique attractions. Make it easy to digest, perhaps through a timeline or a collapsible menu.
- Registration & Ticketing: Simplify the registration process. Ensure ticketing is secure, straightforward, and provides a seamless user experience. Consider early-bird specials, group discounts, or VIP packages to entice participation.
- Interactive Map: A detailed map of the venue, parking areas, and nearby accommodations can be invaluable for attendees. Integrating GPS functionality can be an added advantage.
- Sponsors & Partners: Dedicate a space to showcase and appreciate your event’s sponsors and partners. Their logos, accompanied by brief descriptions, can add credibility to your event.
- FAQs: Address common questions and concerns in an organized FAQ section. This not only assists potential attendees but also reduces the time spent addressing repetitive queries.
- Testimonials & Reviews: If this isn’t your first event, showcasing past testimonials or highlighting media coverage can build trust and anticipation.
- Social Media Integration: Seamlessly link your event website templates to your event’s social media channels. Incorporate live feeds, share buttons, or even social media-based contests to enhance engagement.
- Multimedia Gallery: A picture speaks a thousand words, and a video, even more. Create a gallery filled with high-resolution images or videos, giving a taste of what’s in store.
- Contact Information: Ensure attendees can easily reach out with queries. Provide a contact form, email address, phone number, and possibly a chatbot for instant responses.
- Mobile Responsiveness: With many users likely to access your site via mobile devices, ensure your website for event planning is mobile-friendly, providing an optimal viewing experience regardless of screen size.
These are the basic components. In this blog post, we will also share the process of turning them into a reality.
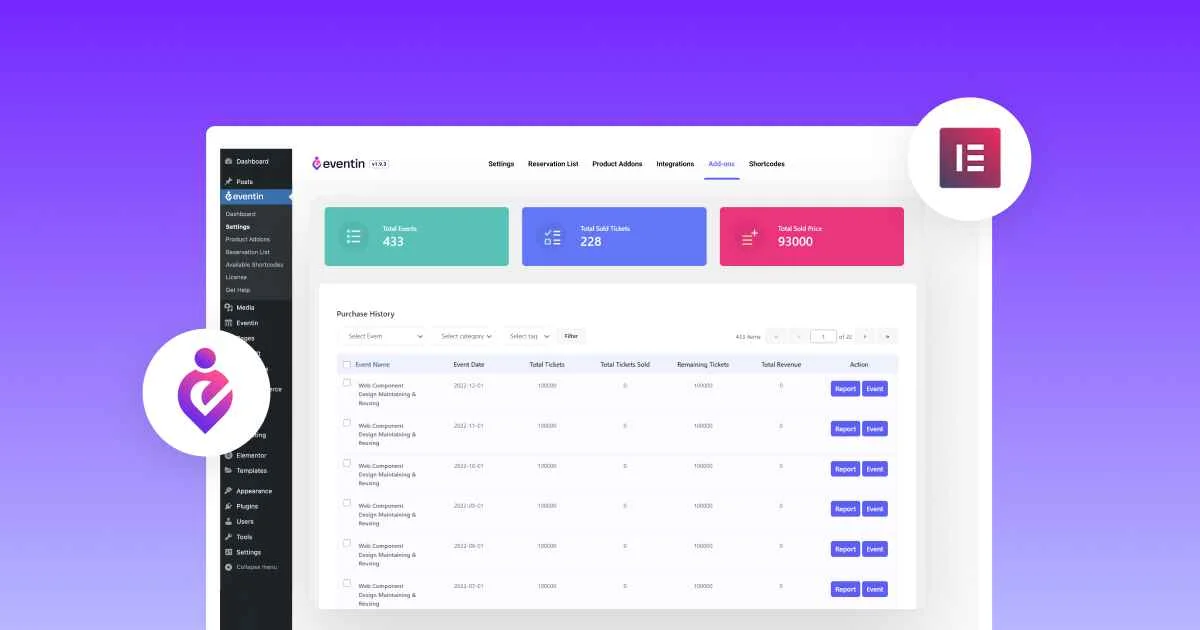
🧩Understanding Elementor and Eventin
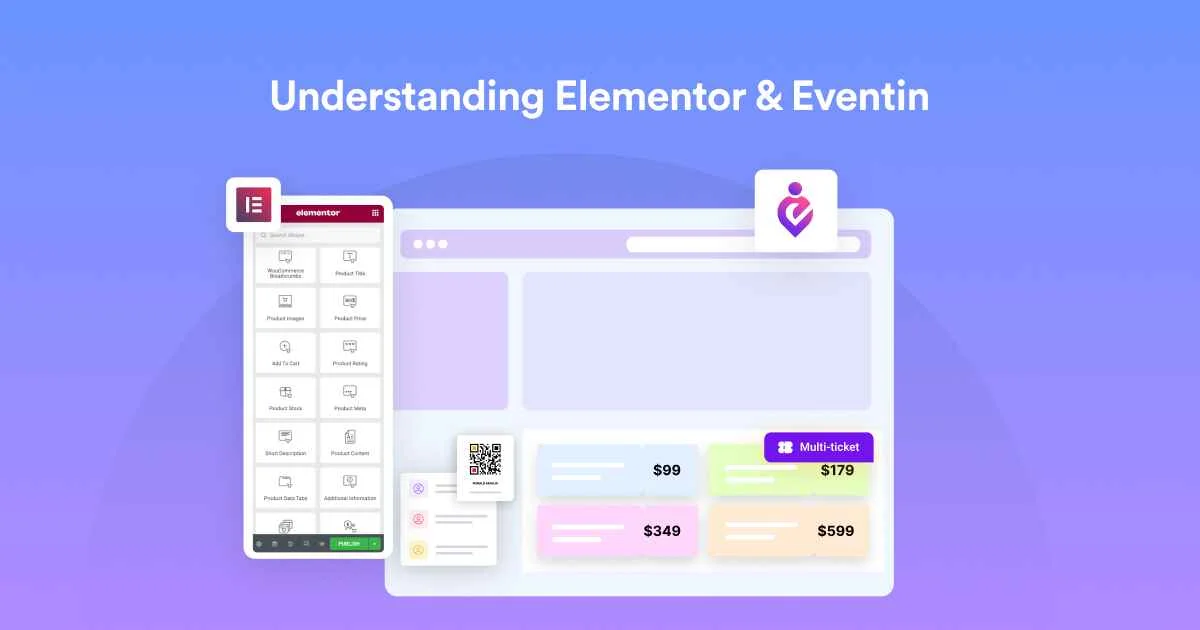
Navigating the landscape of web creation tools can be a challenge, especially when you’re seeking perfection on how to create an event management website. Among the plethora of tools available, Elementor and Eventin emerge as the shining stars, especially for event management website templates.
But what makes them special? Let’s dive in.
1. What is Elementor?
Elementor is a powerful WordPress page builder, renowned for its drag-and-drop functionality. It offers a user-friendly interface where you can craft your website’s visual and functional elements without the need for coding.
Why is it Essential for Your Event?
With Elementor, you have the creative freedom to design your event website templates to mirror the essence of your event. From animated countdowns to parallax backgrounds, you can add nuanced details that captivate visitors.
Unique Features:
- Theme Builder: Customize your site’s header, footer, and other global elements consistently across pages.
- WooCommerce Builder: If your event involves selling merchandise or tickets, this feature can be a game-changer.
- Responsive Design Controls: Ensure your website looks impeccable, whether viewed on a desktop, tablet, or mobile.
2. What is Eventin?
Eventin is an event management plugin tailored for WordPress. Designed specifically with events in mind, it streamlines the process of ticket sales, registrations, speaker management, and more.
Why is it Essential for Your Event?
Eventin is a WordPress plugin that offers a wide range of features related to event management, helping you streamline your event planning efforts. It’s like having a dedicated event manager integrated into your website, handling all the nitty-gritty details so you can focus on your broader vision.
Unique Features:
- Speaker Management: Showcase your event’s stars, complete with profiles, bios, and session schedules.
- Ticket Variations: Offer different ticket types, from VIP passes to early bird discounts, seamlessly.
- Zoom Integration: If you’re hosting virtual elements, Eventin has got you covered with its Zoom integration, ensuring attendees can join webinars or sessions with ease.
And the list goes on…
🚀Initial Steps to Setting Up Your Event Management Website

Before you can begin designing your event management website template using Elementor and Eventin, you need to complete the basic setup for your event planner website. This involves tasks such as choosing a domain name, selecting a hosting provider, and installing WordPress.
Now, we will guide you on how to complete these steps perfectly.
1. Choosing a Domain Name
Your domain name is the address that people will use to access your event planner website. It is important to choose a domain name to create a website for an event that is easy to remember for your event attendees and reflects the purpose of your website for event planning.
Here are some tips to help you choose a domain name:
- Keep it short and simple
- Make it easy to spell and pronounce
- Use keywords related to your virtual event or business
- Avoid using numbers and hyphens
- Consider using a domain extension that is relevant to your business (such as .events or .party)
Once you have chosen a domain name, you need to check if it is available. There are many domain name providers out there. Choose one of them considering its previous track record and quality of service.
2. Selecting a Hosting Provider
A hosting provider is a company that stores your website files and makes them accessible to visitors on the internet. You’ll find many hosting providers out there When selecting a hosting provider, you should consider the following factors:
- Speed and uptime
- Security features
- Customer support
- Cost
There are many hosting providers to choose from, such as Bluehost, SiteGround, and HostGator. You can compare their features and prices to find the best fit for your needs.
3. Installing WordPress
WordPress is a content management system that allows you to focus on how to create an event management website. To install WordPress, you need to follow these steps:
- Log in to your hosting account and access the cPanel dashboard.
- Look for the “Softaculous” or “Installation” icon and click on it.
- Select WordPress from the list of applications and click on “Install.”
- Fill in the required information, such as your domain name and admin credentials.
- Click on “Install” to complete the installation process.
Once WordPress is installed, you can log in to the admin dashboard and start customizing your event website templates.
Considering your case, we’d prefer to install a feature-rich plugin on your WordPress site that supports Elementor. Then you can use the Eventin plugin to customize your site according to your event requirements. If you want to enjoy the advanced functionalities, you can check out Eventin Pro.

⚙️Setting up Elementor and Eventin to Create Your Event Management Website
Crafting a robust event management website requires the perfect blend of aesthetics and functionality. With Elementor handling the design front and Eventin managing event-specific features, you’re on the right track.
Here’s a step-by-step guide on how to create an event management website:
Step-1: Getting Started with Elementor
Elementor is a game-changer in the world of WordPress design. It empowers you to build stunning pages with intuitive drag-and-drop capabilities, without delving into code. Hence, you should install this plugin if you want your event pages captivating for the visitors.
Here is the process to install that plugin on your event planner website.
- Navigate to your WordPress dashboard.
- On the left sidebar, click on Plugins > Add New.
- In the search bar, type “Elementor”.
- Find the ‘Elementor Page Builder’ in the results and click Install Now.
- Once installed, click Activate.
Congratulations, Elementor is now part of your WordPress toolkit!
Step-2: Getting Started with Eventin
Eventin isn’t just another plugin—it’s your event’s digital backbone. From ticketing to speaker management, it streamlines the nuances of event planning right on your website. Installing Eventin on your new WP site is also simple.
Just follow the following process to install Eventin on your site-
- Again, go to your WordPress dashboard.
- Click on Plugins > Add New.
- Search for “Eventin” in the search bar.
- Locate the ‘Eventin – Event Management Plugin’ and click Install Now.
- After installation, hit Activate.
Eventin is now ready to transform your event’s digital presence!
Step-3: Integrating The Plugins
With both Elementor and Eventin activated, the next step is to harmoniously integrate them. By doing so, you harness Elementor’s design strengths while utilizing Eventin’s event-centric functionalities and learn how to create an event management website.
Right after this integration, you’ll gain access to additional event-related functionalities and widgets from Eventin while creating your site using the Elementor plugin.
Here is the integration process of Elementor and Eventin:
- To create a website for an event, ensure both plugins are activated on your WordPress website.
- Navigate to Elementor > Settings from your dashboard.
- From the bunch of options, select “Eventin Events”
- Click on the “Save Changes” button to finish the integration process
The fusion of Elementor and Eventin means you’re no longer just to create a website for an event—you’re actually crafting an immersive event experience!
📄How to Create the Necessary Pages for Your Event Management Website
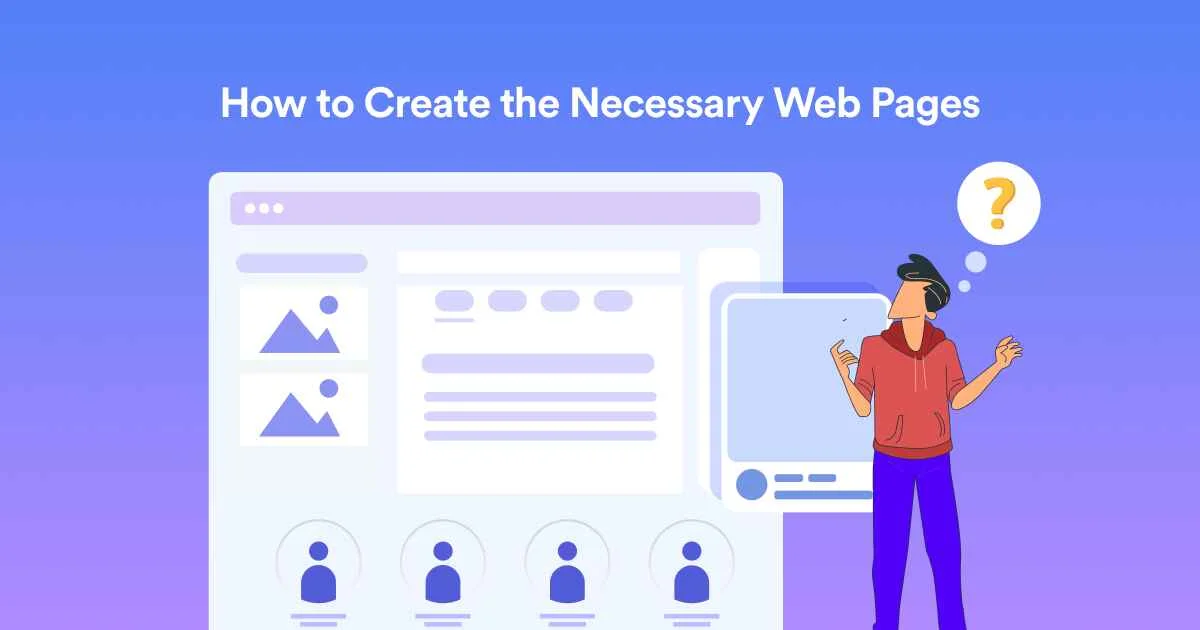
As you’ve already installed both Elementor and Eventin on your WordPress website, you’re now equipped with all the tools you need to create your event management website. Depending on the type of website you’re building, different types of pages are essential.
Whatever page you create, make sure to activate both Eventin and Elementor and integrate them. After that, you can follow the steps described below to create the necessary pages for your event management website.
In this section, we’ll guide you on the necessary pages your event management website should have and how to create free event pages using Elementor and Eventin.
1. Homepage
The homepage is the first impression users get when they visit your site. It should provide a clear overview of the event and drive users to take action, whether that’s buying a ticket or learning more. Hence, you should determine what sections your homepage should have. Here is the list of options that you can keep on your homepage.
Essential sections for the Homepage:
- Hero section with event highlights
- Event date and venue
- Brief overview or summary of the event
- Featured speakers or performances
- Countdown timer to the event
- Call to action (CTA) like “Buy Tickets” or “Register Now”
Brief step by step process:
- Create a new page in WordPress
- Open the page and click on “Edit with Elementor”.
- On the left sidebar, you’ll find all the Elementor functionalities. As you’ve integrated your Eventin with Elementor, you’ll also have access to the Eventing functionalities as well.
- Use Eventin widgets or standard Elementor widgets to craft the sections mentioned above.
- Arrange them in a visually appealing manner
2. Event Details Page
This page provides an in-depth exploration of the event, delivering a thorough and informative overview tailored to attendees who seek detailed information. Additionally, you have the flexibility to include multiple events according to your preferences.
Regardless of the format you opt for, ensure that your event details page can effectively showcase all the pertinent information pertaining to your events. You can keep the following sections to make your event details page enriched.
Essential Sections for Event Details Page:
- Event Description
- Detailed Schedule
- Speaker Profiles
- Venue Information
- Pricing Details
Step-by-Step Process:
- Begin a new page in Elementor for your event details page.
- Use the text widget for the event description, highlighting key details.
- Keep a dedicated section for showing the schedules. Eventin’s “Eventin Schedule Tab” option will help you to do that. To get the complete instructions, you can check out our documentation on the event scheduling process.
- Introduce a section for speaker profiles, combining image and text widgets. We’ve published a dedicated documentation on creating speaker profiles using Eventin.
- Put a dedicated section to show your event location. Eventin offers a Google Map integration feature. Following this documentation on Event Location Setting,you can easily configure this setup.
- Clearly list pricing or ticket details. You can use Elementor’s icon list widget.
- Publish after previewing.
Note: You can also add event speakers’ and organizers’ details on an event details page. However, building a dedicated events speaker and organizer page is also helpful!
3. Registration/ Ticketing Page
An intuitive and user-friendly registration process ensures a smooth experience for attendees, ultimately boosting event sign-ups. If you choose to maintain a dedicated page for ticketing, you can include the following sections on your page.
- Registration Form
- Payment Options
- Ticketing Tiers
- Refund Policy
- Event Contact Information
The overall process is quite similar to other pages. Simply utilize various Elementor and Eventin widgets such as the “Text Widget,” “Image Widget,” “Event Ticket Pro,” etc.
In addition to exploring these features and unleashing your creativity, we also recommend referring to our comprehensive documentation on creating a Registration and Ticketing page for detailed instructions.
4. Testimonials/Reviews Page
This page should represent the feedback from your event attendees. It offers social proof through past attendees’ experiences, aiding in building trust with potential attendees. Hence, you should keep the options for both video and text reviews.
As Elementor offers necessary widgets for that, so you can easily make it done just by performing a few drag and drop.
Essential Sections for Testimonials/Reviews Page:
- Video or text testimonials
- Ratings or reviews
- Featured testimonials section
- A CTA to submit a testimonial or review
Step-by-Step Process:
- Testimonials: Use carousel or grid widgets to display quotes or video clips.
- Ratings: If applicable, incorporate star ratings alongside reviews.
- Featured Testimonials: Give prominence to particularly impactful testimonials.
- Submission CTA: Facilitate gathering more feedback by providing a form or link for attendees to submit their own testimonials.
5. FAQ Page
This page should proactively address common queries, helping to remove barriers to event attendance. You can instruct your designer to create this page while ensuring a seamless user experience.
With the design provided by your team, you can easily build your FAQ page using Elementor and Eventin. Whatever format you choose, make sure to have the following sections on your FAQ page.
Essential Sections:
- List of frequently asked questions
- Categories for questions (e.g., registration, venue details)
- Search functionality for specific queries
- A contact link for unanswered questions
Step-by-Step Process:
- FAQ List: Use accordion or use Event FAQ Pro widget to display questions and answers.
- Categories: Segment FAQs by topic for easier navigation.
- Search: Implement a search widget allowing users to find specific queries.
- Contact Link: Provide a direct link or button for users to ask questions not covered in the FAQ.
6. Gallery Page
This section should be the gallery of your event management website, showcasing all the memorable photos and videos of your events. It should visually capture the essence and energy of past events, enticing potential attendees.
Elementor offers a dedicated widget to create sections for attaching your videos and images. If you can utilize these properly, this gallery page can be your beautiful memory wall.
Essential Sections:
- Photo gallery or slideshow
- Video highlights or recaps
- Categorization (e.g., by year or event type)
- Descriptive captions
Step-by-Step Process:
- Photo Gallery: Use the image gallery widget to display a collection of event photos.
- Video Highlights: Implement video widgets or embeds to showcase event recaps.
- Categories: If applicable, segment media by event or year.
- Captions: Include short descriptions or context for each image or video, if possible.
When building an event management website, you’ll need to include other essential pages like Contact Us, About Us, Terms and Conditions, and more. If you’ve followed the instructions mentioned above, you’ll find that creating these pages is a straightforward process, quite similar to what you’ve done before.
🔍Optimizing Your Website for Better Ranking on Search Engines
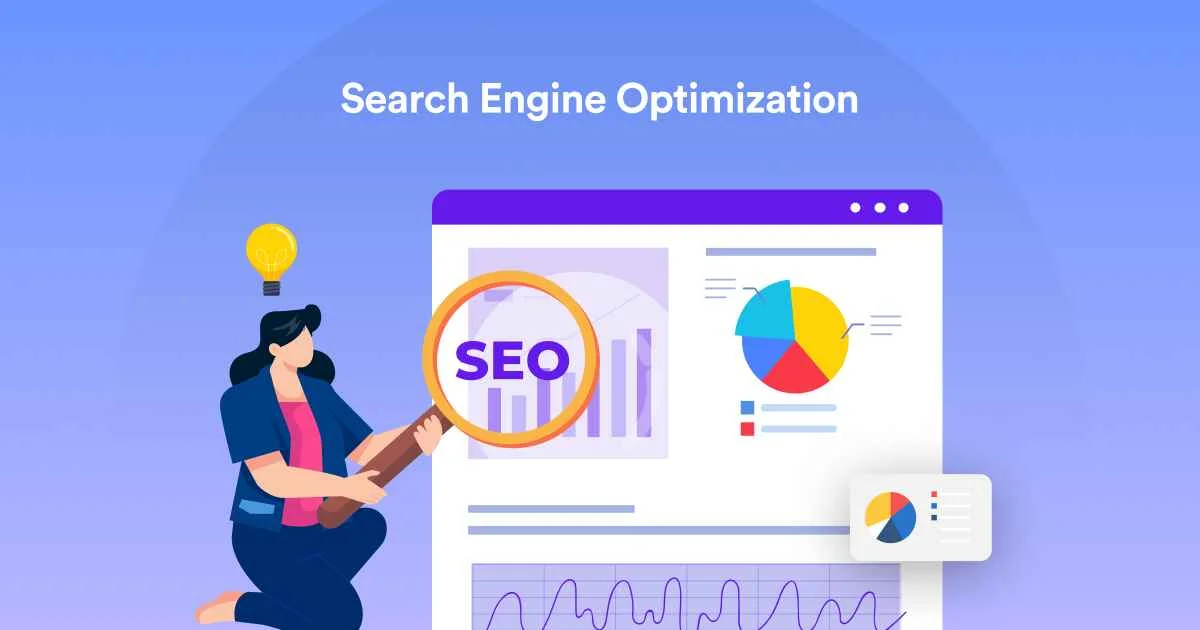
After creating your Elementor event management website, it’s important to optimize it for search engines and mobile devices.
In this section, we’ll cover some best practices for SEO and mobile optimization, which will eventually help you achieve better results in gaining organic traffic from search engines like Google.
1. SEO Best Practices
Search engine optimization (SEO) is the process of improving your website’s visibility on search engine results pages (SERPs). Here are some best practices to follow:
- Use relevant keywords in your content, headings, and meta descriptions.
- Optimize your images by compressing them and using alt tags.
- Build backlinks from reputable websites to increase your domain authority.
- Use internal linking to guide visitors to other relevant pages on your website.
- Make sure your website is fast and responsive to improve user experience.
By following these best practices, you can improve your website’s visibility on search engines and attract more visitors. not only on your dedicated event site but even you can also utilize these SEO strategies on your restaurant website to gather more visitors.
2. Mobile Optimization
With more and more people using mobile devices to browse the internet, it’s important to optimize your website for mobile users. Even when creating an event management website with Elementor and Eventin, your website will become mobile responsive automatically.
However, taking into consideration the following points while creating your website will give you an extra boost.
- Use a responsive design that adjusts to different screen sizes.
- Make sure your website loads quickly on mobile devices.
- Use large fonts and buttons that are easy to tap with a finger.
- Minimize the use of pop-ups and other elements that can be difficult to close on a mobile device.
- Test your website on different mobile devices to ensure it looks and functions properly.
Enhancing your website for mobile users not only enhances the user experience but also draws a larger audience to your event management website.
🎉Wrapping Up
We understand that this discussion on how to create an event management website may not cover all the aspects required to create a complete event management website. There are many more features of both Eventin and Elementor that you may find challenging to implement.
In such cases, you can visit our documentation page when you encounter difficulties. Additionally, video tutorials are available to provide specific solutions to particular issues.
If you have a web development team, you can also request customizations to suit your needs. However, if you’re not proficient in coding, it’s advisable not to access the code editing panel.
We hope this blog proves helpful. Best of luck!