Event Planning Checklist: Step-by-Step Guide to Plan Successful Events


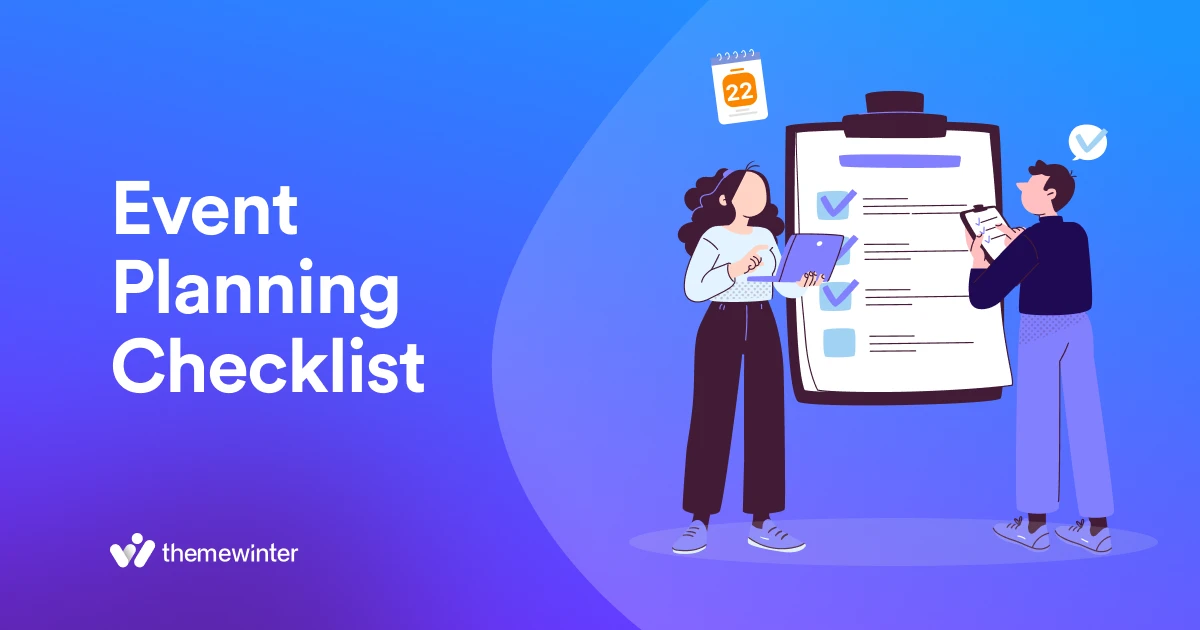
Table of Contents
An event planning checklist helps you stay organized, but keeping registrations, payments, and attendee details in sync can still be challenging when you run events through WordPress.
You might collect sign-ups through one form, check payments separately, and update an attendee spreadsheet by hand. As registrations grow, it becomes easier to miss an update or lose track of who is attending.
That’s where a WordPress event management plugin like Eventin can help. It brings registration, ticketing, and attendee management into your website, while your checklist keeps the wider planning process on track.
We bring this step-by-step event planning checklist to see what to do before, during, and after your event, and where Eventin can help you manage the process in WordPress.
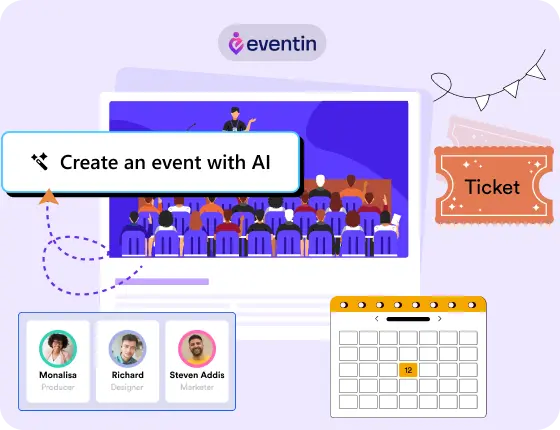
Manage Events Like a Pro
Try the easiest way to create, manage, and promote events with Eventin.
- 🟣 AI event generation
- 🟣 Ticket & Certificate builder
- 🟣 Secure ticket sales
- 🟣 Event analytics & report
Quick Overview
Use this event planning checklist to organize your event from the first planning decisions to the final follow-up, with practical guidance for managing registrations and tickets on WordPress.
- Before the event: Set goals, build your budget, confirm the venue and vendors, assign responsibilities, and plan promotion.
- Registration and ticketing: See where Eventin fits into managing sign-ups, tickets, and attendee information on your WordPress website.
- On event day: Prepare your team, check equipment, manage attendee check-in, and keep the schedule on track.
- After the event: Follow up with attendees, collect feedback, and review results against your goals.
What is an event planning checklist?
An event planning checklist is a structured list of tasks to complete before, during, and after an event. It helps you track what needs to be done, who is responsible, and when each task is due, so important details are less likely to be missed.
For each task, add a deadline, assign a responsible person, and mark its status as not started, in progress, or complete. This makes it easier to spot unfinished work before it delays your event. A typical event planning checklist includes:
- Setting goals and an event budget
- Choosing a venue or platform
- Managing event registration and tickets
- Promoting the event
- Handling attendees and check-ins
- Following up after the event
For example, “open event registration” involves more than publishing a form. You need to check ticket details, test the sign-up process, and confirm that attendees receive the information they need. Recording these checks separately helps you catch gaps before registration opens.

What does an event planning checklist include?
On WordPress, Eventin can support the registration, ticketing, and attendee-management side of this checklist. Keep deadlines and team responsibilities in your planning checklist, and use Eventin to manage the related event details on your website.
An event planning checklist should cover your goals, audience, budget, venue, logistics, promotion, event-day operations, and follow-up. For events managed through WordPress, include registration, ticketing, and attendee communications within these areas.
Below are the key items you should include in your event checklist:
- Event goals and objectives
Start by setting a clear purpose. Are you aiming for brand awareness, lead generation, or sales conversions?
Planning an event without clear objectives is like sailing without a compass. Define your success metrics: early registrations, ticket sales, and attendee engagement, and align every task accordingly.
- Target audience
Who is this event really for?
Clarify your audience demographics, preferences, and behaviors. Understanding your attendees helps you design an experience that resonates from content to format and communication. This is especially crucial if you’re planning a hybrid event or targeting specific user personas.
- Budget planning
Budgeting is one of the most critical pieces of any event planning process.
Be sure to calculate both fixed and variable costs, venue, catering, rentals, marketing, logistics, and staff. Use our event budget planning guide to estimate smartly and keep your event profitable.
- Event venue
Location matters. Consider capacity, accessibility, technical capabilities, and the overall vibe.
Also, determine whether your event will be in-person, virtual, or hybrid. That single decision will impact your entire planning from budget allocation to promotion and platform selection. Learn how to choose the right event platform based on your event type.
- Logistics and event scheduling
Once your venue is set, map out the operational details.
List the vendors, catering arrangements, equipment, transport, and staffing your event needs. Give each task an owner and a deadline, and prepare a schedule for setup, sessions, and breakdown.
For your WordPress registration workflow, include ticket setup, confirmation checks, and attendee records. Eventin can support registration and attendee management, while your checklist tracks who will configure and test each step.
- Marketing and promotion
Before the big day, your focus should shift to creating awareness and boosting attendance.
Craft an effective event marketing strategy that includes social media campaigns, email outreach, influencer promotions, and PPC ads. You can also use QR codes, countdown popups, and urgency triggers to increase conversions.
- On-the-day management
Prepare a checklist for the checks your team must complete before attendees arrive: equipment testing, signage, staff briefing, and registration-desk setup. Assign someone to manage check-in, monitor the schedule, and handle issues.
From tech support and stage managers to catering and security, make sure everyone knows their job. Our day-of-event management checklist can help you prep for the unexpected, too.
- Post-event follow-up
Your checklist doesn’t end when the event does.
Plan thank-you messages, attendee feedback, final vendor payments, and a team debrief. Compare attendance and spending with your original goals, then record improvements for the next event.
For events managed through WordPress, include a review of your registration and attendee records in Eventin. Use those records alongside survey responses and budget figures to assess the results.
Event planning checklist: 10 essential steps
Use these 10 steps as a quick reference. Assign each task an owner, set a deadline, and track its progress as you prepare for your event.
- Define your event goals, target audience, and success measures.
- Build a budget covering expected costs and a contingency allowance.
- Confirm the event date, format, and venue or online platform.
- Map out logistics, key deadlines, and the event-day schedule.
- Plan promotion and prepare your WordPress event page.
- Confirm vendor bookings, responsibilities, and delivery times.
- Assign team roles and agree on how you will communicate.
- Prepare backup plans for weather, cancellations, and technical issues.
- Complete final checks and manage setup, attendee check-in, and event-day activities.
- Follow up with attendees, review feedback, and compare results with your goals.
For WordPress events, include registration and ticket setup in your preparation, and attendee check-in in your event-day tasks. Eventin can support these parts of the workflow.
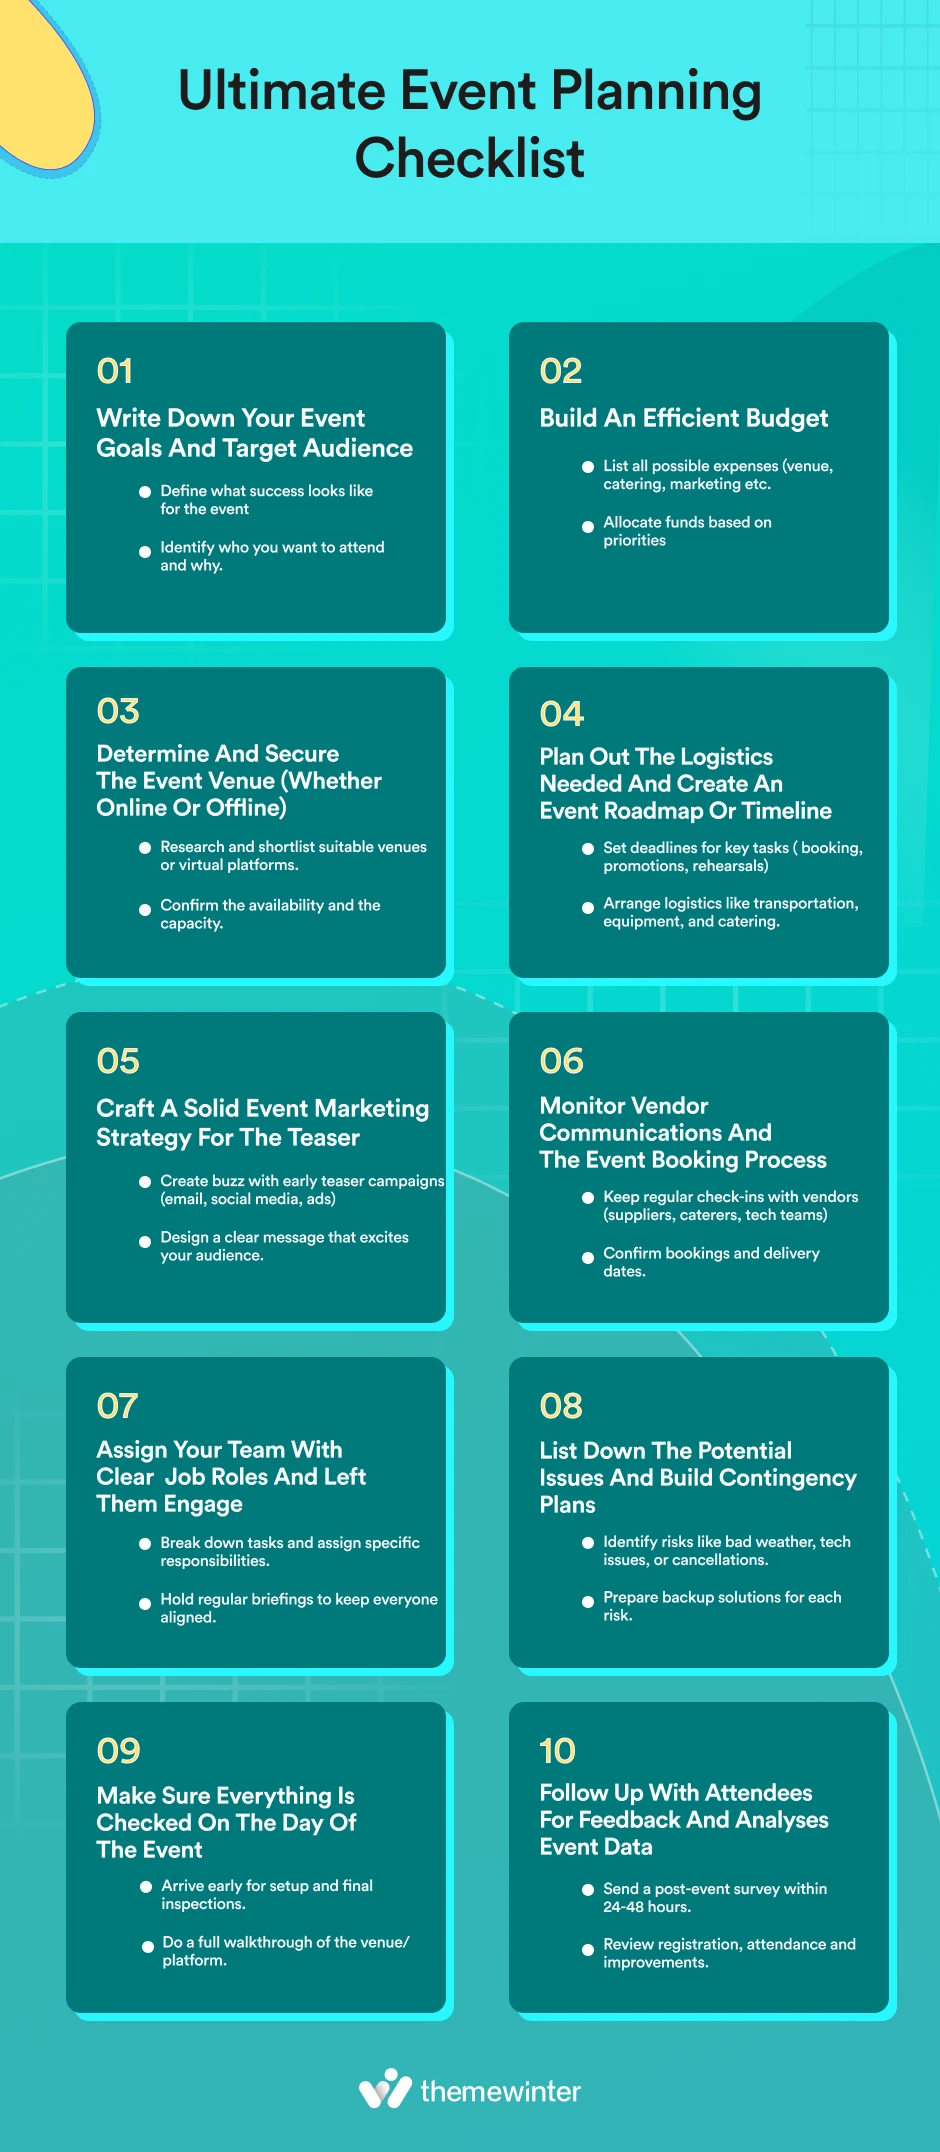
The sections below expand these tasks into pre-event preparation, event-day management, and post-event follow-up.
Pre-event planning checklist
Start with your goals, budget, team, date, and venue. Use this suggested timeline as a starting point, adjusting it to your event’s size and supplier deadlines. Several tasks will run in parallel.
- Several months before: Confirm the budget, team, date, venue, and key vendors. Larger conferences or events with limited venue availability may need a longer lead time.
- Once event details are confirmed: Prepare your WordPress event page, test registration and checkout, and begin promotion.
- 1–2 weeks before: Confirm guest numbers by the catering deadline, speaker requirements, staffing, and the event-day schedule.
- 24–48 hours before: Test equipment, prepare check-in materials, and review backup arrangements.
1. Write down your event goals and target audience
First, sit down with a small list of questions to get you started. You might want to ask yourself:
- What is the main purpose of this event?
- Who is the event for, and what do they need?
- What should attendees learn, experience, or do afterward?
- How many registrations and attendees are we aiming for?
- Which sessions or activities support that goal?
- What budget and team capacity are available?
- Which event format and location suit the audience?
- What access or participation barriers should we address?
- Which measurable result will define success?
- Who will review the results, and when?
Record your answers in a short event brief. For example, a workshop might target 100 registrations and 80 attendees, then use a feedback survey to check whether the session met participants’ needs. Treat these as example targets, not industry benchmarks.
This clarity leads to better decisions in areas like refining your event marketing strategy, planning logistics, or streamlining the event booking process.
2. Build an efficient event budget
Build a budget that tracks expected income, estimated costs, and actual spending.
Include venue hire, catering, equipment, staffing, speakers, marketing, travel, and any applicable fees or insurance. For each item, record the quote, deposit, remaining balance, payment deadline, and person responsible.
Set aside a contingency amount based on your event’s risks and agree on who can approve extra spending. Review the budget when supplier quotes or expected attendance change.
💡 Pro Tip: Hosting online events? Use budget-friendly WordPress tools like Eventin to manage registration, ticketing, and attendee communication without overspending.
For a more detailed breakdown, check out our guide on event budget planning.
3. Confirm the event date, format, and venue
Choose an in-person, virtual, or hybrid format, then confirm a date that works for your venue, audience, and key speakers. Check relevant holidays and competing events before committing.
For virtual conferences, check platform capacity, attendee access, time-zone settings, captions, and technical support. Rehearse with speakers and agree on a backup connection or communication channel.
For physical events, consider:
- Is the location accessible to attendees?
- Does the venue match your theme and brand?
- Is there enough space for your expected turnout?
- Does it support catering, AV, step-free access, suitable seating, and accessible toilets?
Confirm setup and breakdown access, parking, equipment, and emergency arrangements with the venue. On your WordPress event page, publish clear arrival instructions and a way for attendees to request accommodations.
4. Plan out the logistics needed and create an event roadmap or timeline
Once the venue is set, focus on the logistics—because this is where execution begins.
Add these to your checklist:
- Secure permits and licenses
- Book reliable vendors
- Assign vendor responsibilities
- Set up attendee flows
- Build your event timeline
Keep preparation deadlines in a shared planning tool. Separately, create a run of show: an event-day schedule listing the time, activity, location, and responsible person. Include buffers for transitions.
Example for a morning workshop:
- 8:00 a.m. — Setup — Operations lead.
- 8:30 a.m. — Equipment and presentation checks — Technical lead.
- 9:00 a.m. — Attendee check-in — Registration lead.
- 9:30 a.m. — Welcome and first session — Host.
- 12:00 p.m. — Closing and attendee departure — Host and operations lead.
- 12:30 p.m. — Equipment collection and venue handover — Operations lead.
Share a contact sheet for key staff and vendors, including backup contacts, with the team.
5. Plan event promotion and launch registration
An effective marketing strategy can sell a successful event before it even starts. That’s why creating an event marketing plan that resonates with your target audience is a crucial step in the pre-event planning process.
Here are some key marketing strategies to consider:
- Social Media Marketing: Leverage platforms like Facebook, Instagram, Twitter, and LinkedIn to create engaging content, share event details, and build anticipation.
- Email Marketing: Build an email list and send targeted campaigns to invite potential attendees and provide event updates.
- Event Website or Landing Page: Create a dedicated platform for event information, registration, and ticketing. Consider using WordPress to build a professional-looking website.
- Public Relations: Reach out to media outlets to generate press coverage and increase event visibility.
- Partnerships and Collaborations: Partner with complementary businesses or organizations to expand your reach and attract a wider audience.
Before promoting your WordPress event website, confirm that the date, venue, programme, ticket information, and registration link are accurate. Test the registration journey, then direct your email and social campaigns to that page.
6. Finalize vendor contracts and bookings
Confirm each vendor’s scope of work, deposit, payment deadlines, delivery and setup times, cancellation terms, and day-of contact. Agree on when final catering numbers and any dietary requirements are due.
If your event includes speakers or sponsors, confirm session topics, durations, presentation deadlines, technical requirements, and arrival times. Record sponsor commitments, such as logo placement or exhibition space, with an owner and deadline.
7. Assemble your event team
Assign a lead for registration and attendee support, vendor coordination, and technical operations. For each role, record the person responsible, a backup contact, and the decisions they can make. Brief the team on the schedule and communication channel before event day.
If you’re hosting workshops or seminars, see how to organize them efficiently with Eventin.
8. Create a contingency plan
For each major risk, record the trigger, backup action, decision owner, and communication plan.
- Bad weather: Agree on an alternative location or postponement process, a decision deadline, and who will notify guests.
- Speaker cancellation: Prepare a substitute session, remote participation option, or revised schedule.
- Internet or equipment failure: Keep local presentation files, suitable backup equipment, and an attendee check-in fallback.
- Safety incident: Review the venue’s emergency procedures and brief staff on who coordinates the response.
Review these arrangements with key suppliers. For more examples, see our guide to common event management challenges.
9. Design event materials
Prepare invitations, directional signage, attendee badges, and any promotional materials your event needs. Proofread the date, time, venue, names, and URLs before printing. Test printed QR codes and make sure signs are readable at their intended viewing distance. Book photography before event day and agree on the moments to capture.
10. Manage event registration and ticketing
Registration connects your event page with ticket sales and attendee records. In WordPress, use Eventin to configure these tasks, then test the complete journey before opening registration. Follow the Eventin setup guide; if you plan to use QR ticket validation, the QR scanning documentation specifies that Eventin Pro is required.
Before promotion begins, test the registration journey on your WordPress website from an attendee’s point of view:
- Publish accurate event details: date, time zone, venue or joining instructions, ticket information, and a support contact.
- Configure the ticket options, prices, availability, and limits that apply to your event.
- Keep the registration form focused on necessary attendee details, then test the form on desktop and mobile.
- For paid events, test checkout using your payment provider’s supported testing method and verify that the booking is recorded correctly.
- Check the confirmation message for correct event details, ticket information, and attendee instructions. Test any scheduled reminders.
- Prepare attendee records and rehearse check-in with your team. Agree on a backup process if connectivity is interrupted.
Manage Your Entire Event Process from One Place
A WordPress event management plugin like Eventin helps you manage event registration, ticketing, and attendee management in one simple system, so your event workflow stays organized and efficient.
Explore EventinDay-of-event checklist
Use your run of show to coordinate the day. Before doors open, ask each task owner to confirm their area is ready; during the event, use one agreed channel to communicate changes.
- Before doors open: Walk through the venue and check seating, signage, accessibility arrangements, equipment, and presentation files.
- Team briefing: Confirm responsibilities, breaks, contact details, and who handles technical, vendor, or attendee issues.
- Check-in readiness: Prepare badges and attendee records, rehearse the ticket-checking process, and keep a backup for connectivity problems.
- During the event: Monitor queues, speaker timing, catering, and session transitions. Tell staff and attendees about schedule changes promptly.
- Issue handling: Use the agreed contingency plan, involve the responsible lead, and record problems and actions for the debrief.
- After closing: Coordinate equipment collection, check for lost property, complete a venue walkthrough, and save attendance records.
Post-event planning checklist
Close out the event with attendee follow-ups, a financial review, and a team debrief. Assign an owner and deadline to each remaining task so the work does not stop when attendees leave.
- Follow up: Thank attendees, speakers, volunteers, and sponsors. Share promised resources or recordings where you have permission.
- Gather feedback: Send a short survey while the experience is still fresh, and collect feedback from staff and vendors.
- Review results: Compare checked-in attendance with confirmed registrations, review actual spending against the approved budget, and assess your original success measures.
- Close and improve: Reconcile deposits, invoices, refunds, and outstanding payments; confirm equipment returns; then assign an owner and deadline to each improvement agreed at the team debrief.
📌 Goodreads: How to Start an Event Planning Business: 7 Easy Steps to Follow – Read more
Manual event planning vs using an event management system
A shared spreadsheet can work well for budgets, deadlines, and vendor tasks. Coordination becomes harder when registration details, payment updates, and attendee records must be copied between separate tools.
For WordPress organizers, Eventin supports registration, ticketing, and attendee management on the website. Keep the wider planning checklist alongside it to track venue arrangements, supplier commitments, and team responsibilities.
- Planning tasks: Use a shared checklist to track owners, deadlines, and completion status.
- Registration and tickets: Use event software when collecting sign-ups and handling ticket orders through your website.
- Attendee records: Keep a current record of registrations and check-ins so staff can resolve questions.
- Tool selection: Compare required features, integrations, plan limits, and team training needs before choosing your setup.
How Eventin simplifies your event planning workflow
Your checklist defines the work; Eventin supports registration, ticketing, and attendee management on your WordPress website. Match its features to the tasks your team needs to complete, then test the workflow before launch.
Use the following sequence, and consult the setup documentation and event reporting guide when configuring your workflow:
- Set up: Create your event and publish the information attendees need on your WordPress website.
- Configure registration: Decide which attendee details and ticket options your event needs.
- Test ticket sales: Check ticket availability and the payment workflow before promotion begins.
- Prepare check-in: Train staff and, if using QR validation, check the Eventin Pro requirements and test the scanning process.
- Manage attendees: Review registration and attendance records to handle attendee queries.
- Review results: Use event reports alongside your budget and feedback to evaluate outcomes.
Simplify Your Event Planning Process
With Eventin, you can support registration, ticketing, and attendee management on your WordPress website while keeping planning deadlines and responsibilities in your checklist.
👉 Get Started with Eventin and choose the plan that fits your event.
FAQs about event planning
How do you manage event registration online?
You can manage event registration online by using a system that collects attendee details, handles payments, and tracks sign-ups in one place. A WordPress event management plugin like Eventin makes this simple by letting you create registration forms, manage attendees, and automate confirmations without manual work.
When should you consider Eventin for your WordPress events?
Consider Eventin if you want to manage event registration, ticketing, and attendee information through your WordPress website. Compare its features, payment integrations, and plan requirements with your event’s needs, and test your setup before opening registration.
Do I still need an event planning checklist if I use Eventin?
Yes. Eventin supports registration, ticketing, and attendee management, while your checklist tracks the wider planning work. Keep venue bookings, vendor deadlines, team responsibilities, budget reviews, and contingency plans in your checklist.
How do I create an effective event marketing strategy?
An effective strategy includes social media campaigns, email sequences, influencer marketing, landing pages, and public relations. Make sure your message aligns with your target audience’s interests. Check out this event marketing strategy guide.
Which event planning tasks can I automate on WordPress?
Depending on your tools and plan, you can automate selected tasks such as registration confirmations and scheduled reminders. Eventin offers email automation features; check the current feature requirements and test each message. Vendor decisions, safety arrangements, and team responsibilities still need an assigned person.
Why is budgeting crucial in event planning?
Budgeting allows you to allocate funds smartly across different event components like venue, food, marketing, and entertainment. It also helps avoid last-minute surprises and financial shortfalls. Learn how to plan an event budget effectively.
How early should I start pre-event planning?
Work backward from your event date and the deadlines for venues, vendors, speakers, and promotion. Several months can be a useful starting point, but large conferences and events with limited venue availability may need longer. Confirm supplier lead times before setting your schedule.
Conclusion: Start smart, plan better, stress less
Put your event planning checklist to work by assigning owners, setting deadlines, and checking progress with your team. Use the event-day schedule to coordinate delivery, then record what you learn for the next event.
For WordPress events, test registration, ticketing, and attendee check-in before launch so your team knows how the workflow fits together.
Explore Eventin to support these tasks on your WordPress website, and choose the features that match your event’s needs.
Ready to put your checklist into action? Explore Eventin for registration, ticketing, and attendee management on WordPress.
🚀 Get Started with Eventin