Setup Powerful Events with Eventin Event Management Plugin for WordPress (Step-by-Step Guide)
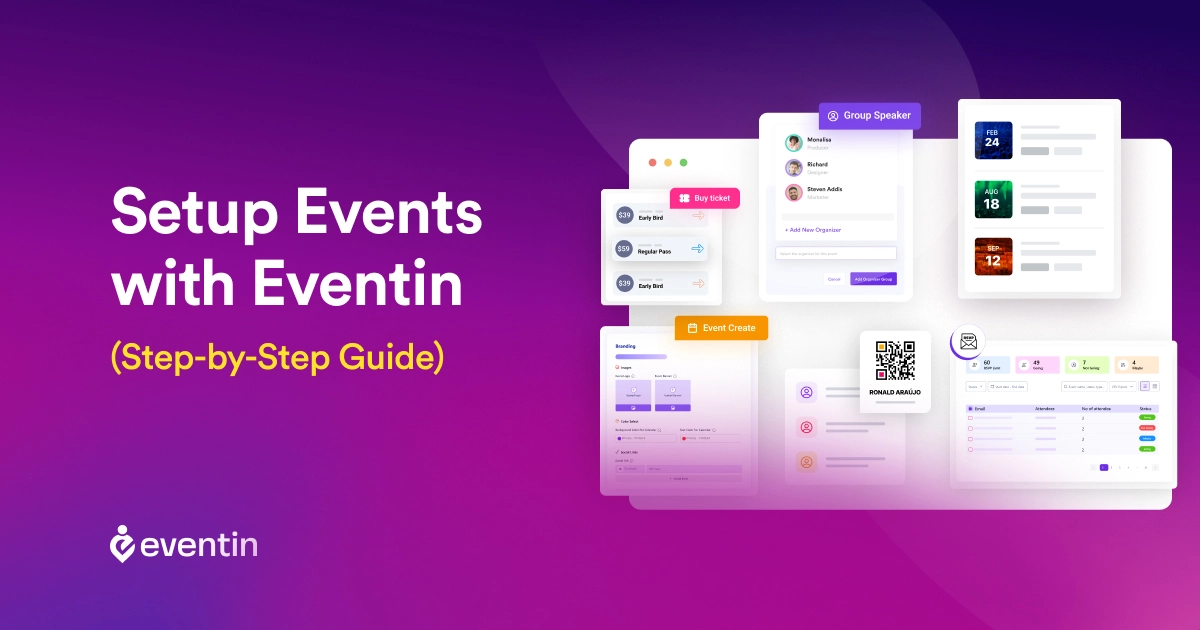
Table of Contents
If you’re an event manager, you know it already.
Setting up all the events on WordPress is super important; because when it comes to increasing event attendance and engaging attendees up until the event arrives, your event page plays a massive role.
Now how to setup events on WordPress site?
In this article, we’ll show you how you can create power-packed events on your WordPress website, and in this case, we’ll be using one of the fast-growing Eventin Event Management Plugin for WordPress events.
Let’s get started.
What is a WordPress Event Management Plugin?
If you don’t know or haven’t used it before, WordPress event management plugin is a tool specifically designed for WordPress that you can use to organize events on your WordPress website, thereby letting your attendees book their seats from the front-end of the event page.
So, without further ado, let’s learn how to setup your events using Eventin:
How to create your first event with the Eventin Event Management Plugin for WordPress
Creating an event is easy. Most event management plugins offer simple-to-use UI/UX to help you create an event in a few clicks. Eventin event manager, in this scenario, is no exception. Now with the version 4, you get to create your events much faster in a few clicks, with a simple yet powerful interface that builds a comfortable experience.
Let’s see how you can create your first event with Eventin event management plugin for WordPress:
# Getting Started
Step 1: Install and enable the plugin
First off, install the Eventin plugin on your admin content management system (CMS), or dashboard. To do so, go to Plugins > Add New.
Once you’re done installing the plugin, go over to the plugins and click on “activate” to enable Eventin on your dashboard.
Step 2: Create a New Event
Now as you’re on the WordPress dashboard, go to Eventin 🡪 Events 🡪 Add New.
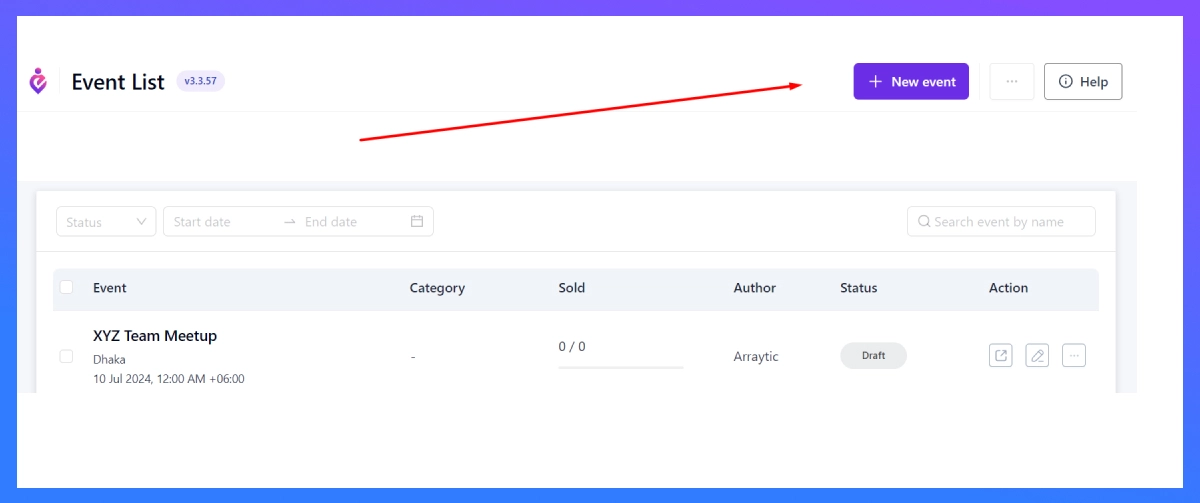
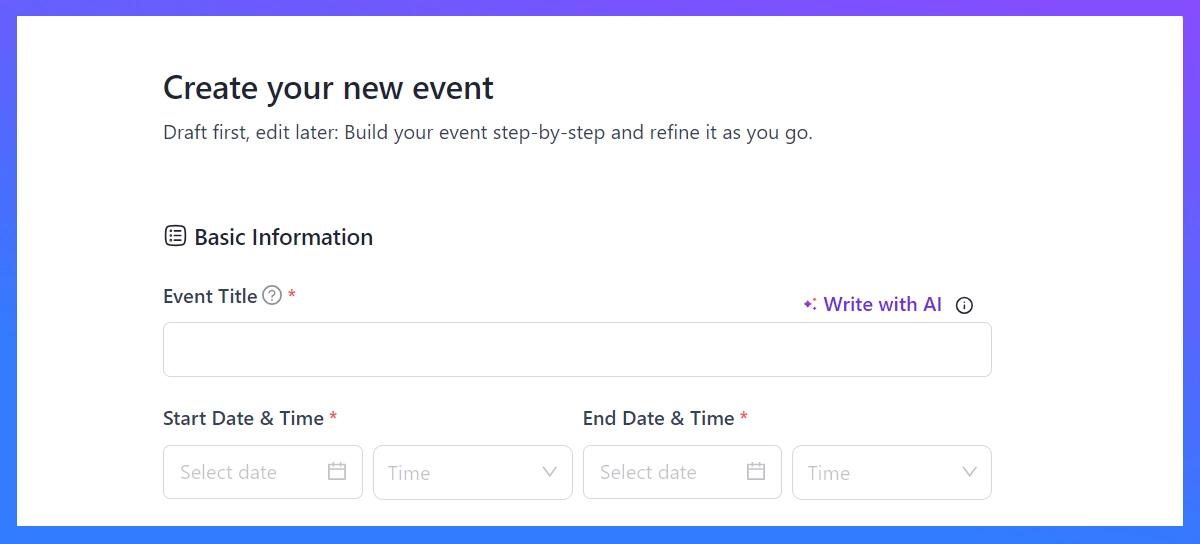
Once you click here, you’ll be taken to a unique event page to fill out the basic info.
In this section, you can include the event name in the title, set the event type, and add the information your attendees will need to know about your event.
If you’d like to create a single event (for instance), you can set the ´Start Date´ and ´End Date´ on the same day; otherwise, put a date range if you want a multi-event running.
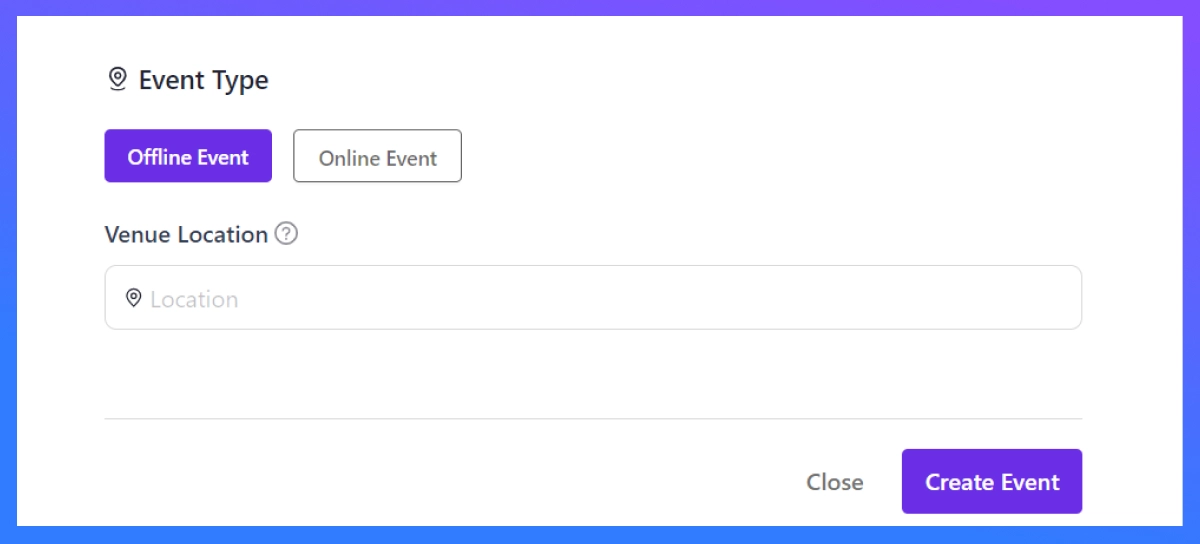
Now, select the type of event you want to run, either offline or online. If the former one, you can put the venue location on the box below.
Or if you want to run the latter, which means an online event, you can select from three of these video conference software options:
- Google Meet
- Zoom
- Custom URL
If you don’t like using Google Meet or Zoom, you can simply use any other video conferencing software like Sessions, etc., and put the meeting link here, so your appointees can connect you there.
Then finally, click on “Create Event”. 🎉
# Setup Your Event:
Right after you create your event, you’ll be shown the following page:
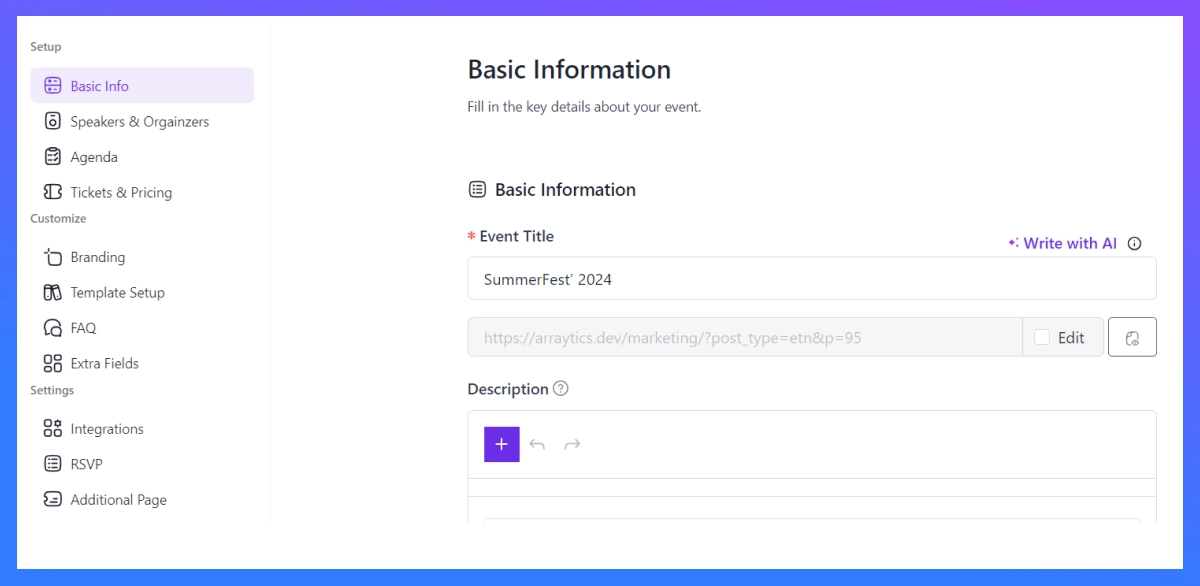
You can setup the events on Eventin event manager plugin with 3 stages: Event Setup, Event Customization, and Event Settings.
So, let’s start setting up the event with the first stage:
01. Event Setup
This section allows you to add more essential information, set speakers and organizers, add or create event agendas, and sell tickets for your event.
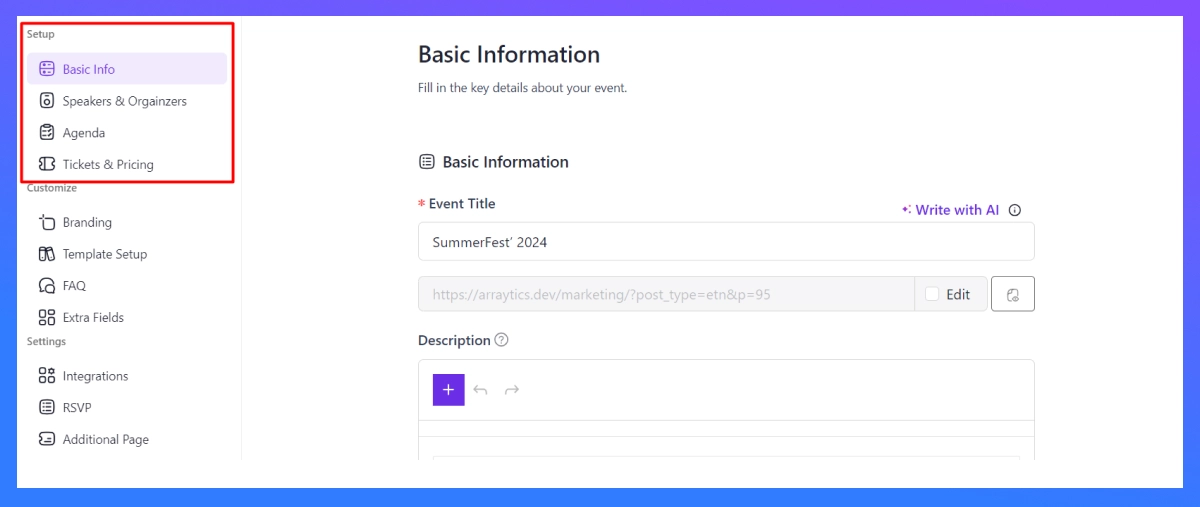
Here, try to go one-by-one on these 4 sub-sections. Here they are:
🌟 Basic Info: Cover the extra-basic information that event attendees might feel important to know. What’s new in this section is that you can add event details on a description, and set the categories and tags to organize it better in the future.
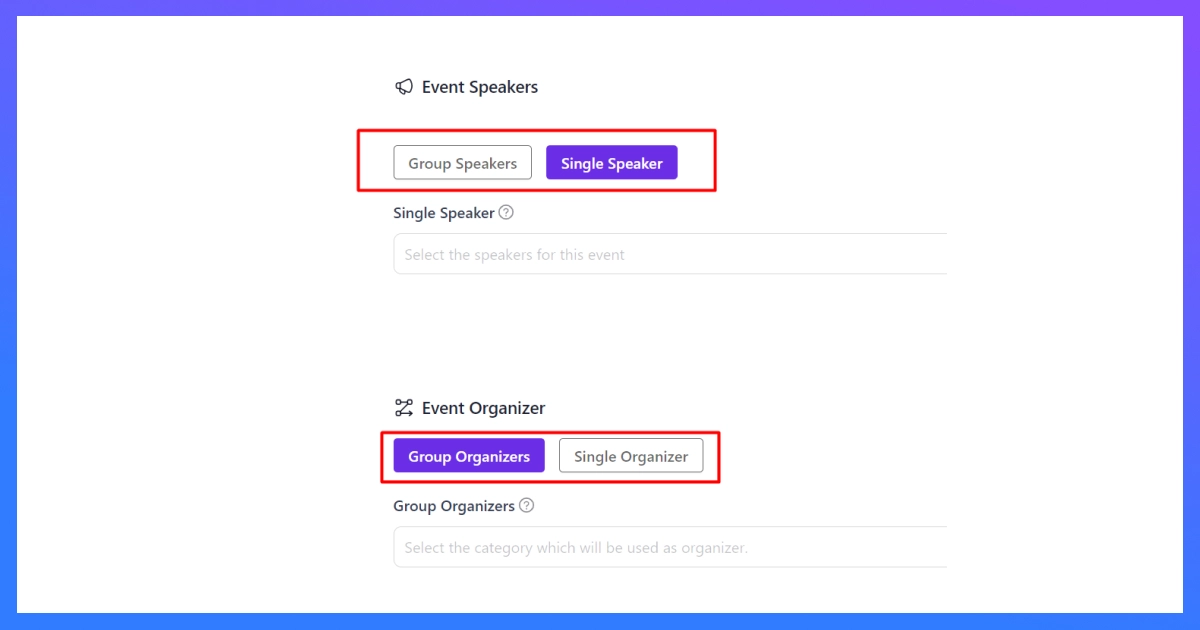
🌟 Speakers & Organizers: Here in this section, you can organize and list out the speakers and organizers for the event. Not just that, you can even categorize either single or group speakers/organizers for your event.
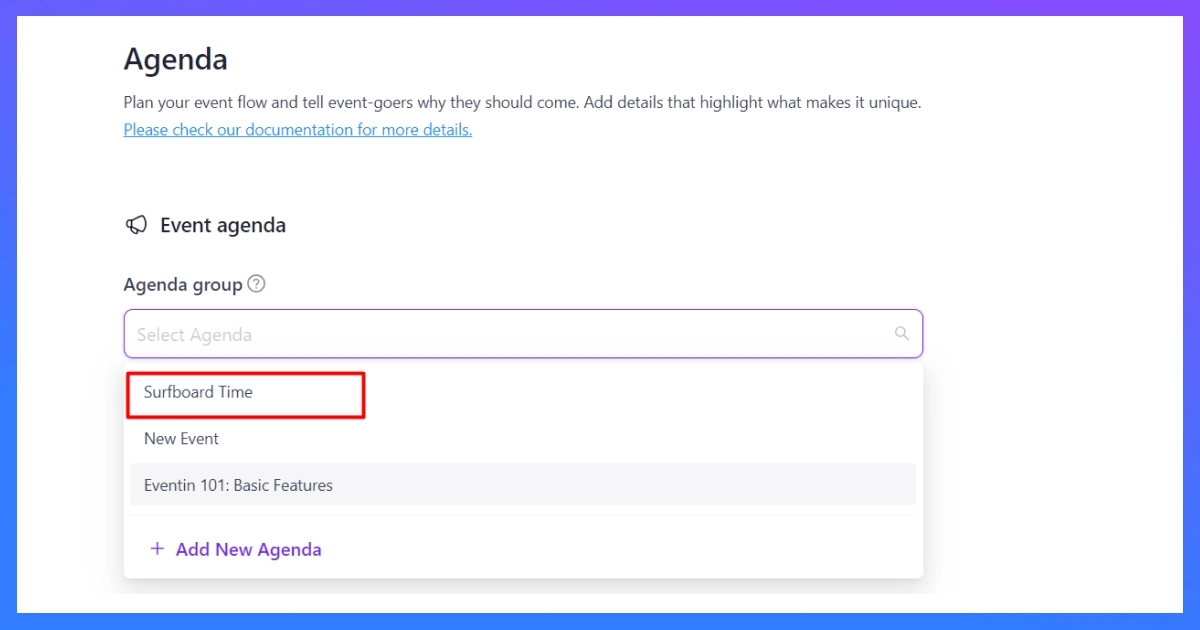
🌟 Event Agenda: Now comes the most important part of your event. Every event has one or more agendas for its attendees, so this part works on listing out the agendas for your upcoming event.
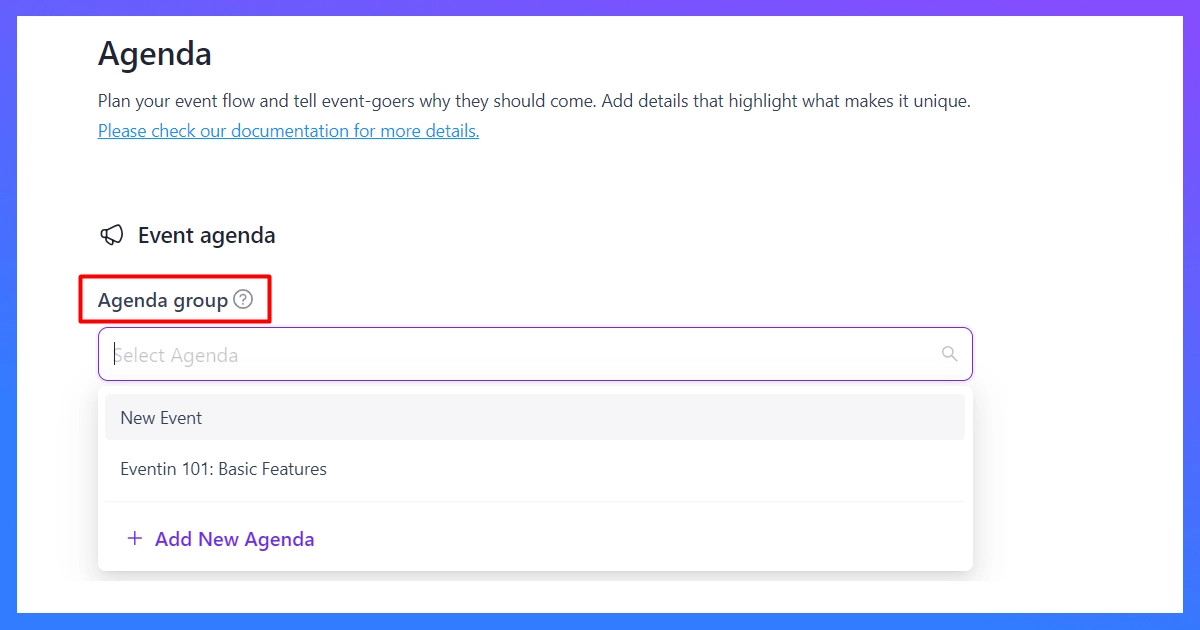
If you haven’t made any agenda before the event, simply click on “Add New Agenda” and create yours within seconds. Here’s an example:
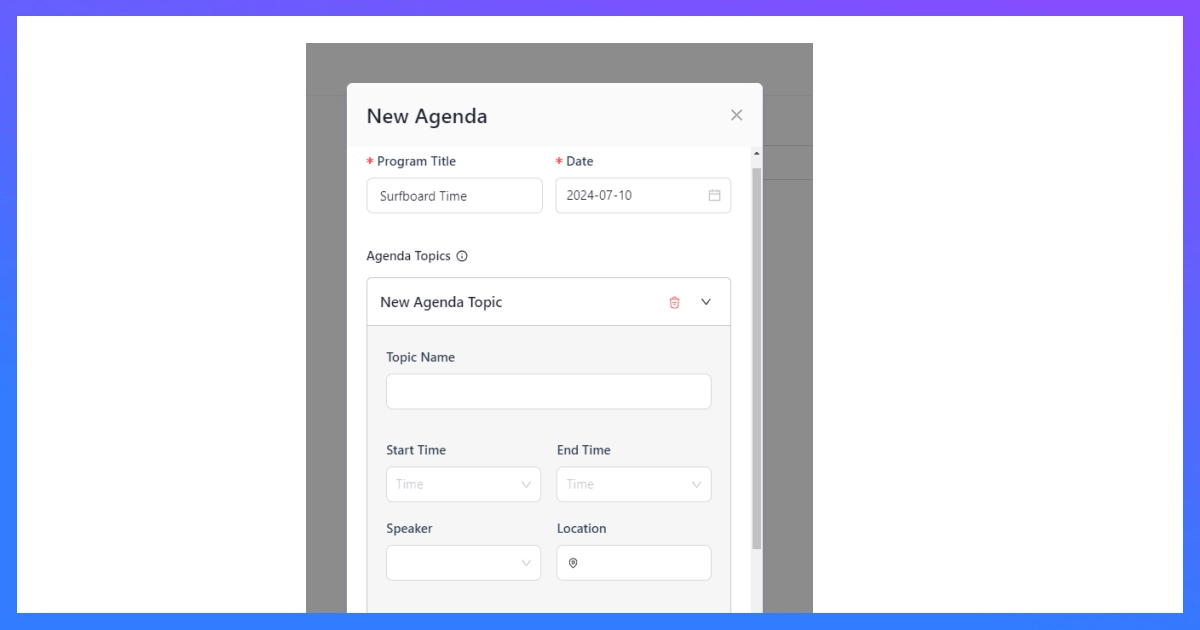
You can write the title and date of the agenda, where you can add “New Agenda Topic” to create an agenda topic with a different name, starting and ending time, assigned speaker and the specific location (if necessary).
Now that we have created a new agenda (‘Surfboard Time’ here), you can simply add it on the agenda and move to the next phase.
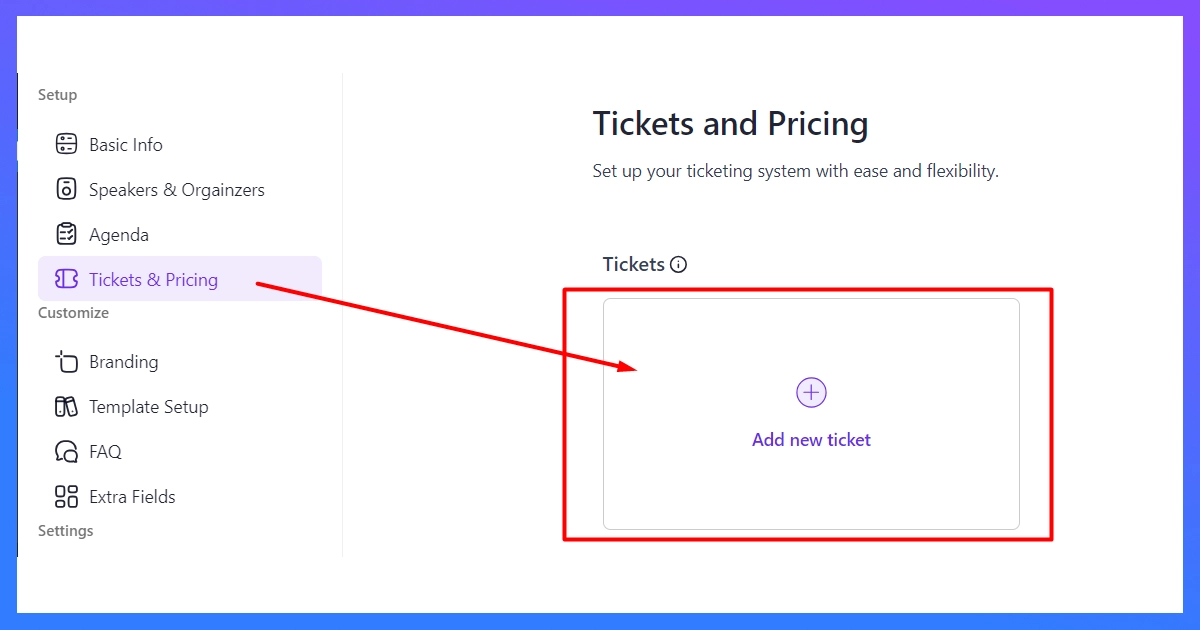
🌟 Tickets & Pricing: This is the money-making part. While setting up your event, you can set one or multiple ticket options and set their pricings for your event. To create new event tickets, simply click on the “Add New Event”.
Now, let’s add ticket details for the event, such as ticket names, pricing, entry and exit time limits, minimum and maximum ticket quantity etc.
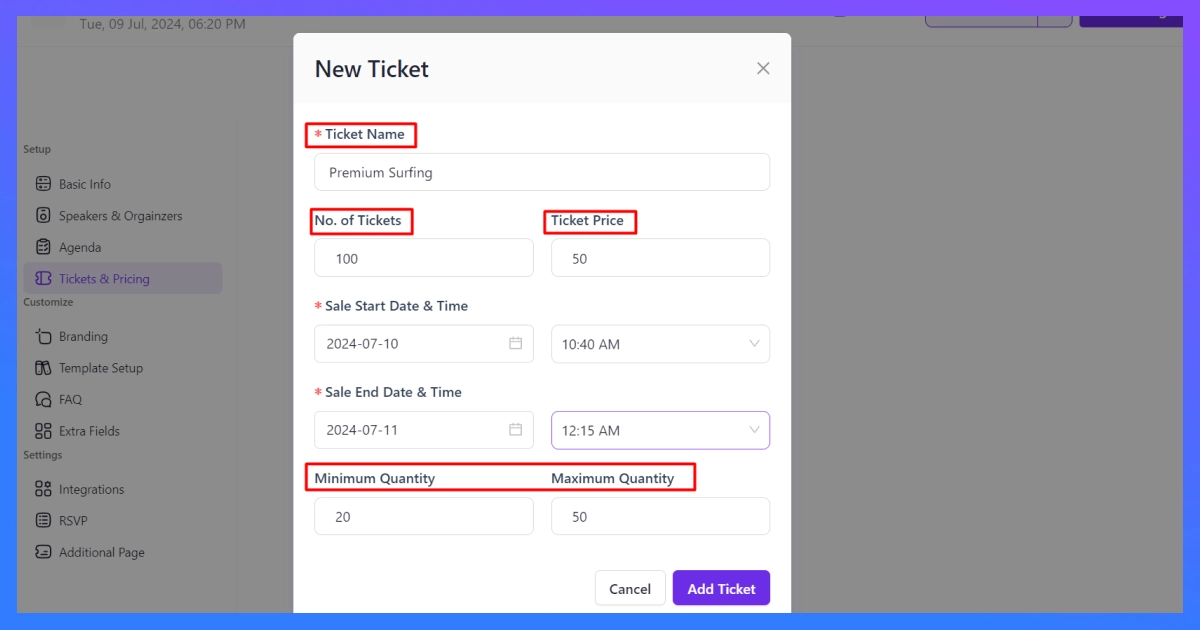
Click “Add Ticket” to confirm a new ticket added on your event. To add more tickets, simply click on the “Add new ticket” to create multiple ticket options for different event attendees.
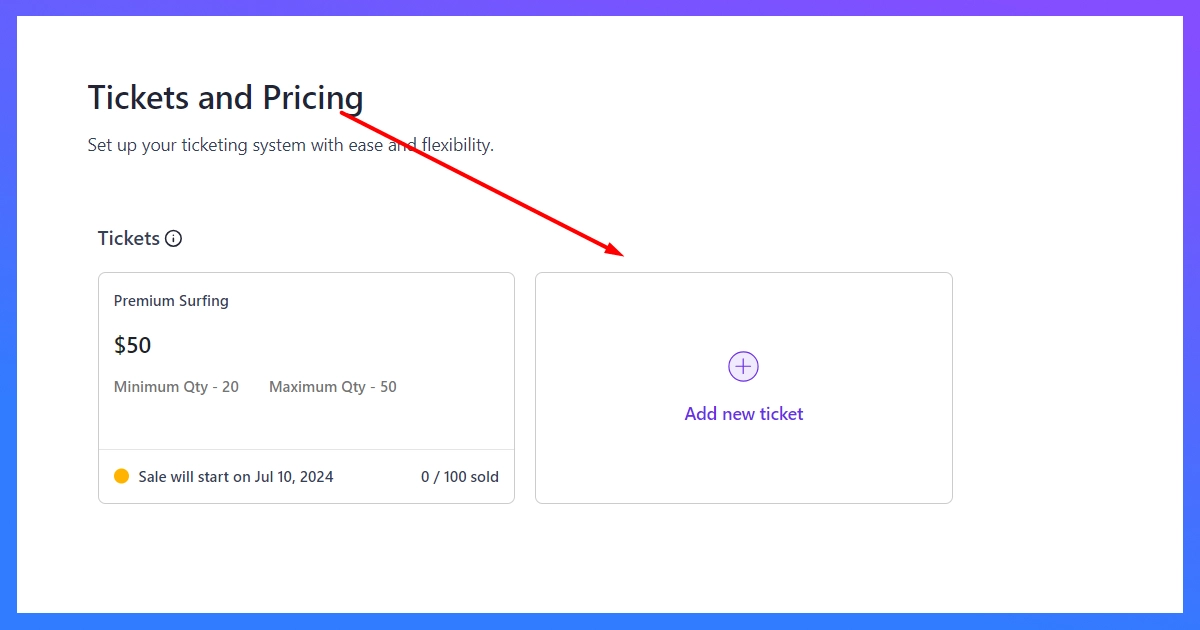
And that is how you complete the first part of setting up your event entirely. Now let’s move on to the next phase:
02. Customize Your Event
Now that you have built the foundation of the event (I mean the event basics), it’s time to customize the event based on four different stages: branding, template setup, FAQ, and Extra fields. Here they are:
🌟 Branding: The Branding is where the game begins. Every event stands out depending on its branding, how it looks, and how it will appear to the audience.
For your branding, you can make an outstanding appearance with the event color, logo, banner image and add social links on the front-page of event details.
📌 P.S: The event banner image you see on the branding section, works as the featured image, so you don’t have to upload the featured image anymore.
🌟 Template Setup: Not just adding colors and images, Eventin also offers you pre-built template for different purposes on your event.
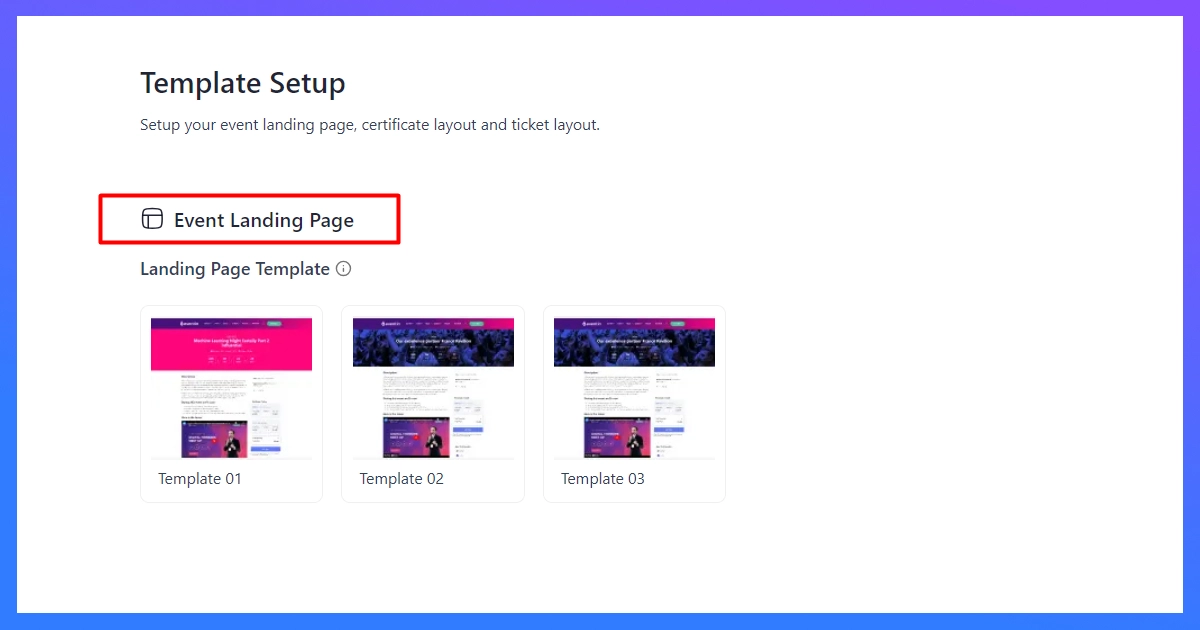
Here you can select the pre-built template you want to use for event landing pages.
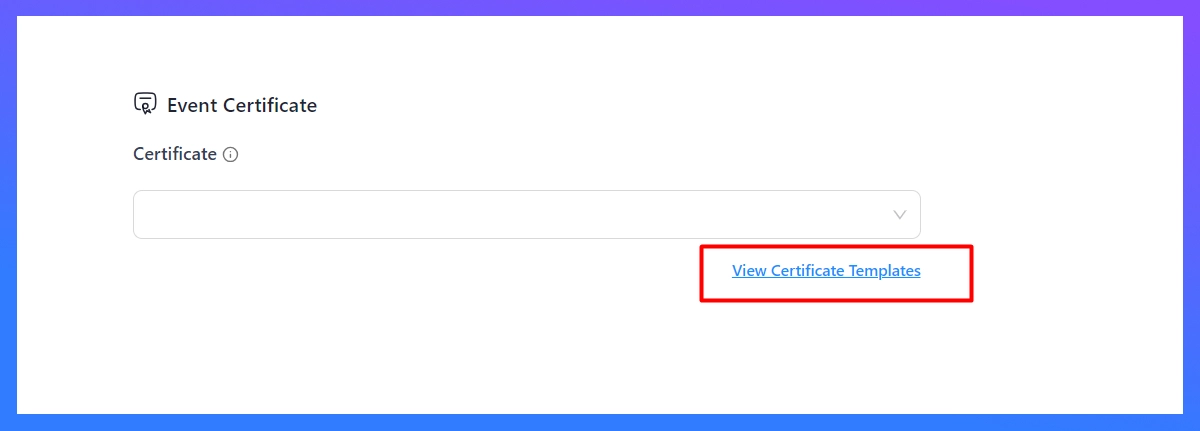
Once you choose the landing page template, you can even build and choose a certificate template you have made earlier for your events. Simply click on the “Create Certificate Templates” to create one.
Here, make sure to switch to “Eventin Certificate” template before you publish it. After that, it will appear on the certificate template list.
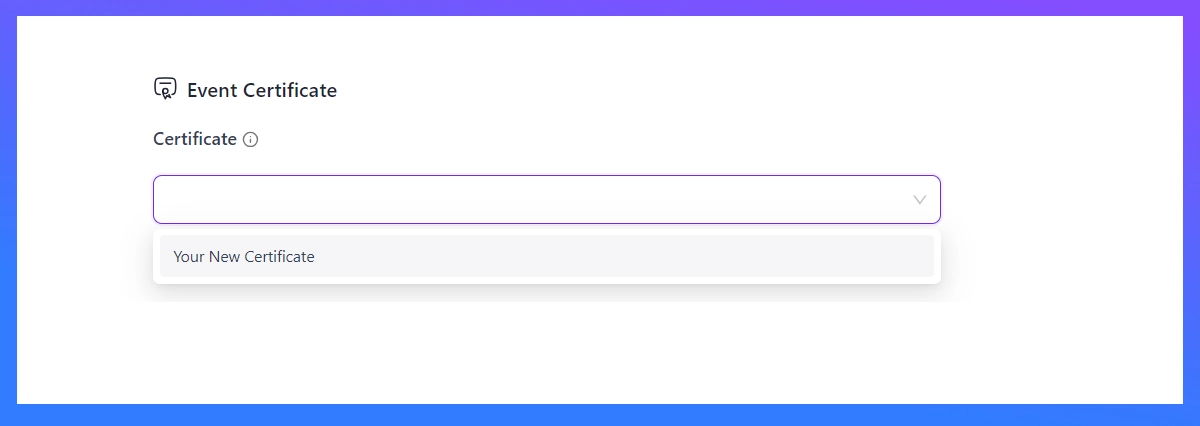
And voila! 🍎🍏

As soon as you’re done with event certificates, you can choose a fine-looking pre-built template for event tickets.
After choosing your favorite templates for landing page, event certificate, and tickets – click “save changes” and move on to the next section.
🌟 FAQ: Frequently asked questions are important, as event attendees might have confusion over common queries.
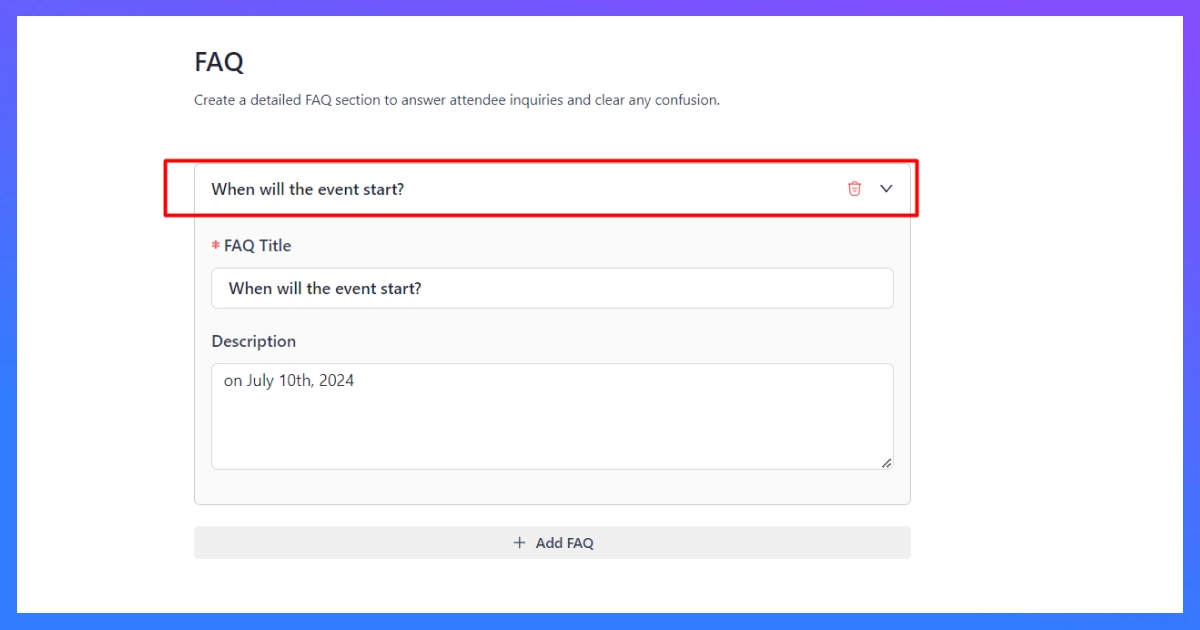
Letting them appear on the front-end of the event page will help the attendees get a grip of the event details and let them participant with an increased engagement.
Just simply click on the “Add FAQ” to add a new FAQ, then fill in the title/question and write down your answers for the attendees to see.
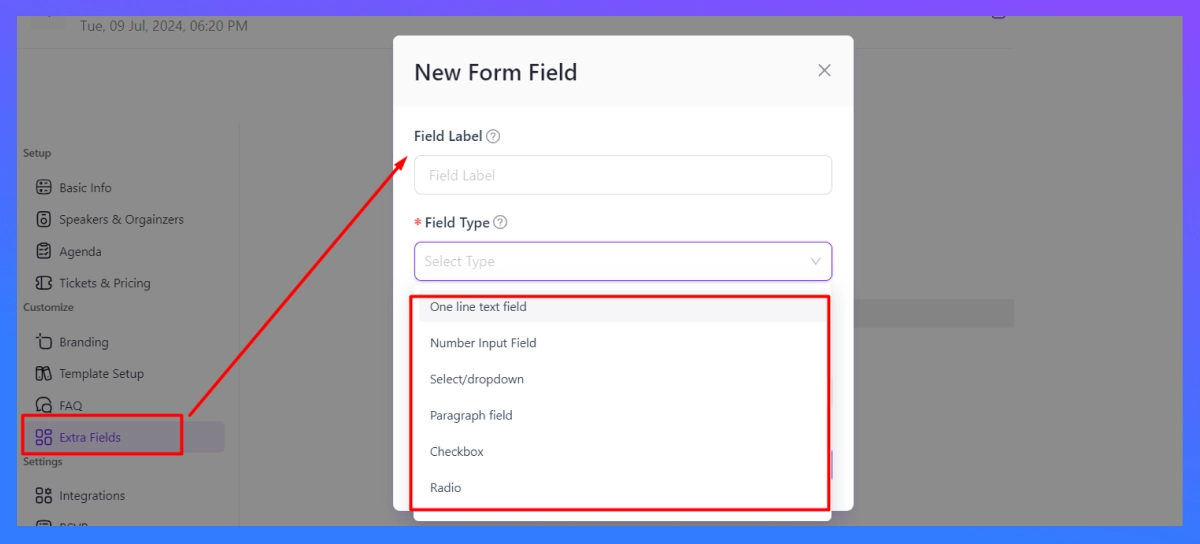
🌟 Extra Fields: If you need to add anything extra, simply add extra fields here to collect essential data such as email, contact numbers, number input field, radio, checkbox — anything you like.
03. Event Settings
You have created your event and customized it to give a touch of your brand. Now it’s time to take the created event a little further, and make it a bit geared up for an action-packed event.
In the event settings stage, you can setup the event RSVP, connect with integrations, and even add additional page for the event. Here’s how to set them up:
🌟 Integrations: In this part, you can see the options to integrate two CRM plugins with your events as Eventin offers, which are FluentCRM & GroundHogg.
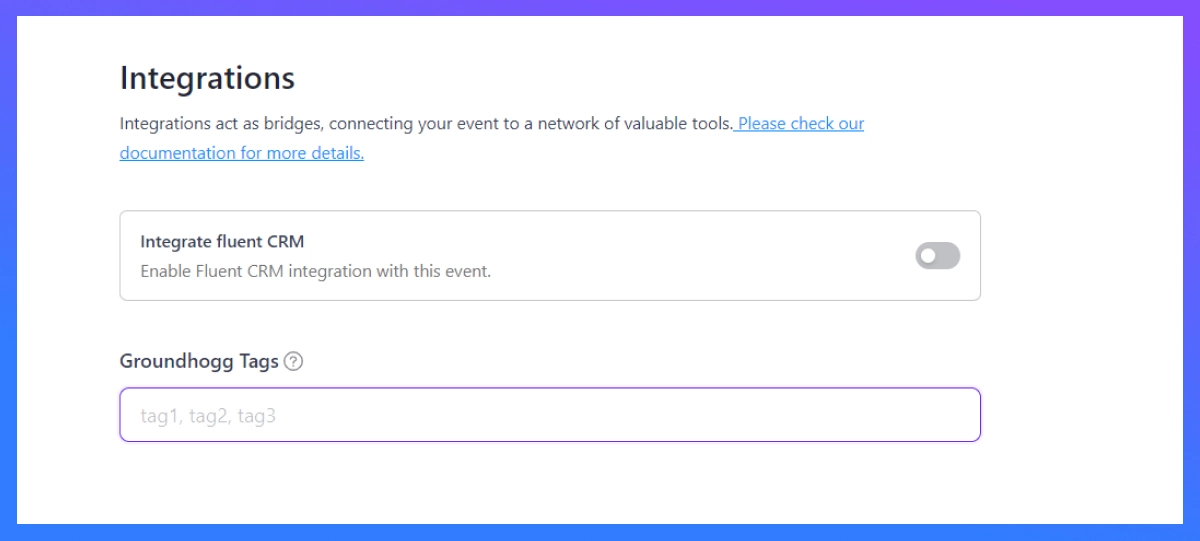
Both of the WordPress CRM plugins are the most popular in the WordPress plugin library, and you can add tags generated from GroundHogg or enter the webhooks generated from FluentCRM.
🌟 Event RSVP: Turn on the RSVP, the money-maker of your event to start distributing tickets and display attendee lists on the front page.
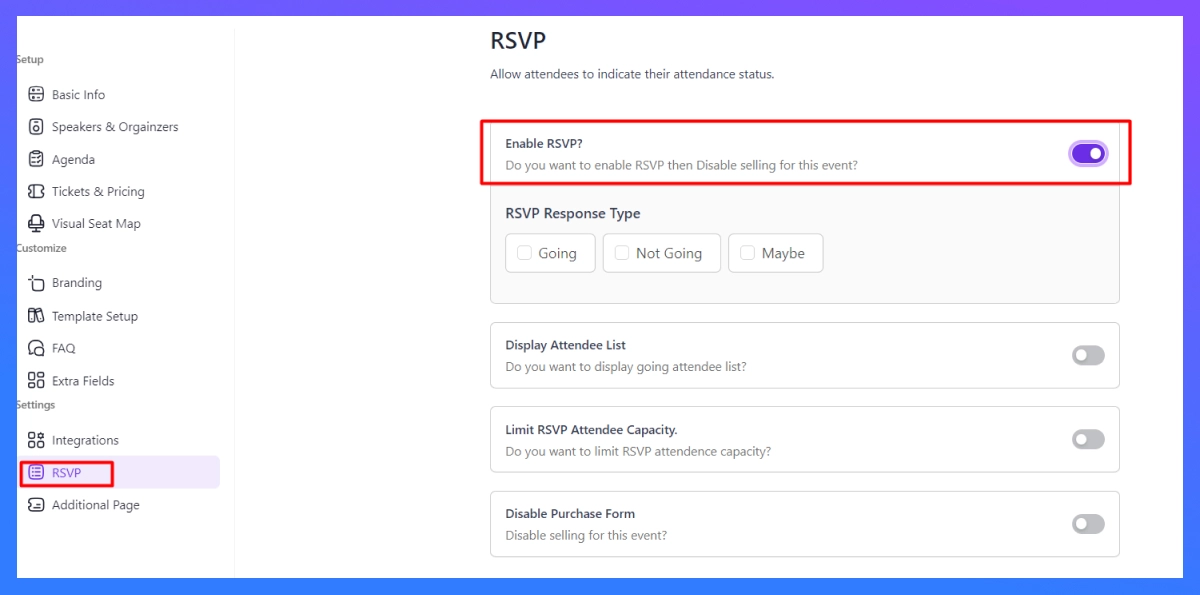
As you see, you can setup the RSVP response type, turn on the option to display attendee list, limit the max capacity of event RSVP and even disable purchasing form if you don’t want your event to be non-profitable.
🌟 Additional Page: This is the final page where you can create your event with extra features to showcase or embed multiple pages such as Video, social media wall, photo gallery etc.
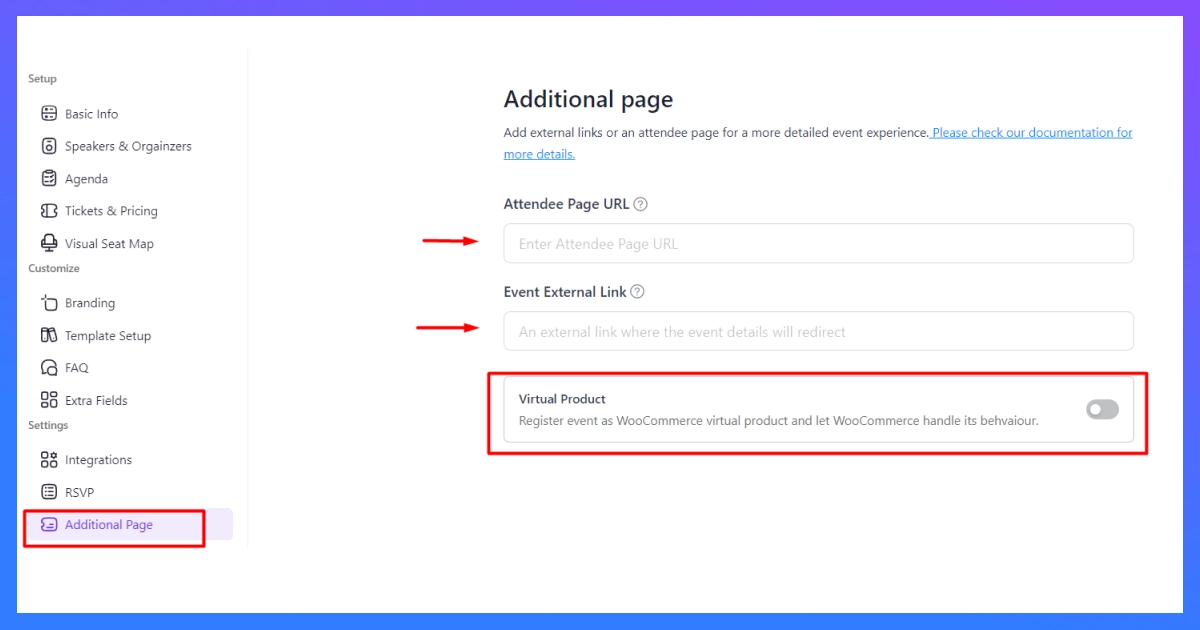
You can add attendee page URL (after you have enabled attendee registration on event settings), add an event external link to redirect to a proper page, and enable “virtual product” option in order to turn your whole event into a WooCommerce product to sell, and WooCommerce will treat it like an ecommerce store.
📌 Now, you are all good on how to create an event. Now, it’s time to Preview, Publish, and update the event site whenever you like.
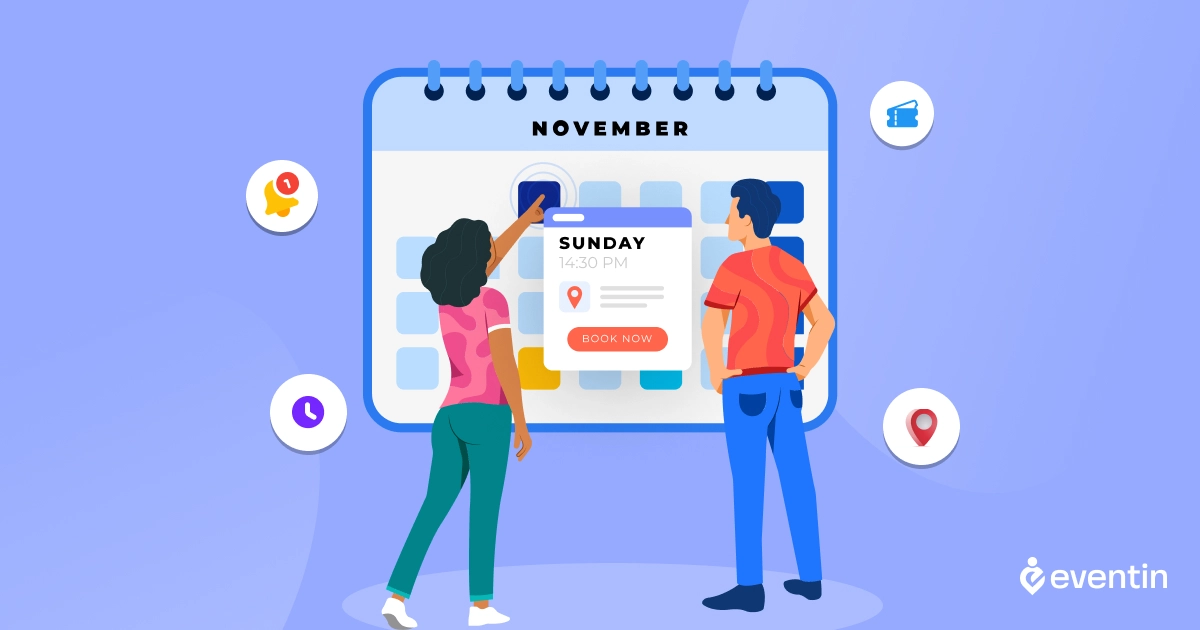
# How to Create a Recurring Event
To turn your published event into a recurring event, all you have to do is just simply turn on an option, which you can find on Eventin 🡪 Events 🡪 Choose an Event 🡪 Basic Info 🡪 Add Recurring Event. Here’s where you will find it:
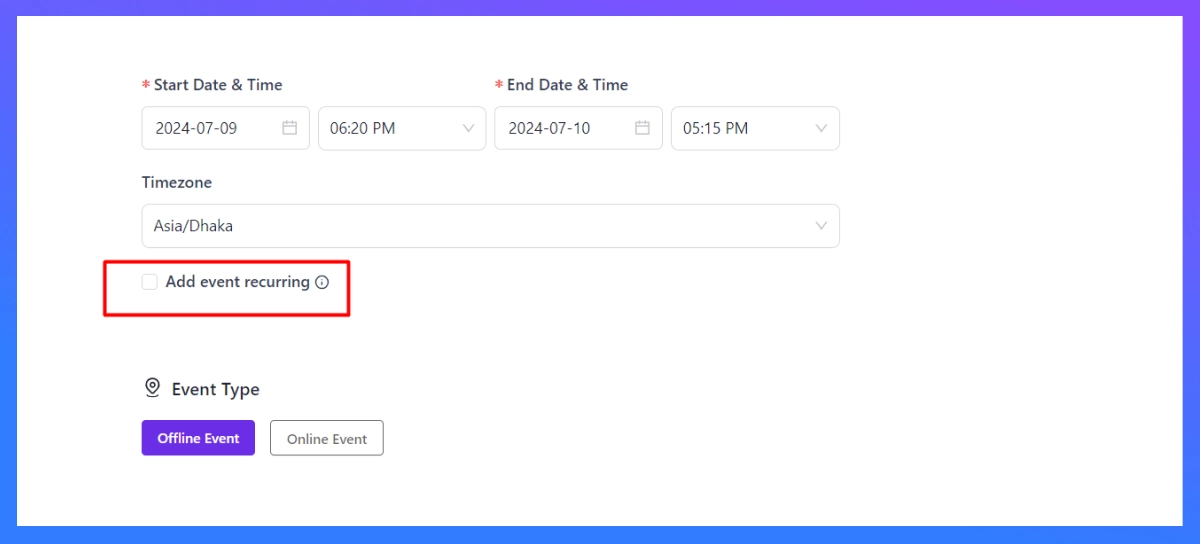
Just simply scroll down a bit in the middle of the page and you will see that beaming light with an autopilot feature. Turn on the feature to see the options you can run it for – daily, monthly, weekly, monthly advanced, or even yearly.
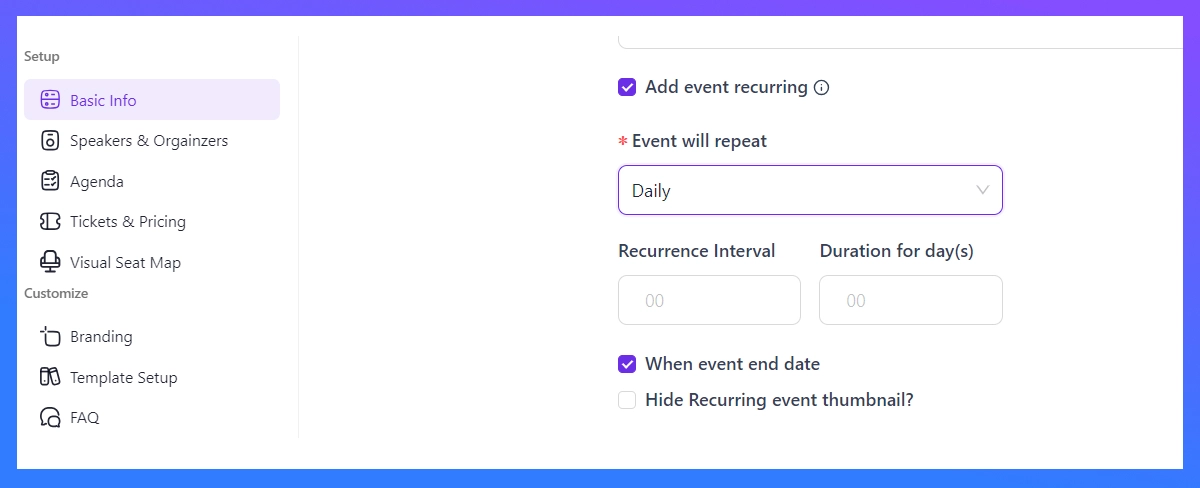
Once you select your time of recurrence, simply the choose the recurrence interval and time duration, and hide the thumbnail if you don’t want to show it on the front-end event page.
Wrapping up: Create Your Event Lightning Fast with Eventin Event Management Plugin for WordPress⚡
Now that you know how to create an event much faster on Eventin, you can save tons of time doing the same grunt work on autopilot.
So, did you like creating up your event with Eventin Event Manager Plugin? Then try the Visual Seat Map, a revolutionary feature to draw your event floor map,nd set tickets on each seat to sell faster with ease.
Or you can try the Event RSVP, a much simpler-to-build form to get a faster response from the event attendees; or you can try the all-sync calendar to showcase all your events.
Or you can simply create an event on Facebook and sync it with your WordPress event website.
You never know which one you might need.
So, let’s try Eventin today, and create an event with an action-packed experience.