

How to Create a Virtual Conference Website with Elementor, Zoom and WordPress

Do you know about the recent change in virtual conferences? Well, it has become popular and has grown up to 1000%. If you have a plan but are worried about the website, we have great news for you. In this tutorial blog, we will share step-by-step guidelines for making a completely virtual conference WordPress website.
If you are not familiar with coding or don’t want to hire a developer still don’t worry. We will share in a way that does not require any coding skills. Remember, WordPress is holding 42.9% of all websites and it brings the easiest way to build your next virtual conference website. WordPress will save plenty of time and resources that need hiring a developer to make a website.
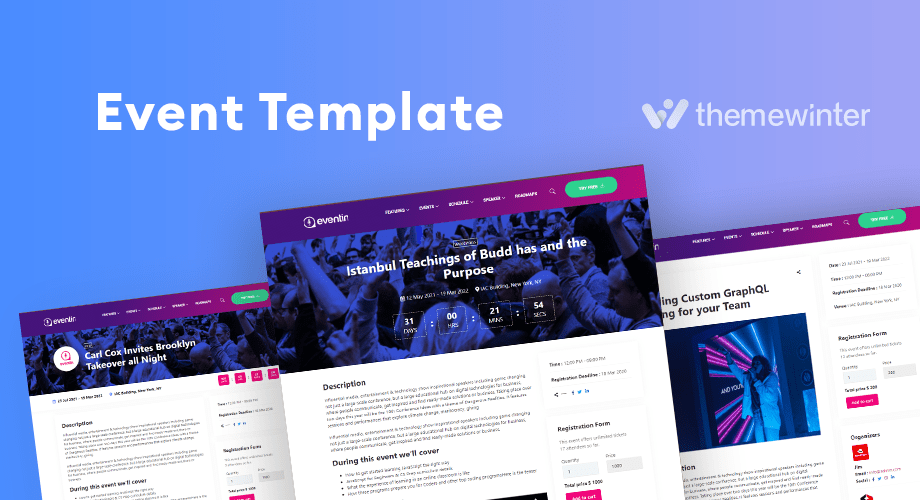
Which is the Best Event Plugin for You?
There are several event management plugins, but not all of them are effective. Among the top event management plugins – Eventin seemed like the most well-rounded plugin. It has all the basic and additional features that make it an ideal choice.
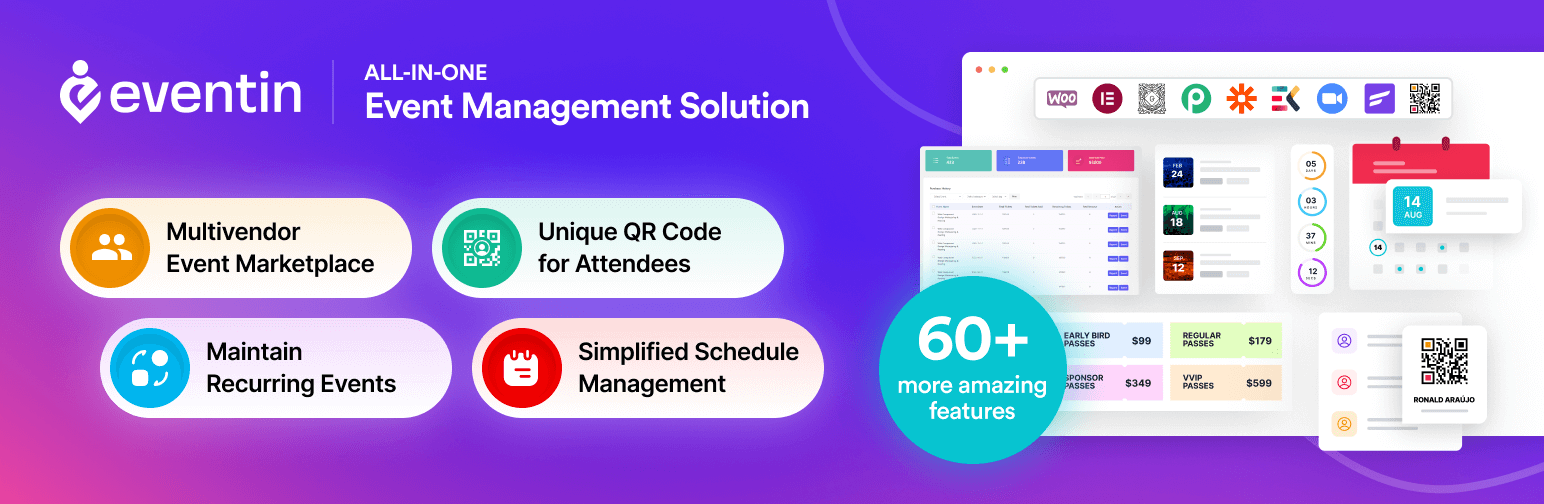
Designing a virtual conference website was never easy, but Eventin makes it easier with features like Elementor Widgets. It also has single or multiple event slot options. You can integrate Zoom into your website. You can also manage event attendees easier than ever. Last but not least, Eventin supports WooCommerce payment gateways such as PayPal, Amazon Pay, Square, and more.
Note: If you want to edit the site with Elementor drag-and-drop editor, then install the Elementor plugin from the WordPress directory.
Creating Your Own Virtual Conference Website
We will go through the step-by-step process of building your own conference website from scratch. First, install the Eventin plugin from the WordPress directory. Plenty of resources, such as documentation and video tutorials, are also available for you to follow through with.
Step 1: Create Speaker Profile
The speaker profile is the first step for each event. From your dashboard, go to Eventin -> Speakers -> Add New. Then add the speaker’s personal information, a photo, and social media links. After that, you need to add a schedule by going to Eventin -> Schedule -> Add New. Then you can add your speakers to a schedule. You can create and insert speaker profiles to your page with the shortcode, Elementor, and Gutenberg blocks.
Please watch the video to learn how to create an Eventin speaker profile. We added subtitles to help you follow along with our guidelines mentioned in the video.
Step 2: Set the Event Schedule
After the speaker module, create an event by setting a schedule on your virtual conference website. From your dashboard go to, Eventin -> Settings -> Shortcode. Then copy the schedule shortcode and paste it on your page. You can then edit your schedule list with Elementor or Gutenberg.
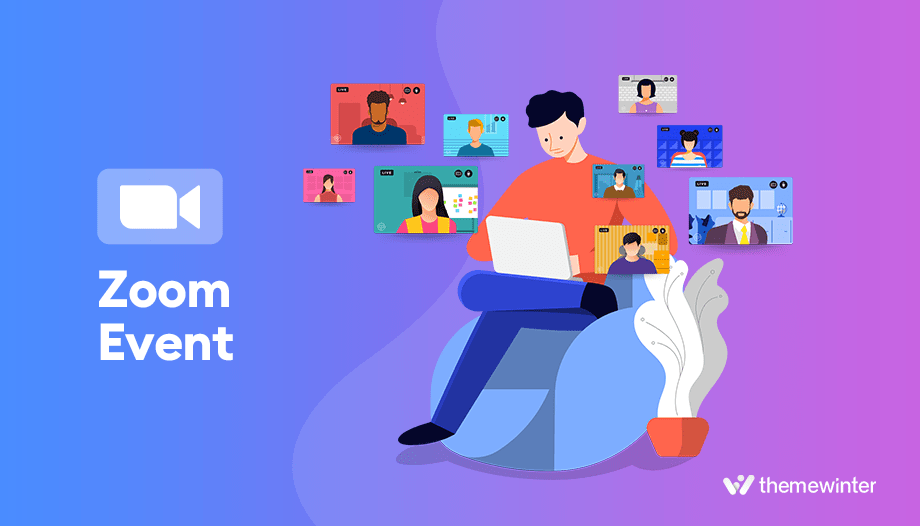
Step 3: Create Zoom Event
Eventin lets you create and manage online meetings on the Zoom platform. In order to host an online event with Zoom, you will need to create an account in Zoom. After that, you will need to get an API key and secret key to integrate with Eventin. Check out the full process of Zoom integration here. This feature makes it convenient to host events with 1,000 participants.
Step 4: Create a Virtual Conference Website Landing Page
After creating the speaker profile and schedule, now it’s time to create the event landing page. Keep in mind that this is the page that visitors will visit first. The design of this page is very important, so choose a good theme.
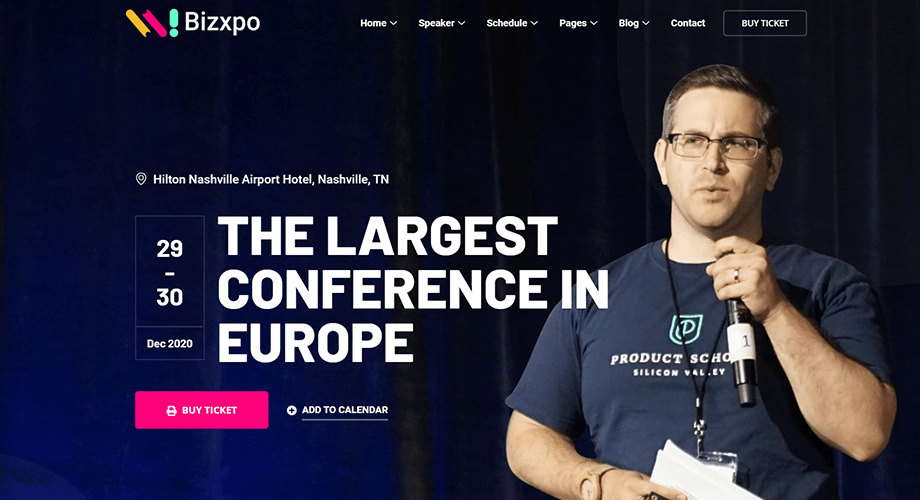
Gather all the necessary information and save it in a text file. After that, from your dashboard, select Eventin -> Events -> Add New. Upload all the information and publish the event. You can change the layout design depending on your event type.
Please watch the video below to learn how to make an event landing page with Eventin.
Do you want to create a FREE event landing page with Elementor? Check our complete blog for designing an Engaging Elementor Event Page with Eventin.
Step 5: Enable the Selling of Conference Tickets
Eventin comes with WooCommerce payment gateway support. Go to Eventin -> Settings -> General, and then enable “Sell on WooCommerce.” You need to make sure WooCommerce is installed on your site first. You can integrate popular payment gateways like Stripe, Paypal, Square, Amazon Pay, and many more. See the full list here.
Besides integrated payment, WooCommerce has several addons for handling. Since the list covers all the major payment methods, you can easily promote your business and earn money with virtual online events.
Step 6: Check Event Attendee Information
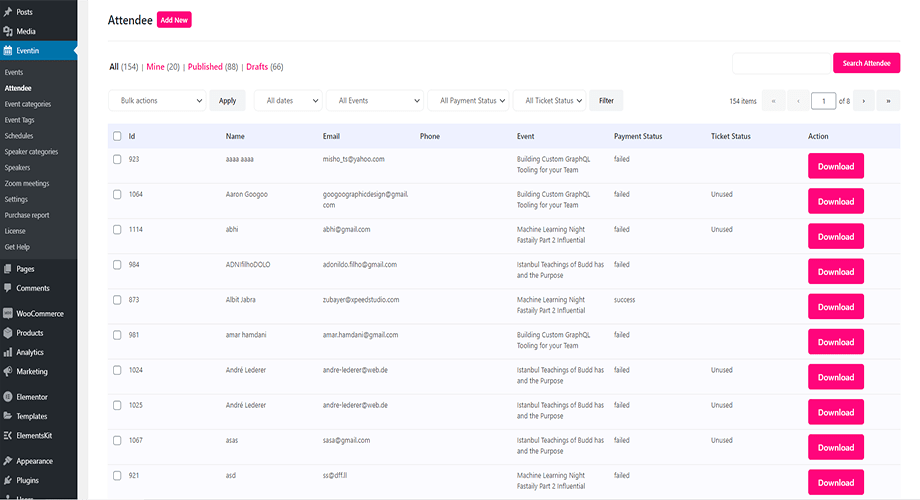
Manage hundreds of attendees easily with the event attendee list. Eventin lets you track attendee ticket status, payments, and personal details straight from your dashboard. Go to Eventin->Attendee from your admin panel. You can also add unlimited fields to your registration forms and export data in CSV files.
The following features can be extremely beneficial to you: Unique email notifications for tickets are emailed to attendees. They can download the ticket PDF directly from the email. The attendee Self-Update button with a link is available in the email for attendees to self-update their personal details. All the settings are available on your WordPress dashboard at Eventin -> Attendee.
Bonus: Add Relevant Event And Change Template
Eventin has a feature to show multiple relevant events on the event landing page. If you want, you can display relevant events and increase cross-selling. Eventin also has multiple events showcasing styles like slider, tab, and list style. You can edit the template from Eventin -> Settings -> General and find the event template and speaker template.
Final Outcome
If you were searching, how much time does it take to create a virtual conference website during the COVID-19 pandemic? It’s nothing but a few hours. We have shared the full process in this blog, and now it’s your turn to start creating a virtual conference website.
The blog contains several videos to help you visually. And the process should take a few hours, depending on your content. Any questions on your mind? Why don’t you drop it in the comment box? And don’t forget to share the content with your amazing social friends. Social sharing will take a moment, but it will inspire us for the rest of our lives.