How to Run a Successful Virtual Event With Eventin: From Planning to Execution
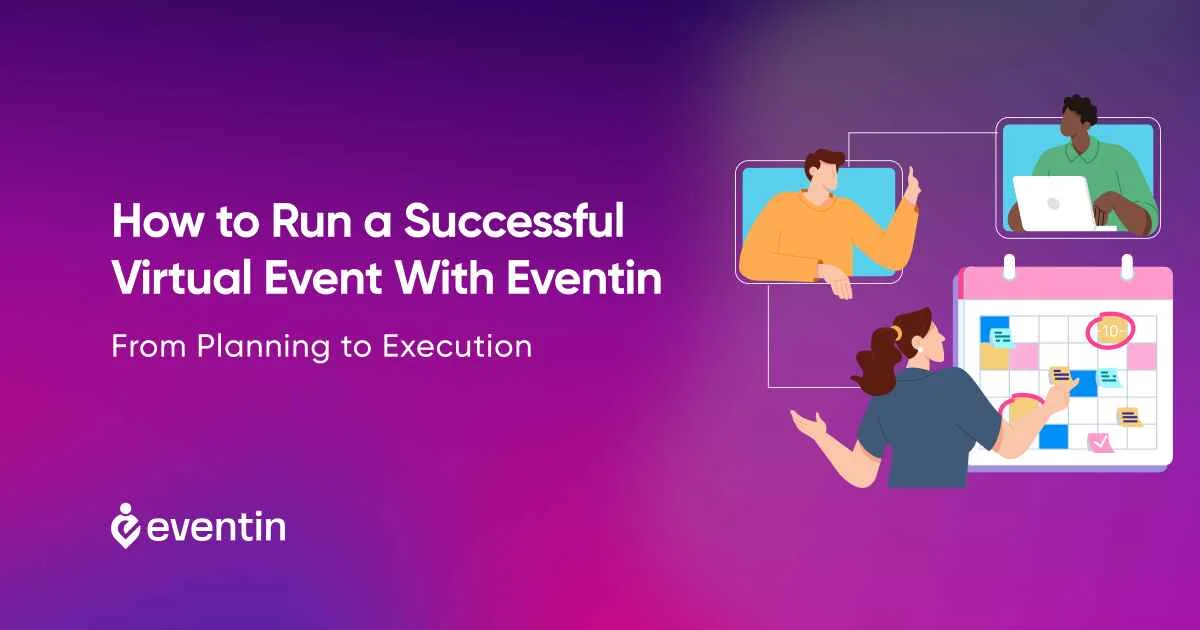
Table of Contents
Guess what? Virtual events aren’t the future – they’re the now! As I sipped on my morning coffee and swapped my fancy shoes for cozy slippers, I realized just how transformative the world of virtual events has become.
In 2021, according to Statista, 30% of trade shows took place in a hybrid format, and since then, the percentage has been growing exponentially.
But, how to run a successful virtual event?
No longer confined by venue sizes or global distances, we can bring hundreds, even thousands, together with just a click. But, like every good thing, it’s not as simple as pressing ‘start’. There are twists, turns, and potential pitfalls on the road to a killer online event.
Considering hosting one yourself? Stick around, because we’re about to spill the beans on how to make your virtual event ideas not just great, but unforgettable. From the first idea to the final applause, let’s decode the art of virtual events together.
🤔 Understanding Virtual Events
Virtual events are online events that allow participants to interact with each other and with event content from the comfort of their own homes or offices. These events can take many forms, from webinars and virtual conferences to online trade shows and product launches.
Let’s make the idea even more simple! Imagine bringing together passionate minds, eager learners, or global business leaders without the hassle of flights, hotel bookings, or conference hall rentals. That’s the power of virtual events. They’re digital gatherings that happen online, enabling participants from different parts of the world to engage, learn, and network.
Whether it’s a webinar, a digital trade show, or a global seminar, virtual events break down geographical barriers and open up a world of opportunities. And when powered by platforms like Eventin, these events take on a whole new dimension, blending high-quality presentations with interactive features. From the comfort of their space, attendees can actively participate, ask questions, and even network in virtual lounges.
In a nutshell, virtual events offer the essence of physical events but with the added convenience and scalability of the digital realm.
👋 Introduction to Eventin: Your Ultimate Event Managing Tool!
If you’re planning on how to run a successful virtual event planner, you need a reliable and efficient event management tool to help you manage everything from registration to post-event analytics. That’s where Eventin comes in!
Eventin is a powerful event management WordPress plugin that can help you know how to run a successful virtual event production. Thousands of event management professionals are already using Eventin to enhance the convenience and efficiency of their virtual event management process.
What Makes Eventin Stand Out? Well, here is the list you should check out!
- Streamlined Scheduling: With Eventin, setting up recurring events becomes a breeze, ensuring your audience never misses out. Plus, the Event Calendar view keeps attendees in the loop with upcoming virtual gatherings.
- Quick Check-ins: Say goodbye to complicated attendee management. Unique QR codes ensure smooth entry, helping you manage your virtual attendees efficiently.
- Zoom Integration: Sync up with platforms like Zoom for webinars and meetings. Your virtual event ideas feel just like the real deal, minus the commute!
- WooCommerce integration: If you’re selling tickets to your virtual event platforms, Eventin integrates seamlessly with WooCommerce, making it easy to manage ticket sales and registration.
- User-centric Design: With features like front-end event management and the DIVI Builder addon, creating and promoting your virtual event planner is simplified, putting you in the driver’s seat.
- API Support: Eventin’s API/Incoming Webhook lets you pull real-time data, ensuring your virtual event integrates seamlessly with other relevant applications or virtual event platforms.
- Engagement Boosters: With tools like the Event Countdown Timer, RSVP functions, and attendee ticket modules, Eventin ensures your virtual event planner isn’t just another online meeting—it’s an engaging experience.
📋 Sequential Steps on How to Run a Successful Virtual Event with Eventin
In this section, we won’t provide a generalized guideline on how to run a successful virtual event production. Instead, we’ll walk you through the main plan for achieving success and provide a detailed process of using Eventin to make it happen.
We’ve dissected the whole process into 6 sections. But before diving into that part, you’ll need a couple of things ready.
- Your WordPress website
- Eventin plugin (Installed on your website)
Well, without further ado, let’s get started.
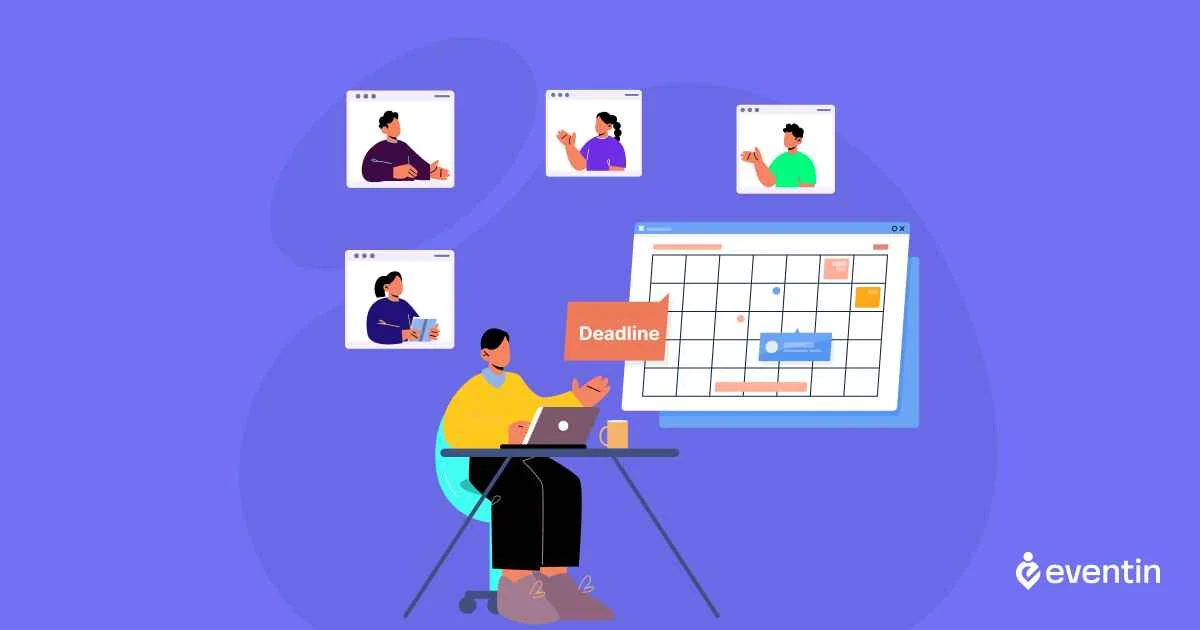
📝 Step 1: Pre-Event Planning with Eventin
Embarking on your virtual event production journey starts with a robust pre-event strategy. Therefore, before installing any plugins on your website, it’s essential to pick up pen and paper and create a rough outline to ensure the success of your virtual event ideas.
This section will guide you through the process and show you how to utilize Eventin to take your initial steps.
a) Defining Goals and Objectives
Before diving into the logistics, it’s essential to clearly outline what you aim to achieve. Is it brand exposure, networking, education, or sales?
Knowing your objectives will influence every subsequent decision. Therefore, list your goals and objectives before logging into your WP site and enabling the Eventin plugin.
b) Selecting the right virtual event planner format
Once you’re done with defining your goals and objectives for your upcoming virtual events, it’s time to set an appropriate format for your event. The format sets the tone.
Therefore, depending on your event type, you should choose the appropriate template. Eventin’s free version offers only one template to choose from. However, if you are a pro user, you’ll have access to multiple templates to select the one that best suits your event type.
c) Choosing speakers and organizers
The right speakers can elevate your event, turning it from ‘good’ to ‘unforgettable.’ Depending on your event type and niche, always try to invite industry professionals as your event host/speaker.
Also, check their backgrounds and success rates in the industry. Most importantly, assess their reputation for delivering speeches and determine if they are worthy to deliver speeches to your attendees or not.
d) Setting up ticketing and pricing using Eventin
You’ve set up your template and speaker profile. Now it’s time for ticketing and pricing. It’s up to you to decide on the pricing you want to set for your attendees, but remember to strike a balance between the pricing and the value your event provides to your attendees.
📅 Step 2: Creating and Managing Virtual Events
As you’ve already completed the first step, you are familiar with how to create a single event using Eventin. If your event only needs a single page, you can check out the documentation on how to create a single event using the Elementor plugin.
In this section, we’ll discuss the next tasks to make your event setup completely done.
a) Setting event details (date, time, description)
Before you dive into the deeper aspects of your event, the basics must be in place. With Eventin, inputting fundamental details such as the event’s date, start and end times, and a captivating description is straightforward. You can easily get it done by following the steps below-
- Step 1: Login to your WP dashboard
- Step 2: Click on ‘Eventin‘ from the navigation panel
- Step 3: Now click on ‘Event‘. It will show you the list of events you’ve created before.
- Step 4: Select your desired event and click on the ‘edit‘ button.
- Step 5: Scroll down a little bit, and you’ll find all the relevant fields to set up your date, time, description, etc.
- Step 6: Once you’re done with inputting all the details, save the progress.
b) Configuring event schedules and recurring events
If your event requires a repetitive schedule, Eventin’s ‘recurring events’ feature may come in handy for you. For instance, if you’re a yoga instructor and need to conduct yoga sessions for your attendees regularly, with Eventin, you can easily create a recurring event for this purpose.
You can also schedule the appropriate start and end dates and times for the event. We have shared dedicated documentation on how to create recurring events with Eventin. You can check it out to get detailed instructions.
c) Adding speakers and organizers
Eventin has made the process of adding speakers and organizers pretty straightforward. With the Eventin event management plugin, you can dedicate pages for speakers and organizers, showcasing their bios, social links, and more. The process is super simple.
Here is the sequential process you should follow in that regard-
- Step 1: Log in to your WP dashboard with your login credentials
- Step 2: Click on ‘Eventin‘ from the navigation area
- Step 3: Select ‘Speakers‘. And then click on the ‘Add New‘ button.
- Step 4: Fill out the form with the necessary details of your host/speakers. You can include their names, emails, social links, and other necessary details that your event attendees need.
d) Utilizing Eventin’s Divi Builder Addon for event website design
In event management, ensuring your virtual platform’s design conveys information efficiently and engages attendees is paramount. Eventin’s integration with the Divi Builder Addon offers a dynamic solution for event managers to construct a tailored event site that aligns with their brand and event goals.
The Divi Builder’s drag-and-drop interface simplifies the design process, making it accessible even for those without technical expertise. This ensures that every aspect of how to run a successful virtual event—from session schedules to speaker profiles—is presented in a clear and organized manner, enhancing attendee navigation and overall experience.
To create an eye-catching event page using Divi Builder, you can refer to the dedicated documentation on integrating Divi Builder to build your event webpage.
🎟️ Step 3: Selling Tickets and Managing Attendees
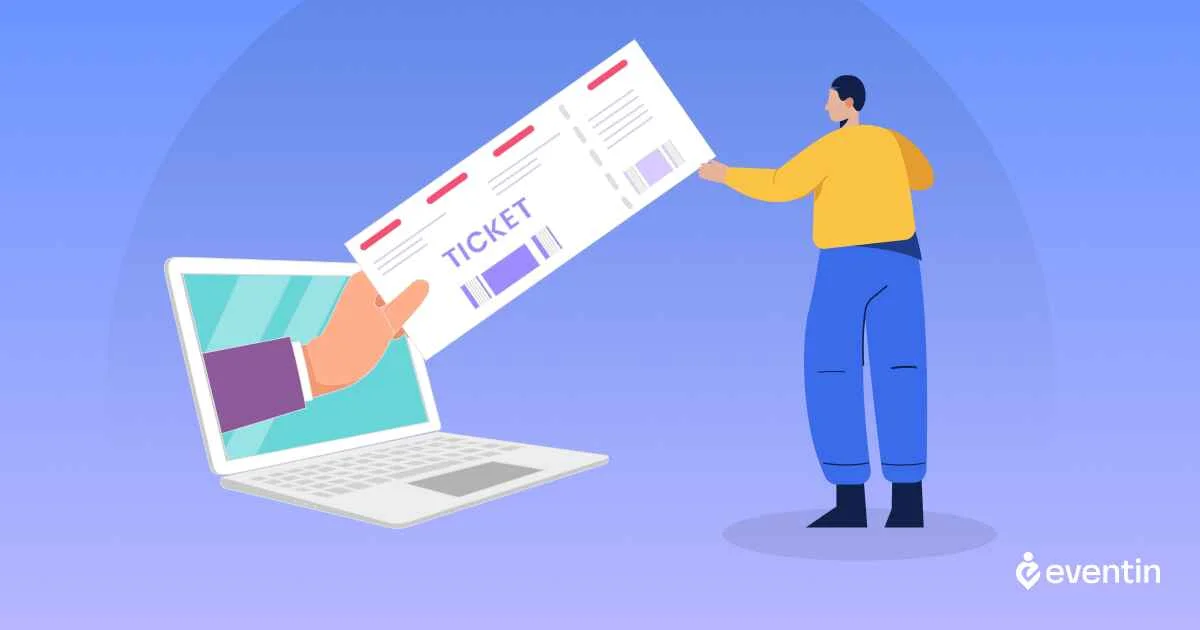
An event’s success is measured not just by the quality of its content, but also by the number and satisfaction of its attendees. Effective ticketing and attendee management are therefore crucial to the overall event experience.
Eventin provides comprehensive tools that streamline these processes, ensuring that your event not only attracts but also efficiently manages its audience. With an advanced tool like Eventin, your ticket-selling process will be much easier, as you can do the following-
a) Creating multiple ticket types and pricing tiers
You might need to set different prices for your tickets based on various variations such as ‘Early Bird,’ ‘Regular,’ ‘Late Ticketing’, ‘VIP’, ‘Sponsored‘etc.
In such cases, Eventin offers a multi-ticket pricing feature, which is extremely easy to set up. But before that, you should create the event first on Eventin. In this case, you can follow the process of how to create a single event with Eventin.
Once you’ve created your event on Eventin, here are the steps you can follow to set different prices for different types of event tickets:
- Step 1: Login to your WP dashboard
- Step 2: Click on ‘Eventin‘ from the navigation panel
- Step 3: Now click on ‘Event‘. It will show you the list of events you’ve created before
- Step 4: Select your desired event and click on the ‘edit‘ button
- Step 5: Scroll down a little bit, and then you’ll find a section titled ‘TicketVariation‘
- Step 6: Click on the ‘add‘ button and fill out the form considering your ticket type
b) Generating unique attendee IDs and QR codes
Security and organization are key components of any successful event. Eventin’s feature of generating unique QR codes for each ticket holder ensures a smooth entry process on the event day. Attendees simply present their QR code, which can be swiftly scanned, verifying their ticket and ensuring a hassle-free check-in using QR code-based event management.
These unique IDs also aid in personalizing the attendee experience, offering tailored content or sessions based on their ticket type. You can check the dedicated documentation on how to generate unique attendee QR codes with Eventin.
c) Ensuring a smooth attendee registration process
First impressions matter, and theregistration process is often the first interaction an attendee has with your event. Eventin streamlines this process, offering an intuitive interface for attendees to select multi-tier tickets, input their details, and complete their purchase. With features like custom registration forms and immediate ticket generation, attendees are assured of a seamless and efficient registration experience.
📣 Step 4: Promoting Your Virtual Event Production
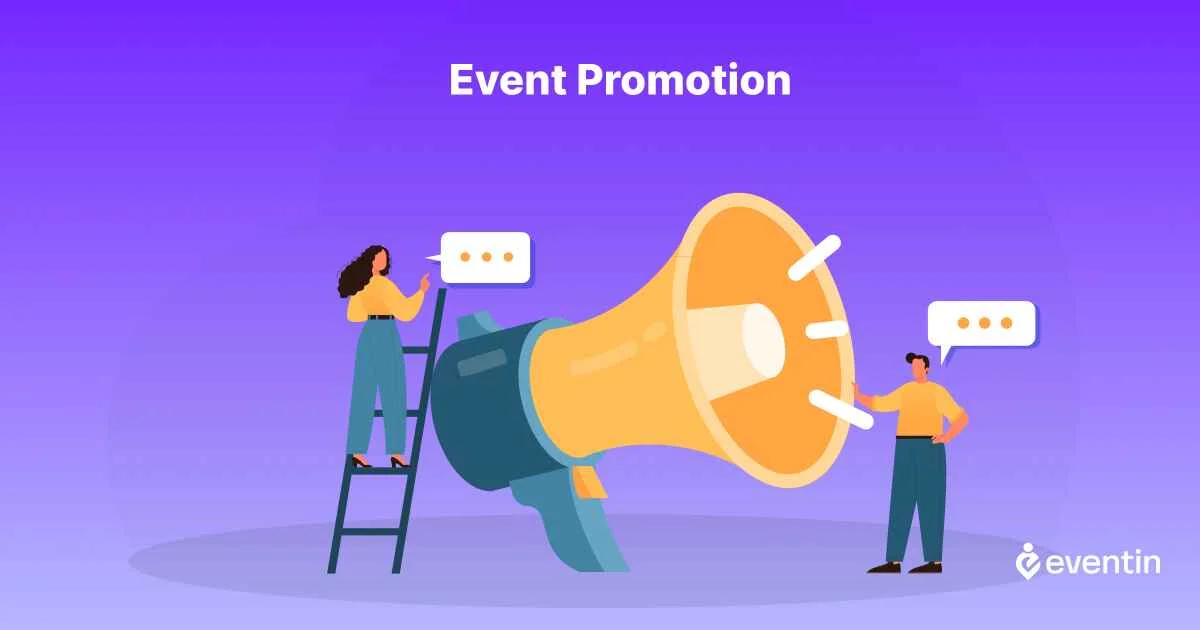
Promotion is the backbone of any successful event. It not only amplifies reach but also ensures that you’re targeting the right audience segments. With Eventin, you have a plethora of tools at your disposal on how to run a successful virtual event and make it the talk of the town.
This section will discuss some of these tools that can make your virtual event management process successful.
a) Leveraging marketing automation with Groundhogg and FluentCRM
Groundhogg and FluentCRM integrations with Eventin offer a robust marketing automation solution. From segmenting your audience to crafting personalized email campaigns, these tools ensure that your promotional efforts are both strategic and efficient.
You can automate follow-ups, reminders, or even post-event surveys to keep your attendees engaged and informed. The integration process of FluentCRMis also straightforward. But if you are a big fan of Groundhogg, you can check out our other documentation on how to setup Groundhogg on Eventin.
b) Integrating BuddyBoss for group-driven promotion
While providing an official email to your targeted prospects is important, it’s equally crucial to reach the online platforms where most of your potential attendees are active. Therefore, community-driven promotion can be a powerful tool for making your event promotion efforts successful. Additionally, integrating BuddyBoss with your Eventin plugin can be a game-changing combination in this regard.
By integrating BuddyBoss, Eventin capitalizes on group dynamics, allowing members of a BuddyBoss group to create, promote, and sell tickets for events. This grassroots-level promotion not only taps into niche communities but also generates organic buzz, with members advocating for and discussing your event within their circles.
c) Offering WooCommerce coupons for event discounts
Everyone loves a good deal, and offering discounts can be a game-changer in driving ticket sales. With Eventin’s integration with WooCommerce, you can create tailored WooCommerce coupons – b/e it percentage discounts, fixed cart discounts, or special early bird rates.
Such promotions not only incentivize registrations but also create a sense of urgency, encouraging potential attendees to take prompt action.
🎥 Step 5: How to Run a Successful Virtual Event Production

After meticulous planning and promotion, the spotlight is now on executing the event flawlessly. A smooth event experience is pivotal for both attendees and organizers. With Eventin, you have the arsenal to not just meet but exceed expectations.
So, if you’re now familiar with the features of Eventin that are needed to make your virtual event ideas fruitful, then it’s time to execute the plan on how to run a successful virtual event. Here are the sequential steps you should follow to make your virtual event platforms successful:
a) Setting up a user-friendly event website
A clear, intuitive, and visually appealing website can significantly enhance the attendee experience. As we discussed earlier, Eventin provides customizable templates and integrations, like the Divi Builder Addon, ensuring that even those without technical expertise can create engaging websites.
If you’re a fan of Elementor, you can also create a single event page easily by following this documentation. Remember, a user-friendly interface coupled with clear event details can set the tone for a positive event experience.
b) Technical Readiness
We’ve been to events where technical hiccups became the unexpected highlight. And trust me, you don’t want that. Before your big day, run a few tests as if it’s the real deal. Think of these as rehearsals, ensuring everything is in place. And it’s okay to be a bit anxious about potential glitches. Just remember to have backup plans and maybe a friendly tech guru on standby.
c) Engaging content delivery
Here’s a secret: the magic of any event lies in its content. Spice things up! Use interactive tools, and toss in a few multimedia elements. Think of it like cooking a dish – a little variety can make a world of difference. And don’t forget to throw in polls or Q&A sessions; it’s like pausing to chat in the middle of a presentation.
d) Speaker Preparations
Speakers are pivotal to your event’s success. To ensure they deliver their best, provide training sessions on the virtual event platforms. Conducting dry runs and rehearsals helps speakers get a feel for the event flow and iron out any issues. Coordination between the event team and speakers is essential for content review, ensuring consistency and avoiding overlaps. Lastly, having technical support available for speakers can mitigate any last-minute tech challenges.
e) Attendee Engagement and Interaction
Ah, the art of keeping your audience hooked! In the virtual realm, this can feel a bit challenging. But here’s a tip: live chats work wonders. It’s like the lively chatter you hear in physical events. Organize breakout sessions; think of them as cozy corners for in-depth discussions. And, if you’re feeling adventurous, sprinkle in some quizzes or games – a dash of fun never hurt anyone!
f) Monitoring and Real-time Adjustments
Remember, you’re the captain of this ship. Keep an eye on the horizon, and have a trusty crew (your event team) to help navigate any sudden storms. Tracking feedback during your journey can be your compass, pointing out areas that might need a tweak. With tools like Eventin’s QR code feature, you ensure everyone’s on board and has a smooth sail.
g) Post-event Follow-ups and Engagement
Once the curtain falls, it’s not the end of the show. Drop a warm thank-you note in your attendees’ inboxes. Share a recap, maybe a few snapshots, and always be open to feedback. Keep the conversation going, and you’ll find your audience eagerly waiting for your next act.
Final Words!
The process of how to run a successful virtual event is no small feat, and if you’ve made it this far into our guide, I want to give you a virtual high-five for your dedication! 🙌
With Eventin by your side, you’re not just organizing an event; you’re crafting an unforgettable experience for your attendees. From the meticulous pre-event planning to the pulsating energy during the event, and the thoughtful post-event engagements, every step requires commitment and the right tools.
Eventin offers you not just functionalities, but also the peace of mind to know that each segment of your event is in good hands. Remember, each event you host is an opportunity to connect, to share, and to grow. And while the technological aspects are pivotal, the true essence lies in the human connections you forge.
So, as you gear up to host your next (or perhaps your first) virtual event ideas, know that with a mix of passion, preparation, and the power of Eventin, success isn’t just an option—it’s a guarantee.
Here’s to many more successful virtual event management! Cheers! 🥂