How to Fix “Not Secure” Website in Chrome (for WordPress Sites)
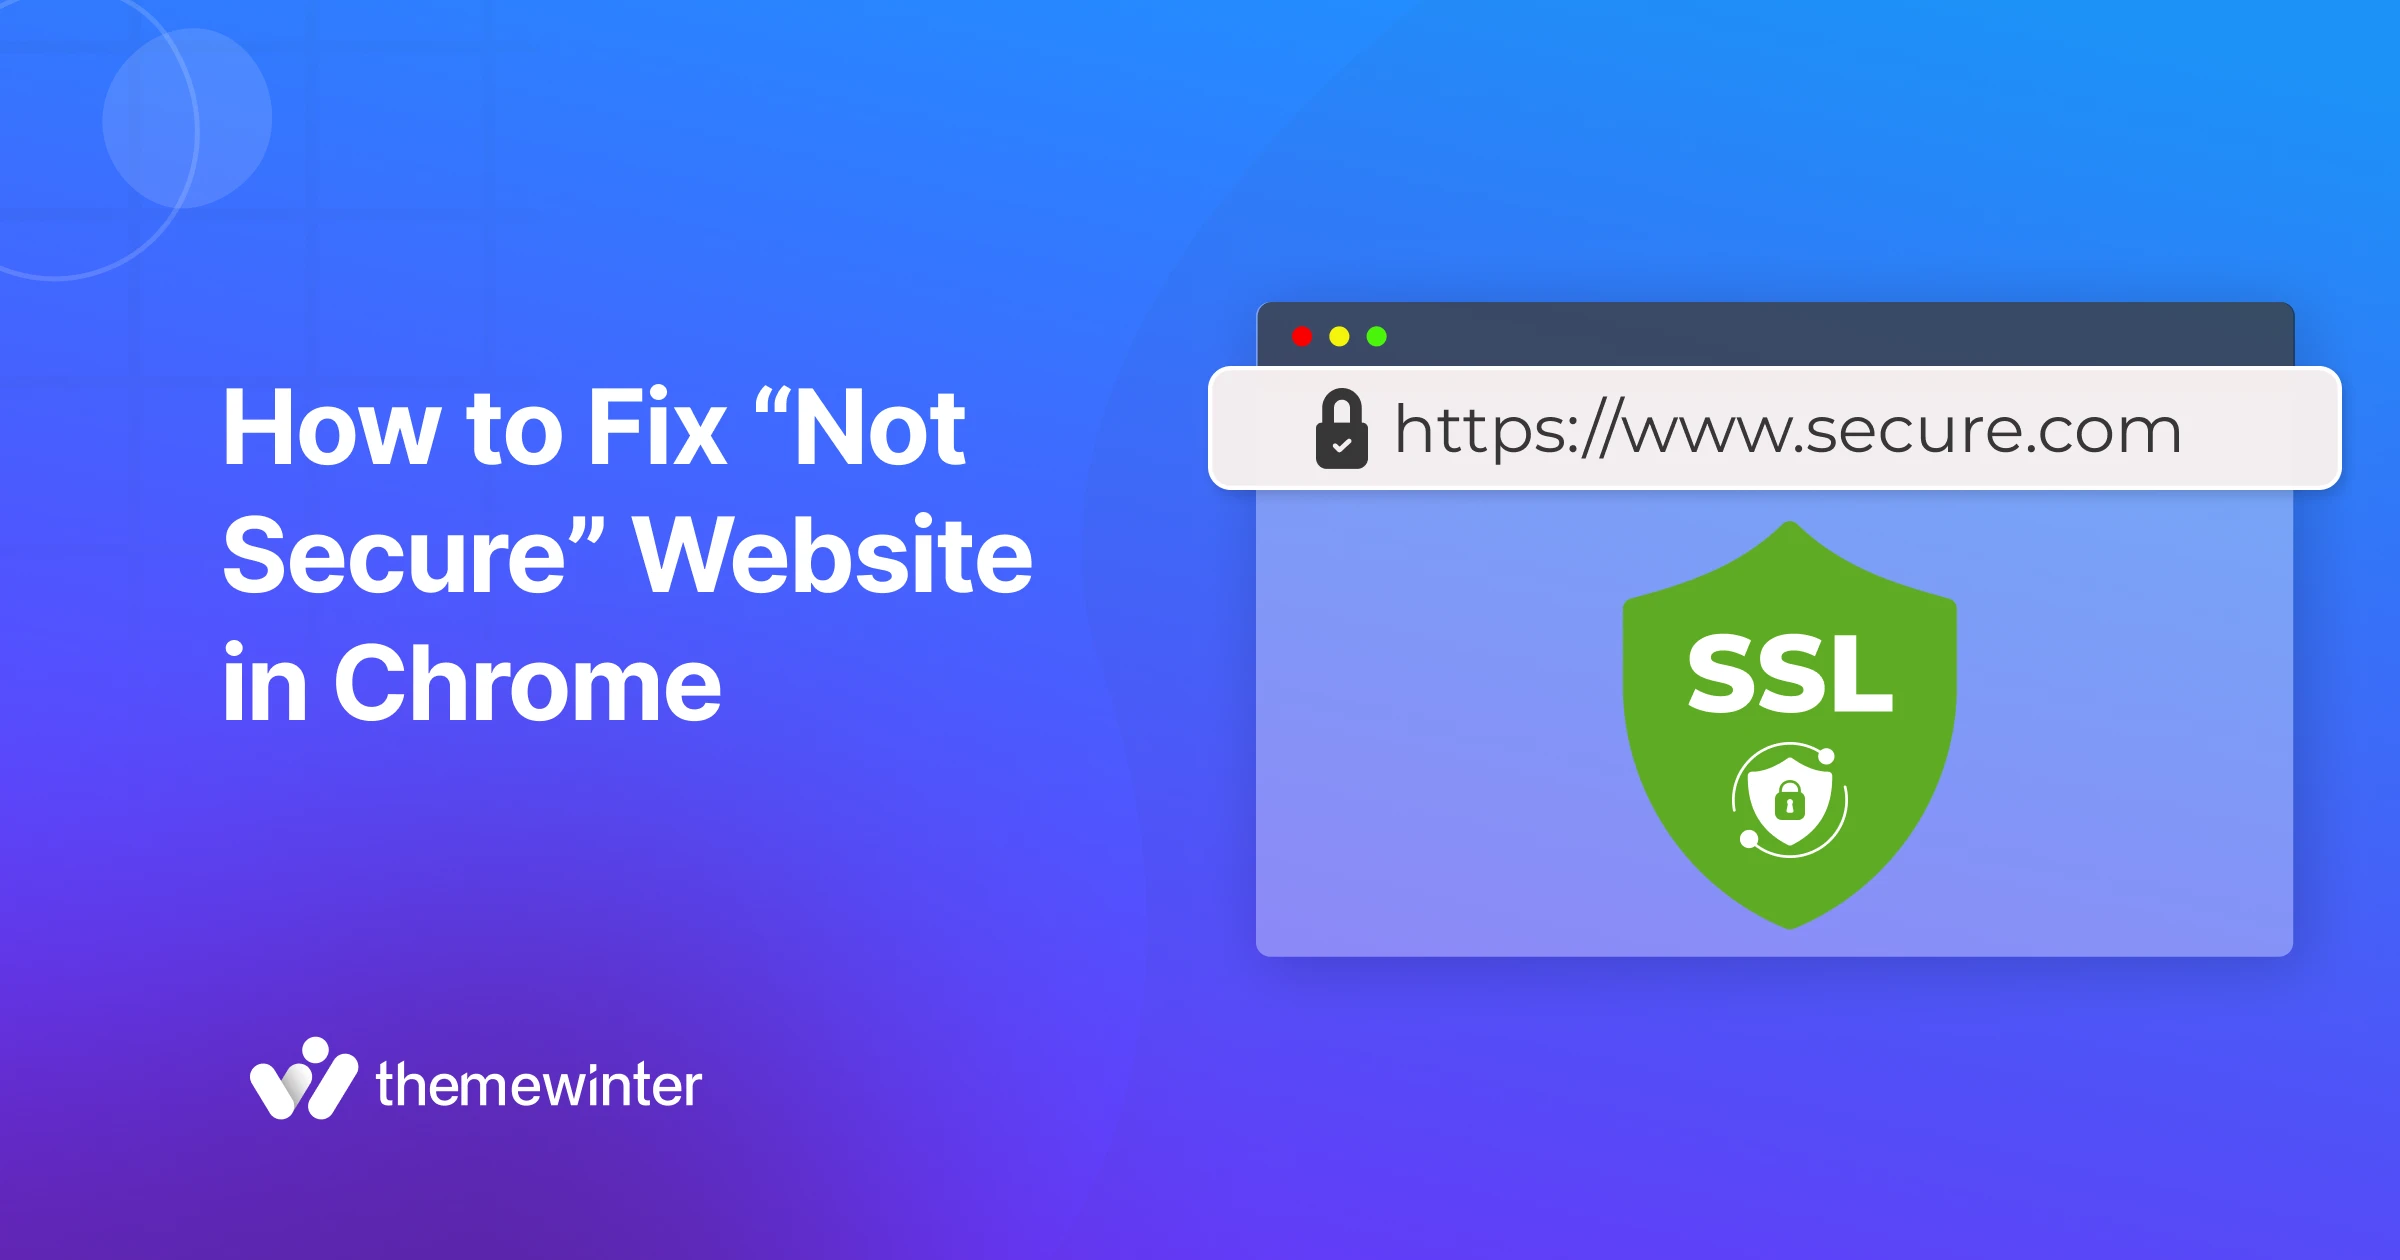
Table of Contents
Seeing a Not Secure Website warning next to your site’s address? You’re not alone. It’s a common issue on WordPress sites and often shows up if a website does not use HTTPS.
Even if everything seems to work, missing this layer of security can make visitors feel uneasy, and it might hurt your site’s visibility on Google.
In this guide, we’ll explain what the warning means, why it occurs, and how to fix not secure website in Chrome—step by step, with no technical skills required.
Let’s get started.

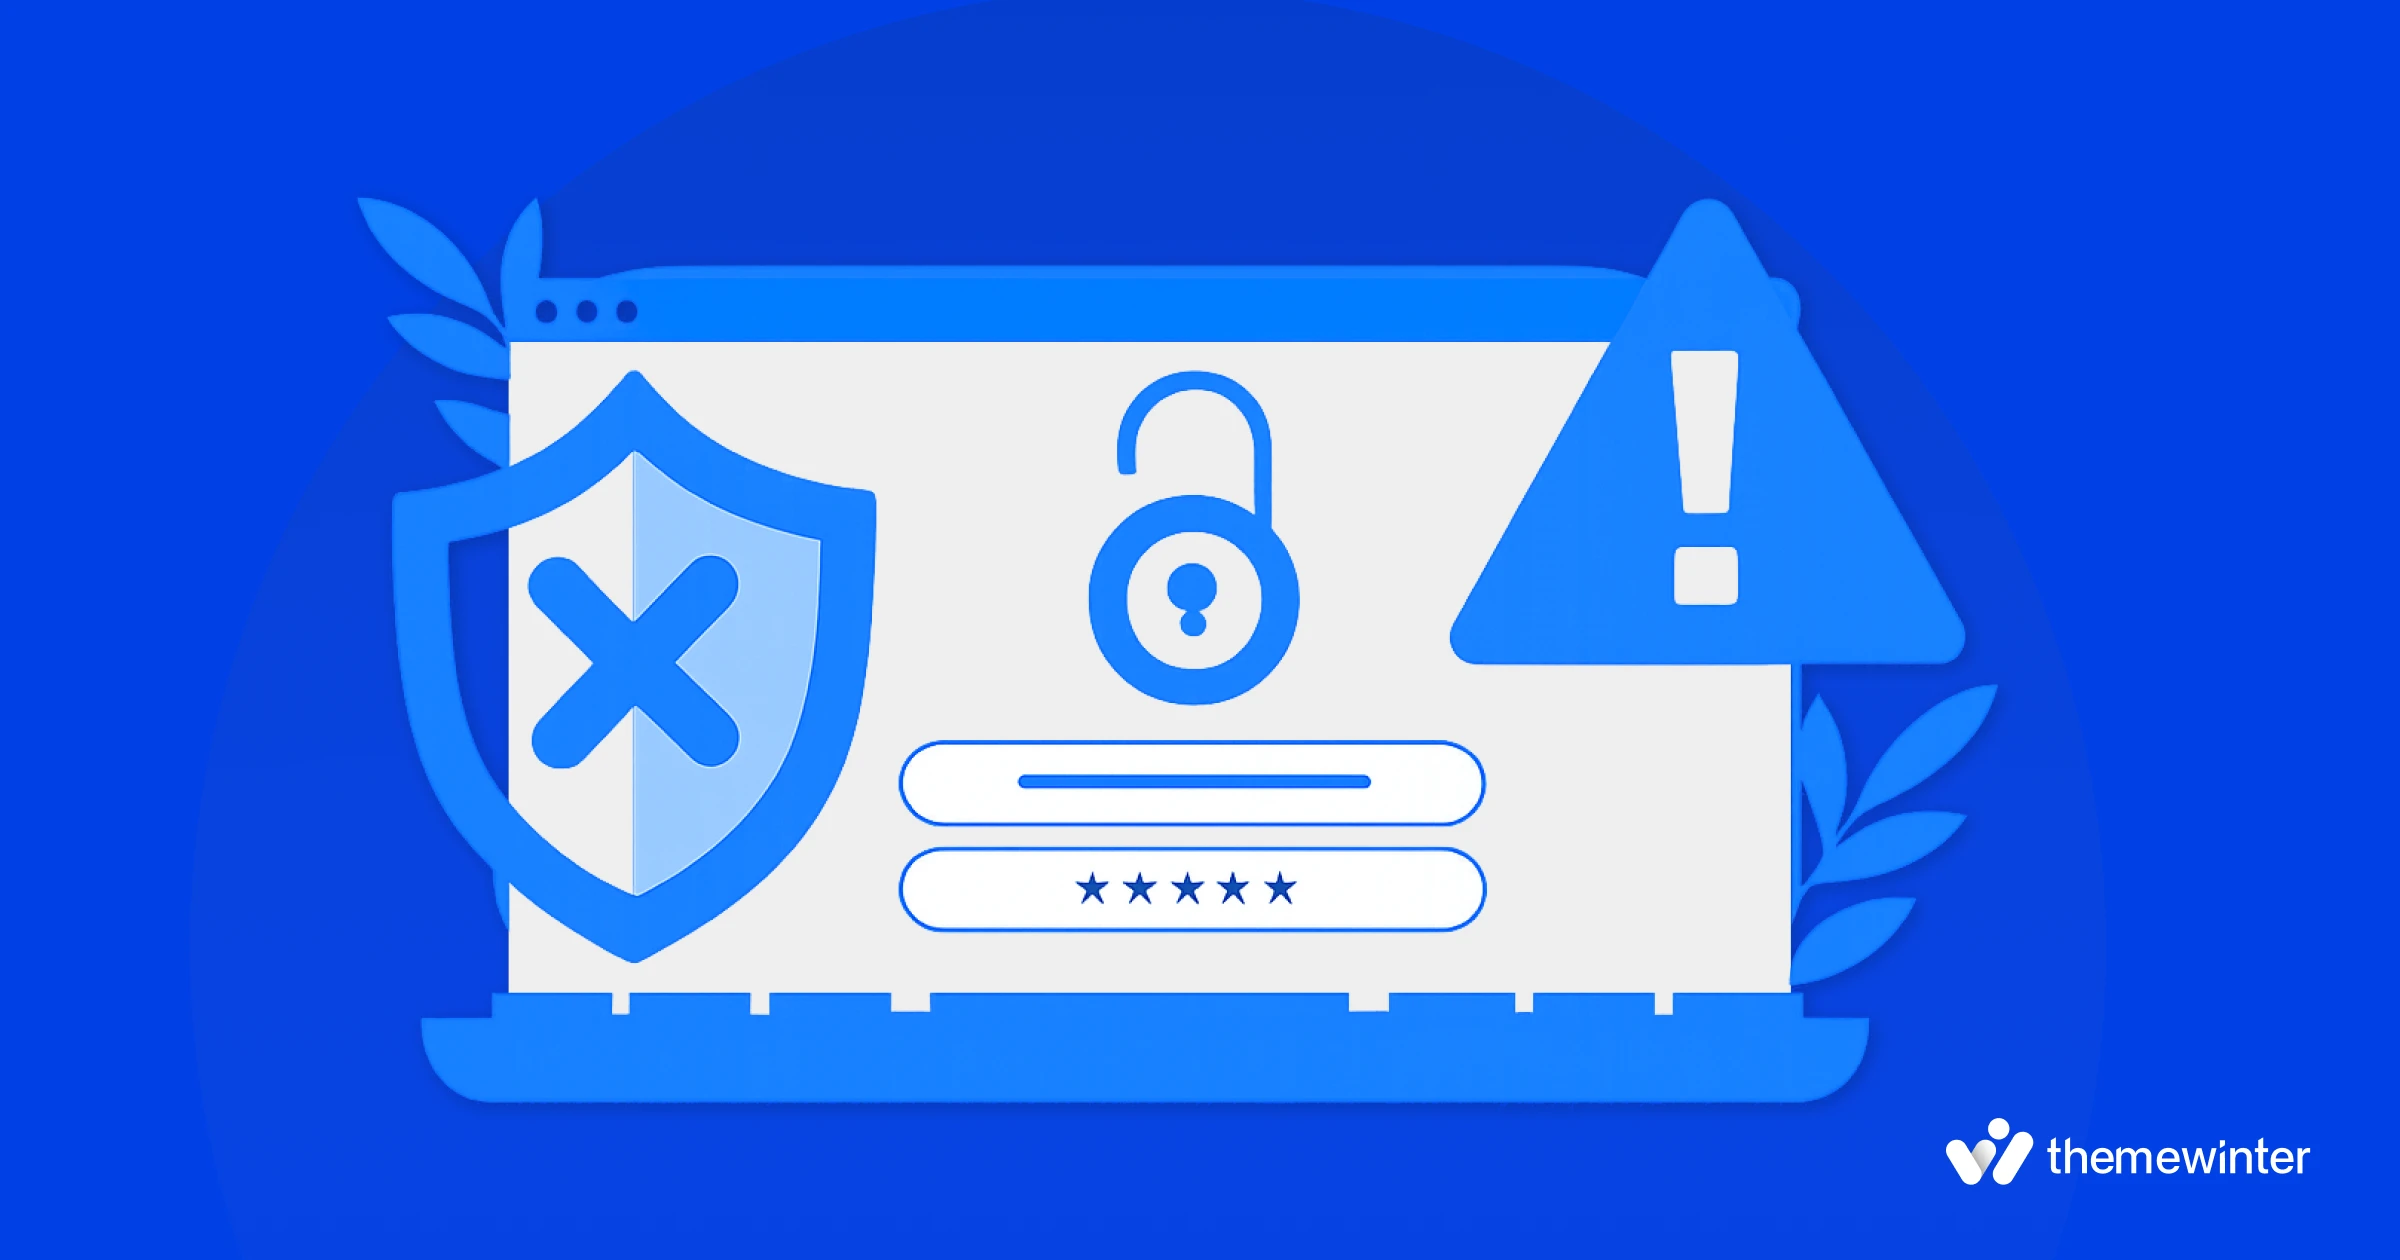
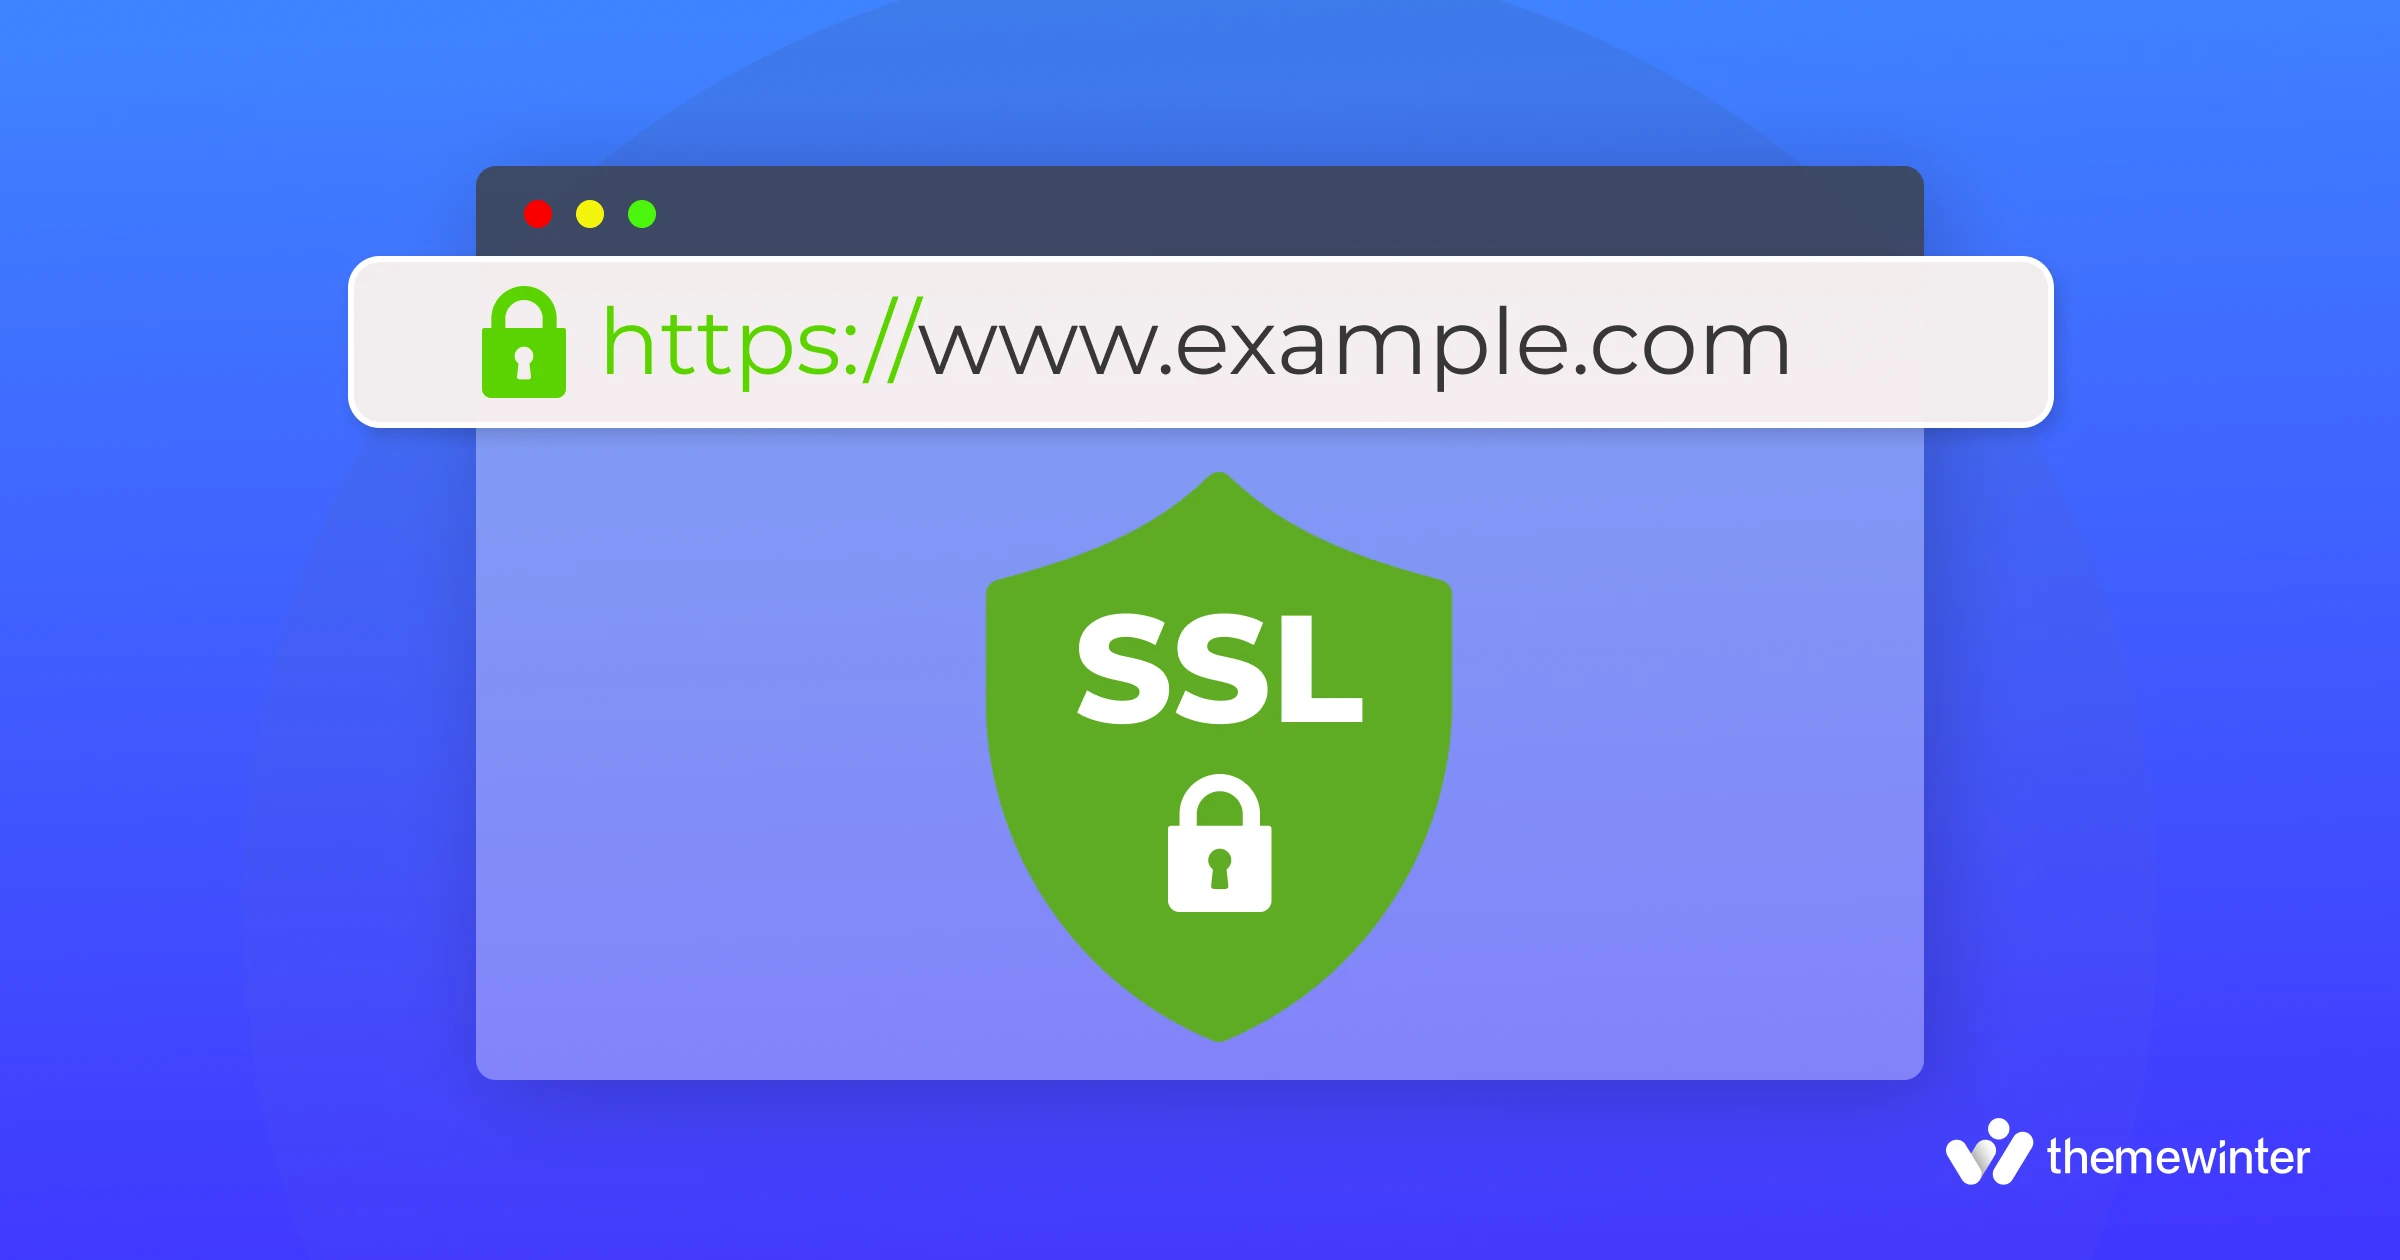
What does “Not Secure” mean in Google Chrome?
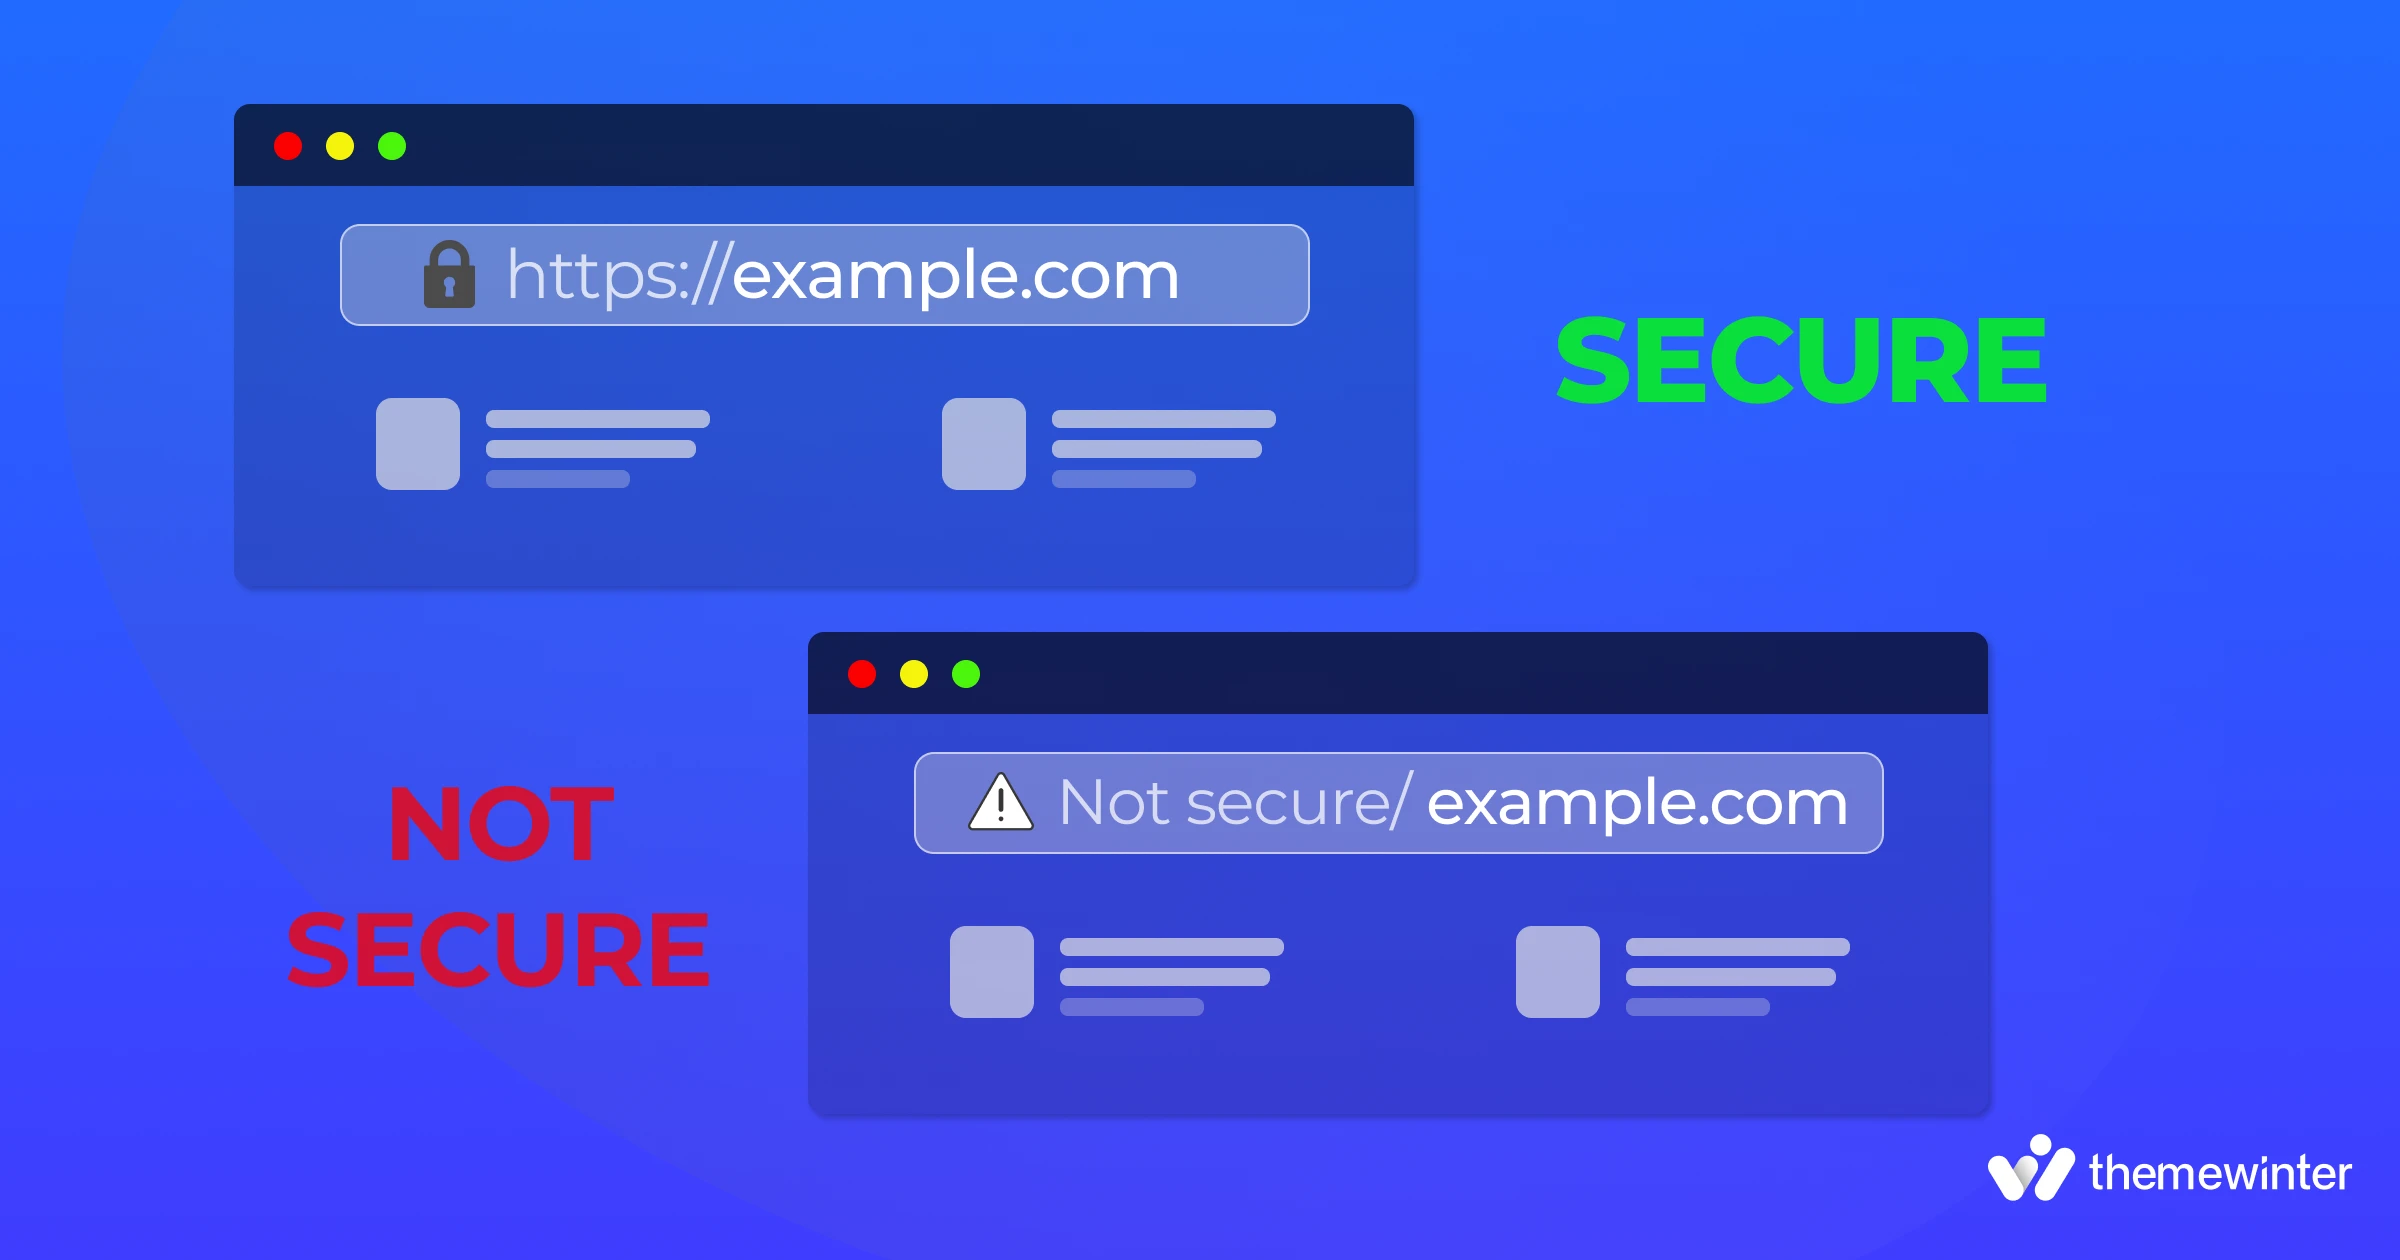
When you visit a website, your browser checks whether it’s using a secure connection. In Chrome, if the site is using HTTPS (instead of HTTP), you’ll see a small padlock icon in the address bar. If it isn’t, you might see a warning that says “Not Secure.”
The Chrome not secure warning is Google’s way of telling users that the connection isn’t encrypted. That might not sound like a big deal if you’re just browsing a blog, but it becomes important if there are any forms, login fields, or other types of user interaction.
Without encryption, any information entered on the site could be viewed by someone else, including passwords, payment details, or even comments.
Here’s how Chrome usually displays it:
- Padlock – Your site is using HTTPS properly.
- Not Secure – The site uses HTTP or contains mixed content.
- Danger/Warning – The site has serious security issues or an invalid certificate.
Google and other web browsers started pushing HTTPS as the standard several years ago, and now it’s expected, not optional. So if your site still shows as “Not Secure,” it’s something worth fixing sooner rather than later.
What are the common reasons your WordPress site shows as “Not Secure”?
There isn’t just one reason this warning pops up. This often happens due to missing SSL, mixed content (like images or scripts loading over HTTP), or plugins and themes pulling non-secure resources. In fact, your site might even have an SSL certificate installed and still get flagged by Chrome.
Let’s go through the most common ones.
1. No SSL certificate installed
This is the most straightforward cause. If your site is still running over http:// and you haven’t installed an SSL certificate, browsers will mark it as “Not Secure” by default. Without it, anything submitted on your site could be intercepted, even on basic contact forms.
2. SSL is installed but not forced (mixed content issues)
Sometimes, an SSL certificate is installed correctly, but your WordPress site still loads some content (such as images, scripts, or stylesheets) over HTTP instead of HTTPS. This is known as mixed content, and it can prevent the browser from displaying the padlock.
In these cases, the web browser sees that part of the page is secure, but some elements are not. As a result, it gives a warning rather than the padlock icon.
3. Plugins or themes loading non-secure content
Even if you’ve secured your site correctly, some plugins or themes might load external resources (like fonts, icons, or scripts) over HTTP. These can trigger mixed content warnings and keep your site from appearing fully secure.
This often happens with:
- Custom-coded themes
- Third-party scripts (like Google Fonts or old CDN links)
- Social media embeds
4. Your domain or subdomains aren’t fully configured with HTTPS
If your primary domain is secured but subdomains like blog.yoursite.com or shop.yoursite.com aren’t, visitors may still see “Not Secure” on parts of your site.
It’s also possible that your SSL certificate only covers your root domain (such as example.com) and not the “www” version, or vice versa. This can lead to issues depending on how your URLs are configured in WordPress.
How to check if your site is marked “Not Secure”?
Even if your site looks fine on the surface, it’s a good idea to run a few checks to confirm everything is secure. Here are a few ways to quickly test your WordPress site for HTTPS issues.
Use Chrome DevTools (Security tab)
One of the easiest ways to check your site’s security status is by using Chrome’s built-in developer tools. This tool is invaluable if you want to delve into specific problem areas, such as scripts or images that are still loading over HTTP.
Here’s how:
- Open your website in Chrome.
- Right-click anywhere on the page and select Inspect.
- Click the “Security” tab at the top (you may need to click the >> icon to find it).
- You’ll see a summary of the page’s security, including whether HTTPS is working and if there’s any mixed content.
Online SSL checkers
You can also use free online tools to scan your website’s SSL status and catch any hidden issues:
- Why No Padlock? – Great for finding mixed content on individual pages.
- SSL Labs SSL Test – Gives a detailed report on your SSL certificate’s strength, expiry, and compatibility.
Plugins and tools
If you prefer to manage things directly from your WordPress dashboard, there are a few helpful plugins:
- Really Simple SSL – Automatically detects your SSL certificate and helps fix mixed content by updating internal URLs.
- Wordfence – Offers basic HTTPS scanning as part of its security features.
- Jetpack – Includes security monitoring, including HTTPS-related checks on supported plans.
How to fix the “Not Secure” warning on your WordPress site?
Once you’ve confirmed that your site is being marked as “Not Secure,” it’s time to fix the Google Chrome Not Secure warning. The good news is that most WordPress users can do this in a few steps — no coding required in most cases.
Step 1: Install an SSL certificate
Before anything else, your site needs a valid SSL certificate. If your SSL certificate is displayed as not secure in WordPress, it may be due to a missing redirect, an expired certificate, or incorrect setup.
Here’s how to get one:
- Through your hosting provider: Many hosts offer free SSL certificates via Let’s Encrypt. You can usually enable it with one click from your hosting dashboard.
- Manually: If your host doesn’t support free SSL, you can purchase one and install it yourself. This requires a bit more setup, mainly if your site uses a custom server or CDN.
Step 2: Force HTTPS in WordPress
Installing SSL is only part of the solution. You also need to make sure WordPress is set to use HTTPS across the entire site.
Here’s what to do:
- Go to Settings > General in your WordPress dashboard.
- Update the WordPress Address (URL) and Site Address (URL) fields to use https:// instead of http://.
Next, you’ll want to redirect all traffic from HTTP to HTTPS. You can do this by:
- Using a plugin, such as Really Simple SSL, can handle this automatically.
- Manual method: Add the following code to your .htaccess file (for Apache servers):
<IfModule mod_rewrite.c>
RewriteEngine On
RewriteCond %{HTTPS} off
RewriteRule ^(.*)$ https://%{HTTP_HOST}%{REQUEST_URI} [L,R=301]
</IfModule>
Step 3: Fix mixed content errors
To fix mixed content error in WordPress, you’ll need to update all insecure links still using HTTP.
Here’s how:
- Scan your site with a tool like Why No Padlock or use the browser console to find insecure URLs.
- Update image URLs and links in your content, widgets, and theme files to use https://.
- Use Better Search Replace to change http:// links in your database to https://
To learn more, check our in-depth guide on How to fix WordPress mixed content error in 3 simple methods.
Step 4: Test your HTTPS setup
After making the changes, it’s a good idea to double-check everything to ensure accuracy.
- Open your site in an incognito window and look for the padlock icon.
- You can also use tools like Chrome DevTools or Why No Padlock to see if any mixed content warnings are still there.
- For a thorough check, run your site through SSL Labs to ensure your certificate is set up correctly. This helps you catch anything you might have missed.
Step 5: Submit your site to Google Search Console again
After switching to HTTPS, it’s a good idea to update Google Search Console. This helps Google re-index your secure version and prevents duplicate content issues between HTTP and HTTPS versions. To do so,
- Log in to your account.
- Add the https:// version of your site as a new property.
- Submit your updated sitemap (usually found at https://yoursite.com/sitemap.xml).
💡Good read: How to Enable RTL Support on WordPress Website
6 Proven tips to keep your site secure after SSL
Setting up HTTPS is a significant step forward, but maintaining your site’s security is an ongoing task. To keep your site safe and running smoothly, follow these tips:
- Keep your plugins and themes updated: Old plugins or themes can create security gaps. Always keep them updated to the latest version. Updates often fix bugs and patch security issues.
- Use security plugins like Wordfence: While SSL encrypts the connection, it doesn’t protect your WordPress backend. A good security plugin helps you monitor threats, block suspicious activity, and receive alerts if something goes wrong. Wordfence is a popular option and works well with SSL.
- Use a secure hosting provider: Your host plays a big role in your site’s safety. Choose one that offers built-in SSL, firewall protection, regular backups, and malware scanning.
- Enable automatic redirects: Ensure that visitors are always directed to the HTTPS version, regardless of how they enter your URL. This means redirecting from http:// to https:// and ensuring that both www and non-www versions of the domain point to the exact location.
- Add a Content Security Policy (CSP) header: A CSP helps stop unwanted scripts from running on your site. This protects you from things like cross-site scripting (XSS). It’s a bit technical, but many hosting services or security plugins allow you to set it up.
- Enable HTTP Strict Transport Security (HSTS): HSTS instructs web browsers to always use HTTPS for your site. It prevents people from accidentally loading the HTTP version again. You can add this through your server settings or with your security plugin.
Troubleshooting FAQs
1.“Why is my padlock showing a warning icon?”
This usually means there’s mixed content on the page. Some files (like images or scripts) are still being loaded over HTTP instead of HTTPS. Use Chrome DevTools or a plugin like Really Simple SSL to identify and resolve these issues with the links.
2. “Why does Chrome still show insecure after SSL is active?”
This can happen if your site isn’t fully redirecting to HTTPS, if some links in your content or theme still use HTTP, or if the certificate doesn’t cover subdomains like www or blog.yoursite.com. To fix this, make sure HTTPS is fully enforced and scan your pages for any mixed content.
3. “Can HTTPS break third‑party embeds or CDNs?”
Sometimes, your site might load a script, font, or video from another site that doesn’t support HTTPS. When that happens, the web browser may block it or show a warning. If the resource doesn’t support HTTPS, either host it locally or remove it to avoid warnings.
4. “Do I need SSL for local development?”
You don’t need it, but it’s a good idea if you want to match your production setup. Many local development tools, such as Local, DevKinsta, and XAMPP, offer options to enable HTTPS in your test environment.
5. What is HTTPS? Why is HTTPS crucial for website security?
HTTPS (Hypertext Transfer Protocol Secure) is the secure version of HTTP. It encrypts the data sent between a user’s browser and your website, protecting it from interception or tampering.
It’s essential for any site that handles user input such as forms, login pages, or payment information, because it helps prevent data theft, phishing, and other security risks.
6. What to do when you see a “Not Secure” message
If you see a “Not Secure” message in your browser, don’t enter any personal information, especially passwords or payment details. You can still view most content, but avoid interacting with forms or making purchases. If you know the site owner, consider notifying them so they can address the issue.
💡Good read: How to Create a WordPress Staging Site for Testing
Final thoughts: Don’t let a simple SSL issue hurt your site
Seeing a Not Secure warning in Chrome can feel a bit frustrating, especially when your site looks like it’s working just fine. But now you know what’s behind it, how to fix it, and how to prevent it from happening again.
The steps we shared should help you fix the HTTPS warning in WordPress and prevent visitors from seeing that Chrome warning again. With HTTPS in place, your site is safer for visitors and better prepared for improved search visibility.
If you found this guide helpful, feel free to share it or drop your questions in the comments. And if you’re still seeing the “Not Secure” message, this might be a good time to reach out to your hosting provider or support team for a second look.
Using a ThemeWinter theme? Our themes are HTTPS-ready by default and built to avoid common mixed content errors. Just ensure your hosting supports HTTPS, follow the steps we covered, and your site should be safe.
If you need assistance, our support team is available to help.